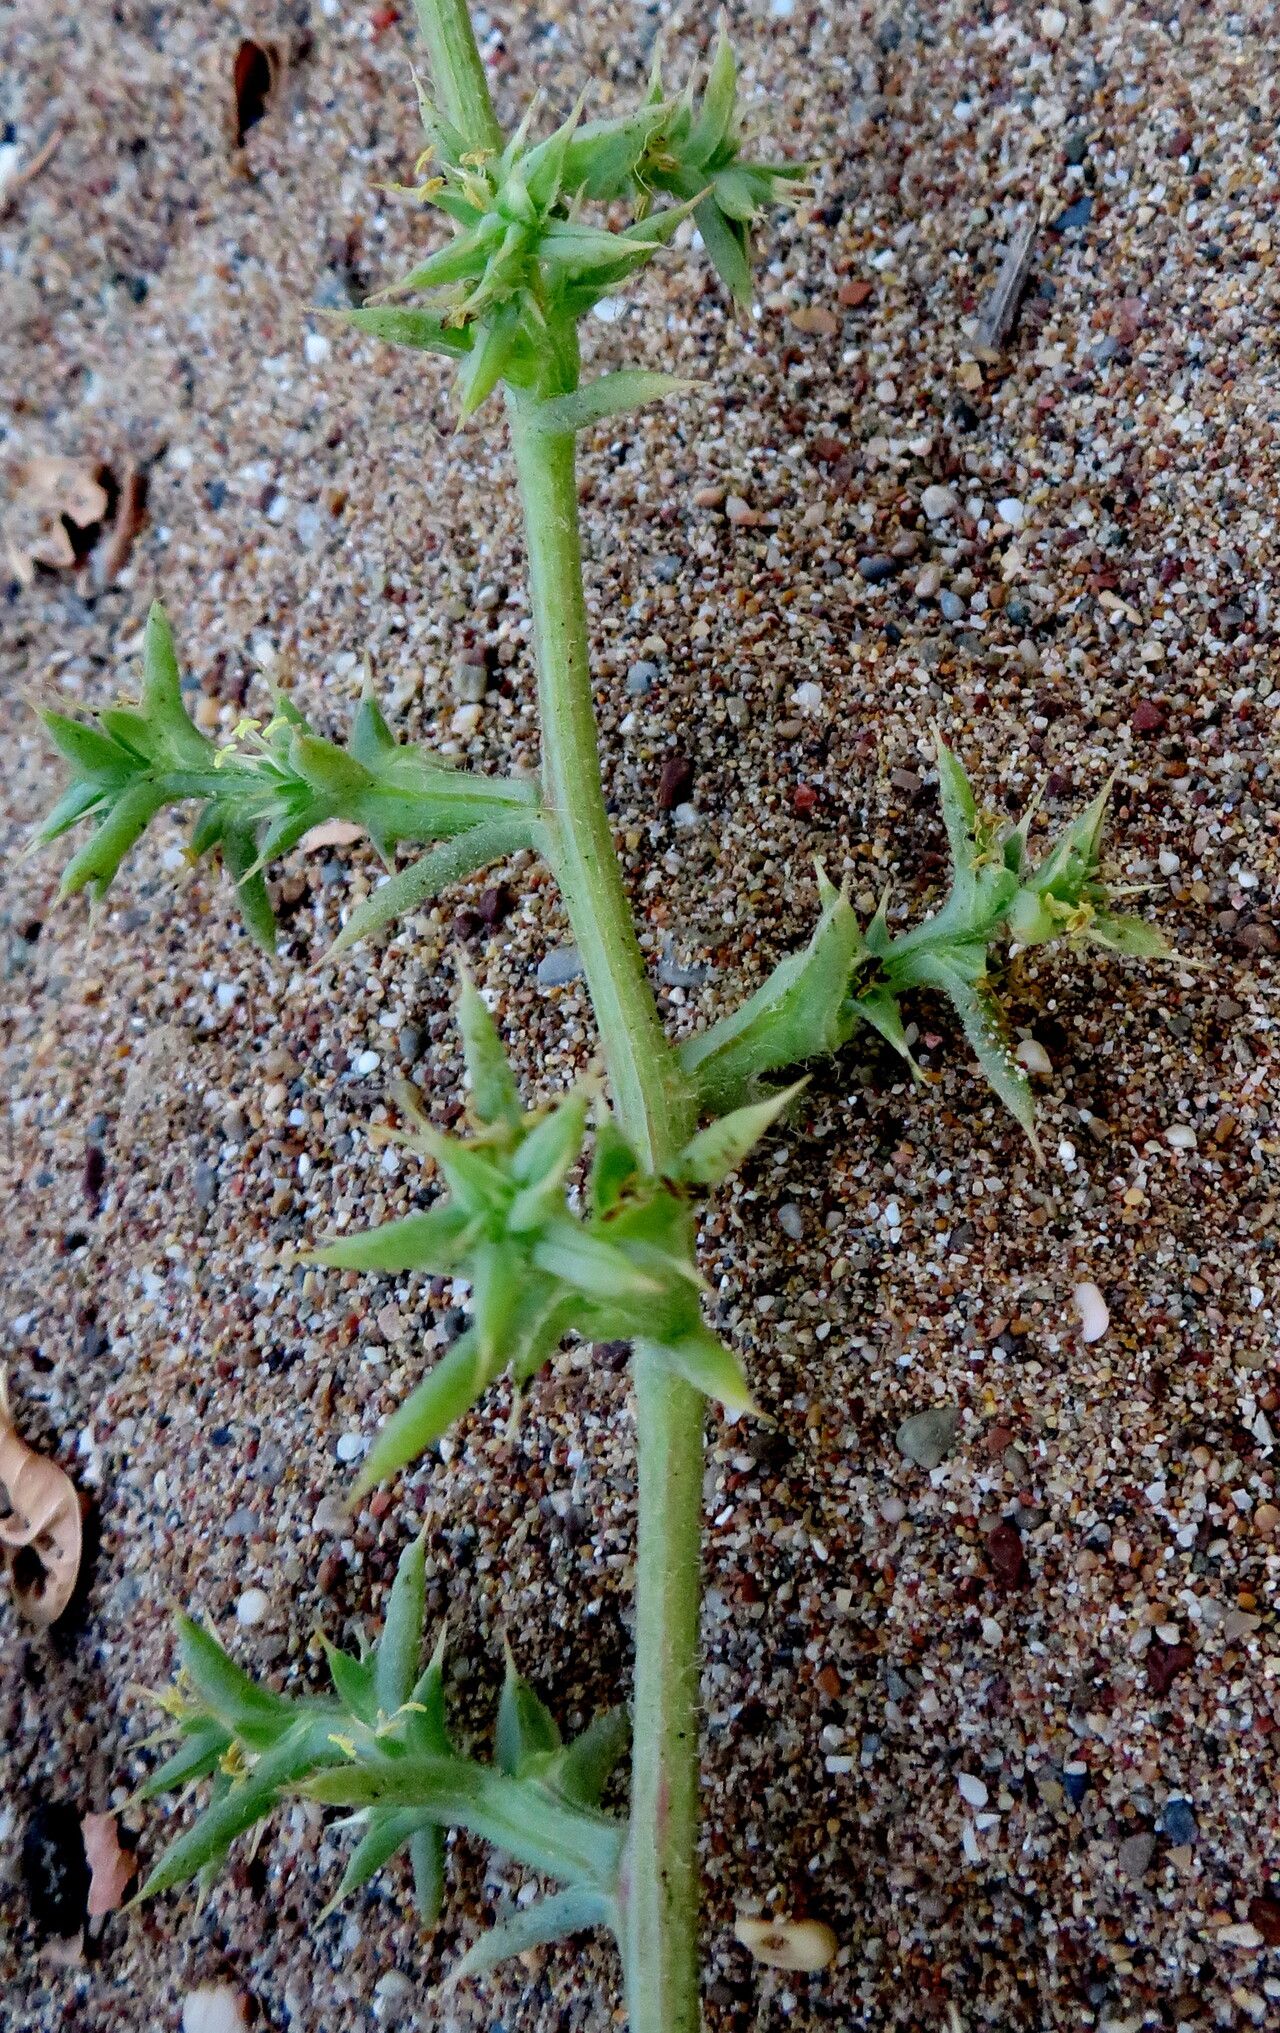
Hello fellow garden enthusiasts! Today, we’re diving into the wonderful world of propagating Salsola tragus. You might know it by its common name, Russian Thistle, or perhaps even Tumbleweed – yes, that tumbleweed! While it might have a bit of a wild reputation, there’s something undeniably captivating about its architectural form and resilience. Propagating it yourself is a fantastic way to add more of this unique texture to your garden, and honestly, it’s not as daunting as you might think. For those new to the plant propagation game, I’d say this is a moderately easy project – with a little patience and the right approach, you’ll be well on your way.
The Best Time to Start
When it comes to Salsola tragus, you’ll find the most success by starting with seeds. The ideal time to sow these is in the early spring, once the last frost has passed and the soil has begun to warm up. You want the seedlings to have a good, long growing season ahead of them. If you’re thinking about stem cuttings, late spring or early summer, when the plant is actively growing but before it gets too woody, is your window.
Supplies You’ll Need
Gathering your supplies beforehand makes the whole process smoother. Here’s a little list to get you started:
- Seed starting mix: A light, well-draining blend is crucial. You can buy pre-made or mix your own with peat moss, perlite, and vermiculite.
- Small pots or seed trays: For starting seeds or rooting cuttings.
- Watering can with a fine rose: To gently water delicate seedlings.
- Pruning shears or sharp knife: For taking clean stem cuttings.
- Rooting hormone (optional): Can boost success rates for stem cuttings, especially if the stems are a bit older.
- Gravel or perlite: To ensure good drainage in pots, if needed.
- Spray bottle: For misting cuttings to keep them hydrated.
Propagation Methods
Let’s get our hands dirty!
1. From Seed (My Preferred Method)
This is generally the most straightforward way to propagate Salsola tragus.
- Prepare your trays: Fill your seed trays or small pots with your seed starting mix. Lightly press it down, but don’t compact it too much.
- Sow the seeds: The seeds are quite small, so you’ll want to scatter them thinly across the surface of the soil. They don’t need to be planted very deep – just a light dusting of the seed mix on top is perfect.
- Water gently: Use your watering can with the fine rose to lightly moisten the soil. You want it damp, not waterlogged.
- Provide warmth and light: Place your trays in a warm spot, ideally around 70-75°F (21-24°C). A sunny windowsill works wonderfully.
- Germination: You should start to see sprouts popping up within 1 to 2 weeks. Keep the soil consistently moist during this period.
- Thinning: Once your seedlings have a few true leaves, you’ll want to thin them out. Gently pull out the weaker seedlings, leaving the strongest ones about 2-3 inches apart. This gives them room to grow.
2. From Stem Cuttings
This method requires a bit more attention to detail, but it’s very rewarding.
- Take your cuttings: In late spring or early summer, select healthy, non-flowering stems that are about 4-6 inches long. Using your clean pruning shears or knife, make a clean cut just below a leaf node (where a leaf attaches to the stem).
- Prepare the cuttings: Gently remove the lower leaves from the cutting, leaving just a few at the top. If you’re using rooting hormone, dip the cut end into it now, tapping off any excess.
- Plant the cuttings: Fill small pots with your well-draining seed starting mix. Make a hole with a pencil or your finger, and insert the cut end of the stem, ensuring that at least one leaf node is buried beneath the soil surface. Firm the soil gently around the cutting.
- Create a humid environment: Water the soil lightly. Then, cover the pot with a plastic bag or place it in a propagator. This helps to maintain high humidity around the cuttings, which is key for root development. Make sure the leaves aren’t touching the plastic.
- Placement: Place the pots in a bright location but out of direct, harsh sunlight.
The “Secret Sauce” (Pro Tips)
Here are a couple of things I’ve learned over the years that really make a difference:
- Air circulation is your friend: Even though we want high humidity for cuttings, daily a short period of ventilation is crucial. Open up those plastic bags or propagate lids for about 10-15 minutes each day. This helps prevent fungal diseases and rot from setting in.
- Bottom heat for cuttings: If you’re struggling with cuttings taking a long time to root, consider using a heat mat designed for seedlings. Placing your pots on a gentle heat source can significantly speed up root formation. It mimics the warmth of spring soil, giving those fledgling roots a real boost.
Aftercare & Troubleshooting
Once your seeds have sprouted and are looking robust, or your cuttings have started to show signs of new growth (which usually means roots are forming!), it’s time to transition them.
- Gradual acclimatization: If you’ve used a plastic bag or propagator, gradually reduce the humidity over a week or so. Start by opening the bag for longer periods. This helps the new plants adjust to normal room humidity.
- Watering: Continue to water gently when the top inch of soil feels dry. It’s better to water thoroughly and less often than to keep the soil perpetually soggy.
- Repotting: Once your seedlings are big enough to handle (usually when they have several sets of true leaves and are starting to crowd their current space), you can transplant them into slightly larger pots. Handle them by their leaves, not their delicate stems.
- Signs of trouble: The most common issue you’ll encounter is rot, which often looks like stems turning mushy or black at the soil line. This is usually a sign of overwatering or poor drainage. If you see this, act quickly. You might be able to salvage a cutting by trimming away the rotted part and trying to re-root the healthy section in fresh, dry medium, or by improving drainage. Another sign that things aren’t going well is if cuttings simply shrivel and die; this can be due to too much dryness or insufficient light.
A Bit of Patience and Practice
Propagating plants is a journey, and sometimes things don’t work out as planned the first time. That’s perfectly okay! Don’t get discouraged. Each attempt is a learning experience. Enjoy the process of nurturing these tiny new lives. With a little care and attention, you’ll soon have your own mini army of Salsola tragus to fill your garden with its unique charm. Happy propagating!
Resource:
https://identify.plantnet.org/k-world-flora/species/Salsola%20tragus%20L./data