Hello, fellow plant lovers! Today, we’re diving into the delightful world of Thalictrum simplex, also known as meadow rue. If you’ve ever admired its delicate, airy blooms dancing in the garden, you might be thinking about adding more of these beauties. And guess what? Propagating them yourself is absolutely doable!
Why Propagate Thalictrum simplex?
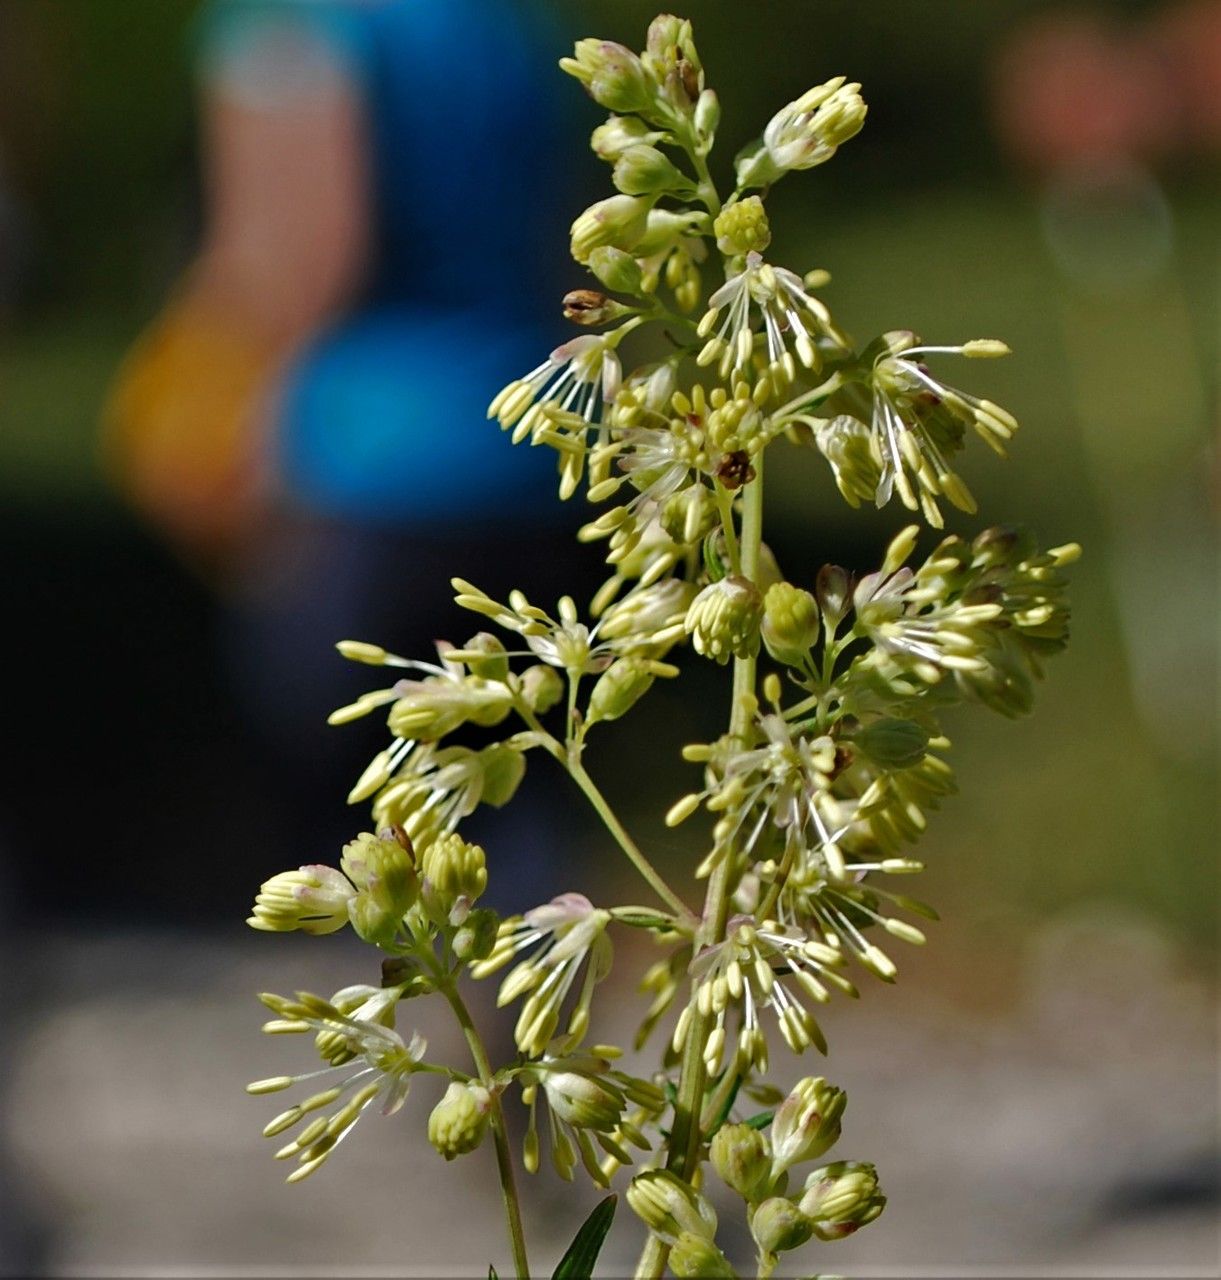
There’s something incredibly satisfying about creating new plants from an existing one. For Thalictrum simplex, it means more of those graceful stems topped with fluffy white or pale pink flowers that attract pollinators and add a touch of ethereal charm to any border. It’s not the absolute easiest plant for a complete beginner to propagate by seed, but if you’re ready to get your hands a little dirty with vegetative methods, it’s a rewarding journey.
The Best Time to Start
For the most success, late spring to early summer is your golden ticket. This is when your Thalictrum is actively growing and has plenty of energy to put into developing new roots. You want to work with healthy, vigorous stems that aren’t flowering or setting seed.
Supplies You’ll Need
- Sharp, clean pruning shears or a craft knife: Essential for making clean cuts.
- Rooting hormone powder or gel (optional, but helpful): Gives your cuttings a little nudge.
- Potting mix: A well-draining mix is crucial. I like to use a blend of equal parts potting soil, perlite, and a bit of coco coir.
- Small pots or seed trays: Clean and about 4-6 inches deep.
- Plastic bags or a propagator lid: To create a humid environment.
- Watering can or spray bottle: For gentle watering.
- Labels and a marker: To remember what you planted where!
Propagation Methods
While you can try germinating seeds, it’s often more reliable and faster to propagate Thalictrum simplex through division or stem cuttings.
1. Division: The Natural Way
This is usually the easiest method, especially for established clumps.
- Dig carefully: In late spring or early autumn, gently dig up your Thalictrum clump. Try to disturb the roots as little as possible.
- Shake off excess soil: Gently shake away some of the soil so you can see the structure of the root ball.
- Separate the divisions: You’re looking for sections that have both roots and at least a few healthy shoots or stems. You can gently pull these apart with your hands. For tougher clumps, you might need to use a clean, sharp spade or knife to cut through them. Make sure each division has some roots and at least one or two vigorous stems.
- Replant: Immediately replant your divisions into their new homes, whether that’s back in the garden or in pots. Water them well.
2. Stem Cuttings: Creating New Life
This method takes a bit more attention but is also very effective.
- Take cuttings: In late spring or early summer, select healthy, non-flowering stems. Using your clean shears, cut pieces about 4-6 inches long. Make your cut just below a leaf node (where a leaf attaches to the stem).
- Prepare the cuttings: Remove the lower leaves, leaving just a few at the top. If the remaining leaves are large, you can cut them in half to reduce water loss.
- Apply rooting hormone: If you’re using it, lightly dip the cut end of each stem into your rooting hormone powder or gel. Tap off any excess.
- Potting up: Fill your clean pots with your prepared, damp well-draining mix. Make a hole in the center of the soil with your finger or a pencil.
- Insert the cuttings: Place the prepared cuttings into the holes, gently firming the soil around them. Aim for about half the cutting to be below the soil surface.
- Create humidity: Water the soil gently. Cover the pots with a clear plastic bag (making sure the leaves don’t touch the sides) or a propagator lid. This traps moisture and creates a humid environment essential for root development.
The “Secret Sauce” (Pro Tips)
Ah, the little tricks that make all the difference!
- Don’t let the leaves touch the water: If you’re attempting water propagation (though division and cuttings are generally better for Thalictrum), it’s vital that none of the leaves are submerged. Rot sets in quickly otherwise.
- Bottom heat is a game-changer for cuttings: If you’re serious about cuttings, popping them onto a warm propagator base significantly speeds up root formation. It mimics the warmth they’d feel underground.
- Be patient with roots: Thalictrum roots can take their time. For cuttings, it can be 4-6 weeks or even longer before you see much activity. Resist the urge to constantly pull them up to check!
Aftercare & Troubleshooting
Once your divisions are replanted or your cuttings have shown signs of developing roots (you might see new little leaves appearing, or they’ll resist a gentle tug), it’s time to transition them.
- Gradually acclimate: If you used a plastic bag or propagator, slowly introduce your new plants to open air over a week or so by poking holes in the bag or lifting the lid for increasing periods.
- Water consistently: Keep the soil evenly moist, but not waterlogged. This is where that great drainage really pays off.
- Watch for rot: The biggest enemy is overwatering, which leads to soggy soil and root rot. If your cuttings go limp and the stems look mushy, it’s likely too much moisture.
Happy Growing!
Propagating Thalictrum simplex is a wonderful way to expand your garden and share this lovely plant with friends. Don’t be discouraged if your first attempt isn’t perfect; every gardener has their learning curve. Just keep at it, observe your plants, and enjoy the process of nurturing new life. Happy gardening!
Resource:
https://identify.plantnet.org/k-world-flora/species/Thalictrum%20simplex%20L./data