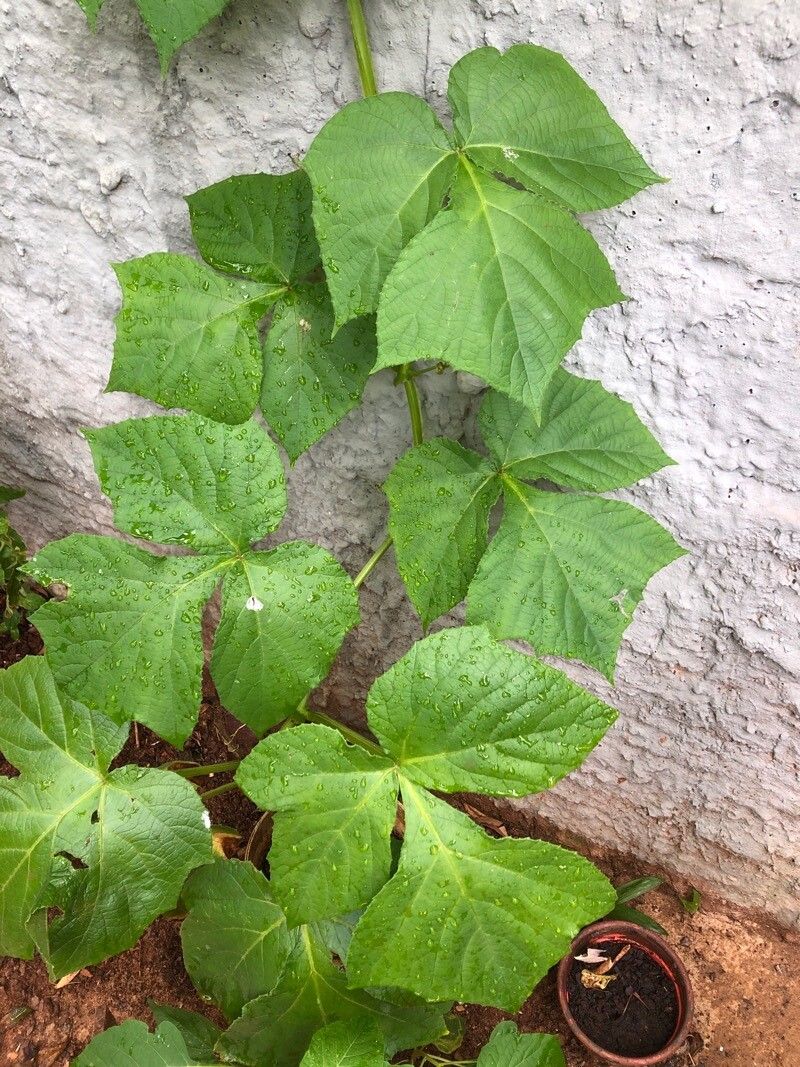
Oh, Cissus sulcicaulis! Isn’t it a charmer? With those lovely, textured leaves and that trailing habit, it’s a real stunner in any hanging basket or on a shelf. I’ve been growing these beauties for years, and the joy of watching a tiny cutting transform into a full, lush plant never gets old. If you’re looking to expand your collection or share the love with fellow plant enthusiasts, propagating Cissus sulcicaulis is a wonderfully rewarding endeavor. And guess what? You don’t need to be a seasoned pro to give it a go. It’s a pretty forgiving plant, making it a great choice for those just dipping their toes into propagation.
The Best Time to Start
Timing is everything, as they say, and when it comes to propagating Cissus sulcicaulis, spring and early summer are your golden ticket. This is when the plant is actively growing, full of vigor, and eager to put out new roots. You’ll find your cuttings are much more likely to root successfully and quickly during these warmer months. Look for healthy, vigorous stems that aren’t too young (still a bit floppy) or too old and woody.
Supplies You’ll Need
Gathering your supplies beforehand makes the whole process smoother. Here’s what you’ll want to have on hand:
- Sharp pruning shears or a clean knife: For making clean cuts.
- Well-draining potting mix: A cactus or succulent mix works wonderfully, or you can create your own by mixing potting soil with perlite and coarse sand.
- Small pots or trays: With drainage holes, of course!
- Rooting hormone (optional but recommended): Especially helpful for encouraging faster root development.
- A spray bottle: For light misting.
- Clear plastic bags or a propagation dome: To create a humid environment.
Propagation Methods
Cissus sulcicaulis is quite versatile, but I find stem cuttings to be the most reliable and straightforward method.
Stem Cuttings:
- Select your cutting: Choose a healthy stem that’s at least 4-6 inches long. Look for a stem that has several sets of leaves and ideally, a node. A node is the little bump where a leaf or branch grows from the stem – that’s where the magic (rooting) happens!
- Make the cut: Using your clean shears or knife, make a clean cut just below a node. This is crucial for successful rooting.
- Prepare the cutting: Gently remove the lower leaves from the bottom half of the stem. You want to expose the nodes. If any leaves are very large, you can even cut them in half to reduce water loss.
- Apply rooting hormone (optional): Dip the cut end of the stem into rooting hormone powder, tapping off any excess.
- Plant your cutting: Fill your small pot with your well-draining potting mix. Make a hole with your finger or a pencil, and insert the cutting, ensuring that at least one node is buried in the soil. Gently firm the soil around the stem.
- Water lightly: Water the soil thoroughly but gently. You want the soil to be moist, not waterlogged.
- Create humidity: Cover the pot with a clear plastic bag or place it under a propagation dome. This will trap moisture and create a humid microclimate, which is essential for rooting. Secure the bag with a rubber band if needed.
- Place in bright, indirect light: Find a spot that gets plenty of bright, indirect sunlight. Avoid direct sun, as this can scorch your delicate cuttings.
Water Propagation (A good alternative if you’re feeling cautious):
For this method, you’ll follow steps 1-3 for preparing your cutting.
- Place in water: Fill a glass or jar with clean water and submerge the bottom of the cutting, ensuring at least one node is underwater. You can try to keep the leaves out of the water if possible, as they can rot.
- Change water regularly: Change the water every few days to keep it fresh and prevent bacterial growth.
- Observe root development: Roots should begin to appear from the nodes within a few weeks. Once the roots are about an inch long, you can transplant your cutting into well-draining potting mix following steps 5-7 from the stem cutting method.
The “Secret Sauce” (Pro Tips)
Here are a couple of things I’ve picked up over the years that can give your propagation efforts a real boost:
- Bottom Heat is Your Friend: If you have a seedling heat mat, place your pots on it. This gentle warmth from below mimics the soil temperature in spring and encourages roots to form much faster. It’s not strictly necessary, but it makes a noticeable difference!
- Don’t Be Afraid to Pinch: Once your cutting has established roots and you see new growth, give the tip a gentle pinch. This encourages the plant to branch out, creating a fuller, bushier plant rather than a single, leggy stem.
Aftercare & Troubleshooting
Once you see signs of new growth – tiny leaves emerging! – it’s a good sign your cuttings have rooted. Gradually acclimate your new plantling to normal room humidity by slowly opening the plastic bag or dome over a few days. Continue to water it as you would an established Cissus, allowing the soil to dry out slightly between waterings.
The most common issue you might encounter is rot. This usually happens if the soil stays too wet for too long or if there’s poor air circulation. If you notice the stem turning mushy and black, it’s likely rot. Unfortunately, there’s not much you can do once rot sets in, so prevention is key. Overwatering is the usual culprit.
A Encouraging Closing
Now, don’t get discouraged if your first attempt isn’t a roaring success. Gardening is all about learning and observing. Be patient with your new little plants, give them the right environment, and enjoy the journey. Watching those tiny roots take hold and new leaves unfurl is pure magic, and soon you’ll have a whole new family of Cissus sulcicaulis to admire! Happy propagating!
Resource:
https://identify.plantnet.org/k-world-flora/species/Cissus%20sulcicaulis%20(Baker)%20Planch./data