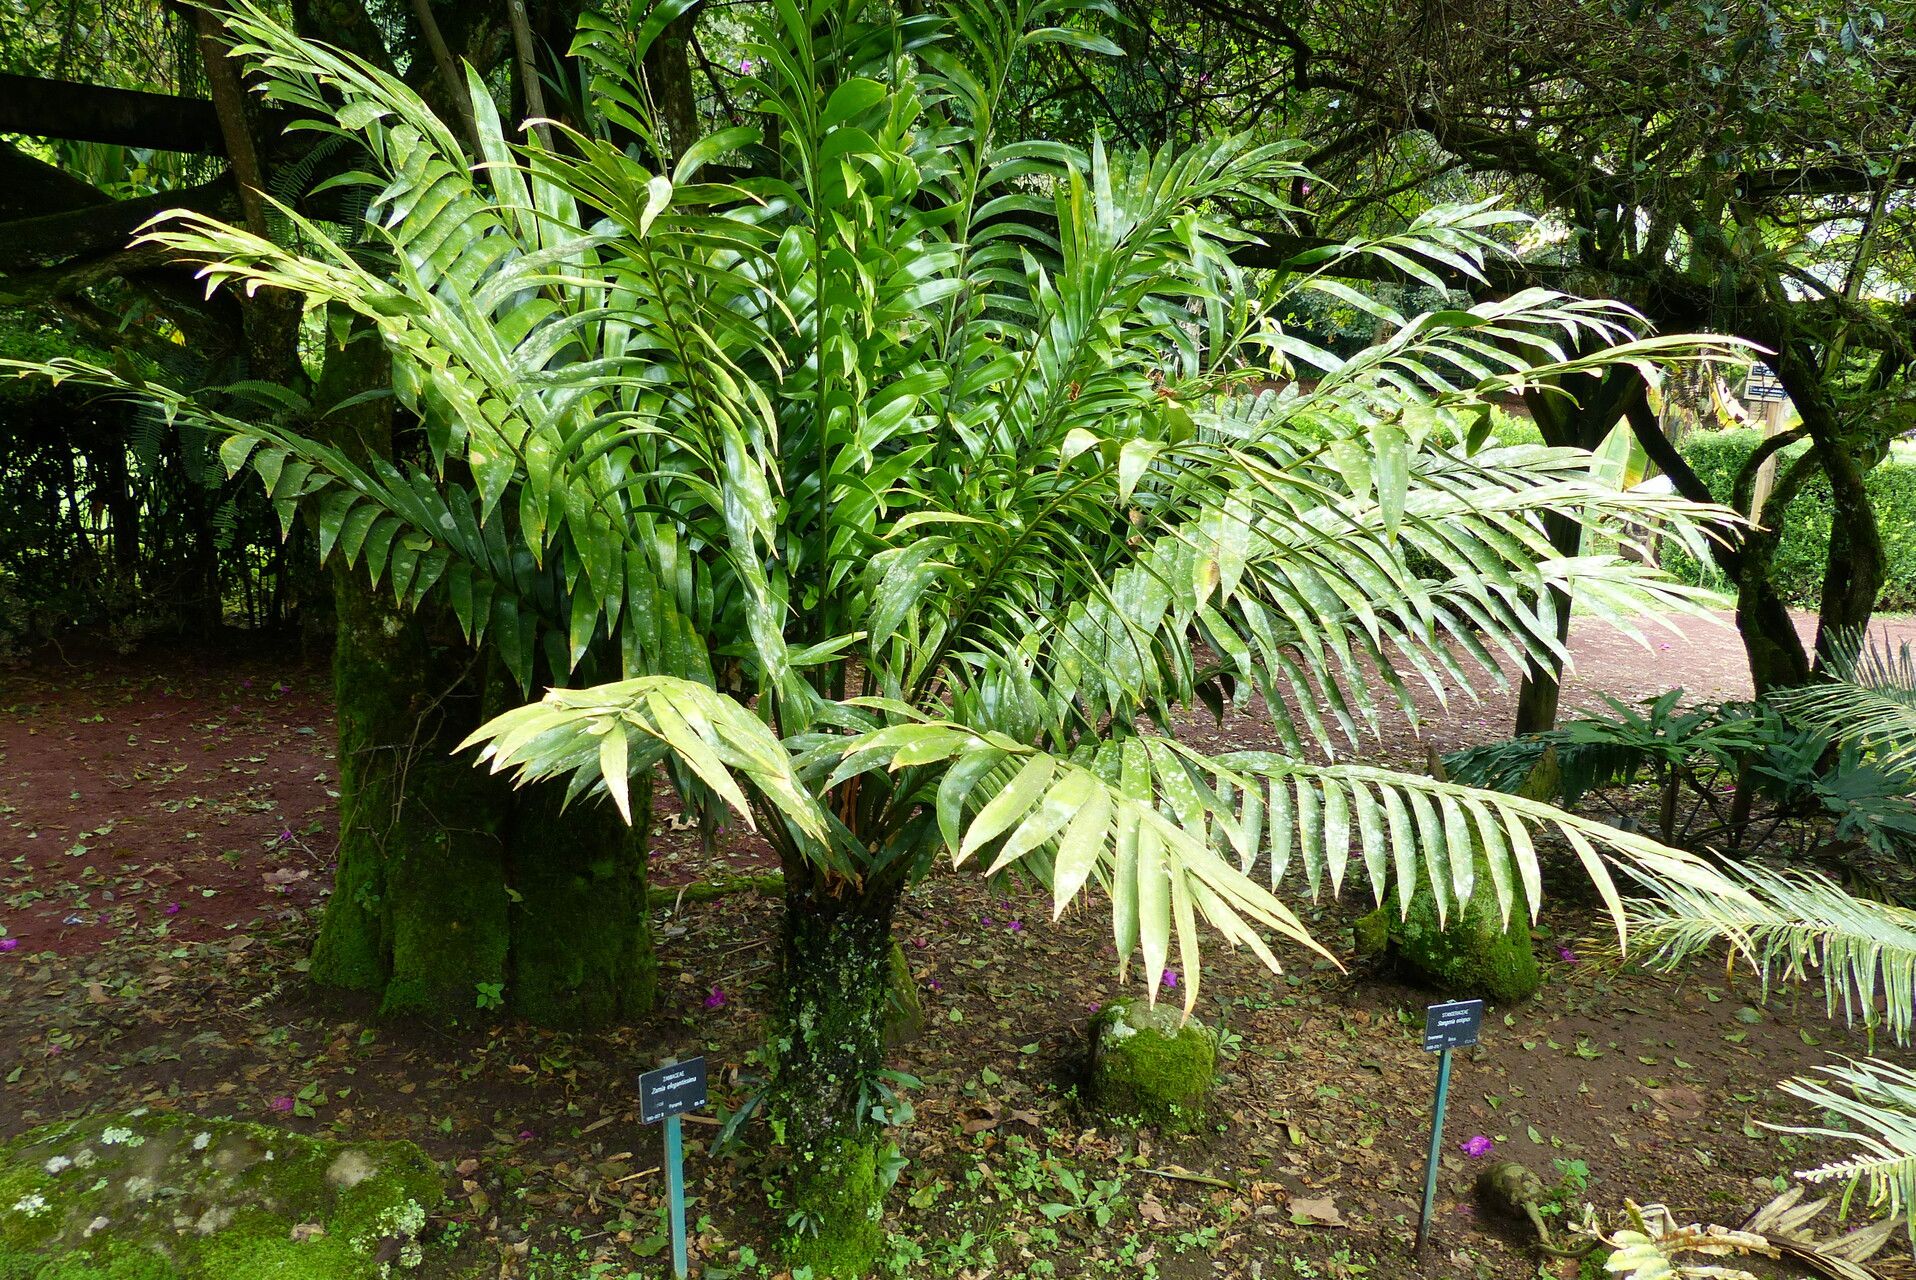
Oh, hello there! Come on in, grab a mug. It’s lovely to chat with fellow plant lovers today. We’re going to dive into the wonderful world of propagating Zamia elegantissima. These beauties, with their fern-like fronds and striking, almost prehistoric look, are such a statement piece for any home or garden. There’s something truly special about coaxing a new life from an existing plant. It’s like a little garden miracle happening right before your eyes! Now, Zamia elegantissima can be a tad particular, so while not for the absolute beginner who’s never touched a potting trowel, it’s certainly achievable with a bit of patience and know-how. You’ll get there!
The Best Time to Start
For Zamia elegantissima, the sweet spot for propagation is definitely during its active growing season. Think late spring through summer. This is when the plant is brimming with energy, ready to put out new growth and, crucially, to heal and root itself. Trying to propagate when the plant is dormant or just coming out of it can be a much slower, and often less successful, endeavor.
Supplies You’ll Need
Alright, let’s get our toolkit ready. Here’s what you’ll want to have on hand:
- Sharp Pruning Shears or a Clean Knife: For making clean cuts. Sterilize them with rubbing alcohol before you start!
- Rooting Hormone: This is a helpful little boost to encourage root development. Look for one formulated for stem cuttings.
- Well-Draining Potting Mix: A mix specifically for cacti and succulents, or a blend of potting soil, perlite, and coarse sand, works wonders.
- Small Pots or Trays: Clean pots with drainage holes are essential.
- Water: For misting and keeping things humid.
- Plastic Bag or Propagation Dome: To create a humid environment.
- Optional: Heat Mat: Especially if your propagation space is on the cooler side.
Propagation Methods
Zamia is primarily propagated through division, which is my preferred and most reliable method for this type of plant.
Division: The Most Reliable Route
- Assess Your Mother Plant: Look for a Zamia that’s showing multiple crowns or offsets (little baby plants) emerging from the base. This means it’s mature enough to be divided.
- Gently Unpot: Carefully remove the parent plant from its pot. Try to do this when the soil is slightly dry, as that makes it easier to handle.
- Clean Away Excess Soil: Gently brush or rinse away as much of the old soil as you can from the root ball. This helps you see where the crowns are attached.
- Locate the Divisions: You’ll be looking for natural separation points where a new growth point or offset is connected to the main root system.
- Make the Cut (or Break): Using your sterilized pruning shears or knife, carefully cut or separate the offset from the mother plant. Make sure each division has its own roots attached, if possible. If it’s a very clean break, that’s even better.
- Allow to Callus: This is a crucial step! Let the cut surfaces of the division and the mother plant dry and callus over for a day or two in a dry, well-ventilated spot. This prevents rot when you replant.
- Pot Up Your New Plants: Plant each division in its own pot filled with your well-draining mix. Don’t bury the crown too deeply; the top should be just at or slightly above the soil line.
- Initial Watering: Water the newly potted divisions lightly. You don’t want to drench them.
The “Secret Sauce” (Pro Tips)
Here are a few things I’ve learned over the years that can really make a difference:
- Think “Dry” Before You “Wet”: Especially after dividing, the plant needs to heal. Don’t rush to water thoroughly. Letting those cuts callus is paramount to preventing fungal issues.
- Bottom Heat is Your Friend: If you have a heat mat, placing your potted divisions on it can significantly speed up root development. It mimics the warmth of the soil in warmer climates and gives those roots a nudge to grow.
- Don’t Overwater New Divisions: This is perhaps the most common mistake. New divisions don’t have established roots to take up much water. Keep the soil lightly moist, not soggy. Too much water is the quickest way to rot.
Aftercare & Troubleshooting
Once your divisions are planted and have callused, you’ll want to provide consistent, but not excessive, care. Keep them in bright, indirect light. Avoid direct sun, which can scorch tender new growth. Mist the leaves occasionally if the air is dry, but again, be mindful of water sitting on the plant or in the crown.
The first signs of success will be new leaf growth emerging from the crown. This can take a few weeks to a couple of months, so patience is key!
Now, the tricky part: troubleshooting. The most common sign of failure is rot. You’ll see the stem or base turning mushy, black, or emitting a foul odor. This is almost always due to overwatering or not allowing the cuts to callus properly. If you spot rot, sadly, that division is likely lost. Try to salvage any healthy parts, let them callus again, and replant. Another sign of struggle is wilting or yellowing leaves that don’t perk up. This could still be related to too much or too little water, or inadequate light.
A Little Bit of Patience Goes a Long Way
Propagating a Zamia elegantissima is a rewarding journey. It teaches you about the plant’s natural cycles and your own ability to nurture new life. Don’t be discouraged if your first attempt isn’t perfect. Every plant, and every propagation, is a learning experience. Enjoy the process, celebrate the small wins, and soon you’ll have a whole new generation of these magnificent plants gracing your space. Happy growing!
Resource: