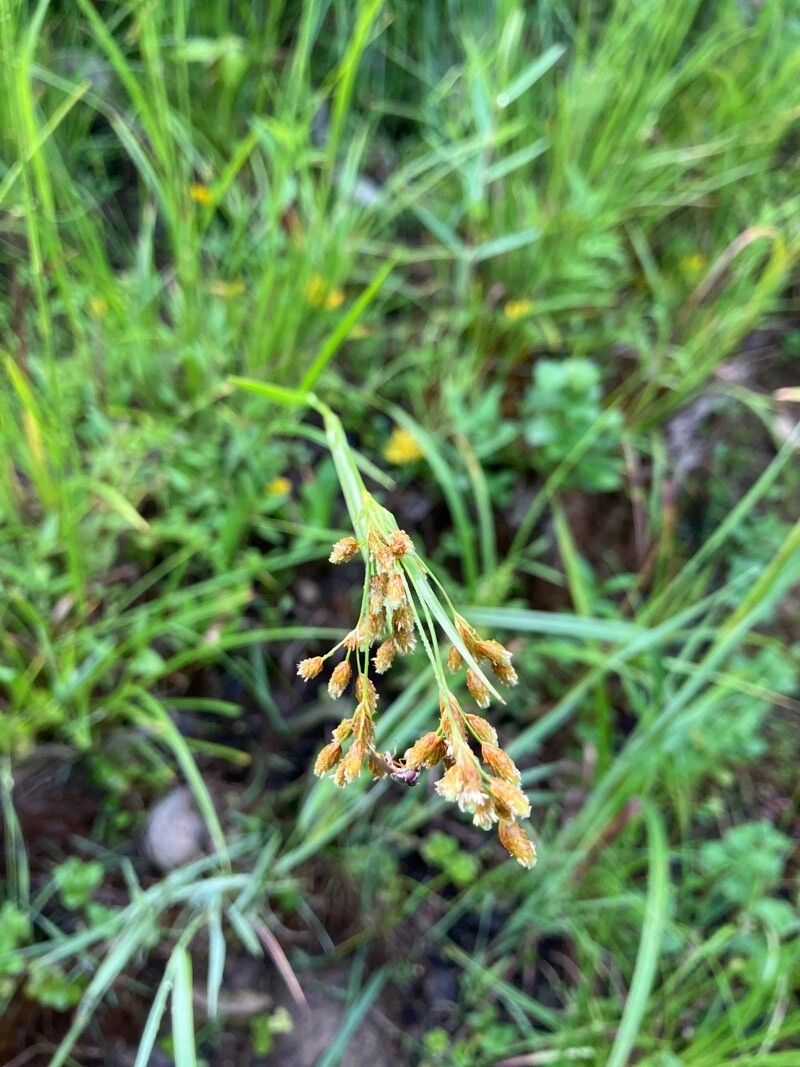
Hello there, fellow garden enthusiasts! I’m delighted to share a little secret from my own garden with you today. We’re diving into the wonderful world of Scirpus pendulus, often known as weeping bulrush or trailing bulrush. If you’ve ever admired its elegant, arching stems and beautiful cascading foliage, you’re not alone. It brings such a graceful presence to any water feature, pond edge, or even a damp corner of the garden. And the best part? Propagating it is a truly rewarding experience, and I promise you, it’s more accessible than you might think. Don’t let the “bulrush” name intimidate you; with a few simple steps, you’ll be well on your way to a whole new collection.
The Best Time to Start
When it comes to Scirpus pendulus, spring is your golden ticket. As the plant emerges from its winter dormancy and begins to put on new growth, it’s brimming with vitality. This is when it has the most energy reserves to dedicate to forming new roots. Aim for early to mid-spring, just as the soil starts to warm up. You’ll find your cuttings taking hold so much faster then.
Supplies You’ll Need
Before we get our hands dirty, let’s gather our essential tools:
- Sharp pruning shears or a clean knife: For taking precise cuttings.
- A well-draining potting mix: I like a blend of peat moss, perlite, and a little coarse sand. For aquatic plants, a specific aquatic planting medium is ideal.
- Small pots or containers: Clean ones, please!
- Rooting hormone (optional but recommended): A powdered or liquid form can give your cuttings a real boost.
- A watering can with a fine rose: To gently water without disturbing your new plantings.
- A spray bottle: For keeping humidity levels up.
- A clear plastic bag or propagation dome: To create a mini greenhouse.
- A dibber or a pencil: To make planting holes.
Propagation Methods
Scirpus pendulus is a champion at division, which is often the easiest and most successful method for beginners. Let’s get to it!
Division
This is my go-to method for this wonderful plant. It mimics natural plant behavior and is incredibly effective.
- Dig it Up: In early spring, carefully dig up your established Scirpus pendulus plant. You want to get as much of the root system as possible.
- Clean the Roots: Gently wash away excess soil from the roots. This lets you clearly see the individual crowns or clumps.
- Separate the Clumps: Using your hands or a sharp, clean tool, gently tease apart the mature plant into smaller sections. Each section should have at least one healthy sprout or eye and a good portion of the root system. Don’t be afraid to use a bit of leverage, but avoid tearing the roots if you can.
- Replant Immediately: Plant your divisions directly into their new homes – either in your pond edge, water container, or back into their original spot after thinning. Water them in thoroughly.
Cuttings (from stems)
While division is king, you can also try stem cuttings. This takes a bit more patience.
- Take Cuttings: In spring or early summer, select healthy, non-flowering stems. Using your sharp shears, cut a stem about 4-6 inches long. Make the cut just below a leaf node.
- Prepare the Cutting: Remove the lower leaves, leaving only a few at the top. If you’re using rooting hormone, dip the cut end into it according to the product’s instructions.
- Plant the Cuttings: Fill small pots with your well-draining mix. Use your dibber or pencil to make holes, then insert the cuttings, ensuring the leaf nodes are below the soil surface.
- Water and Cover: Water gently and thoroughly. Then, cover the pot with a clear plastic bag or place it under a propagation dome. This will keep the humidity high, which is crucial for cuttings.
The “Secret Sauce” (Pro Tips)
Here are a couple of things I’ve learned over the years that really make a difference:
- Don’t Overwater Divisions: While Scirpus pendulus loves moisture, soggy soil around the crowns of newly divided plants can lead to rot. Ensure good drainage, even if you’re planting it in its final water-loving spot. Let the soil surface dry slightly between waterings.
- Consider Bottom Heat for Cuttings: If you’re trying stem cuttings and want to speed things up, placing your pots on a propagation mat works wonders. This gentle warmth stimulates root development from below, giving your cuttings that extra push.
Aftercare & Troubleshooting
Once your divisions are settled or your cuttings start to show signs of life (you’ll see new growth!), you can gradually remove the plastic cover. Continue to keep the soil consistently moist but not waterlogged. If you’re growing them in pots, water regularly, especially during dry spells.
The most common issue you’ll encounter is rot, often due to overwatering or poor air circulation. If you see a cutting turning yellow and mushy, or an entire division wilting despite moist soil, rot is likely the culprit. Remove the affected parts immediately and adjust your watering practices. Sometimes, a cutting simply won’t take; don’t get discouraged! Nature has its own pace.
A Warm Farewell
There you have it! Propagating Scirpus pendulus is a wonderful way to expand your aquatic or waterside plantings and share your love of gardening with others. Be patient with your new green charges, observe them, and enjoy the magic of watching them grow. Happy gardening!
Resource:
https://identify.plantnet.org/k-world-flora/species/Scirpus%20pendulus%20Muhl./data