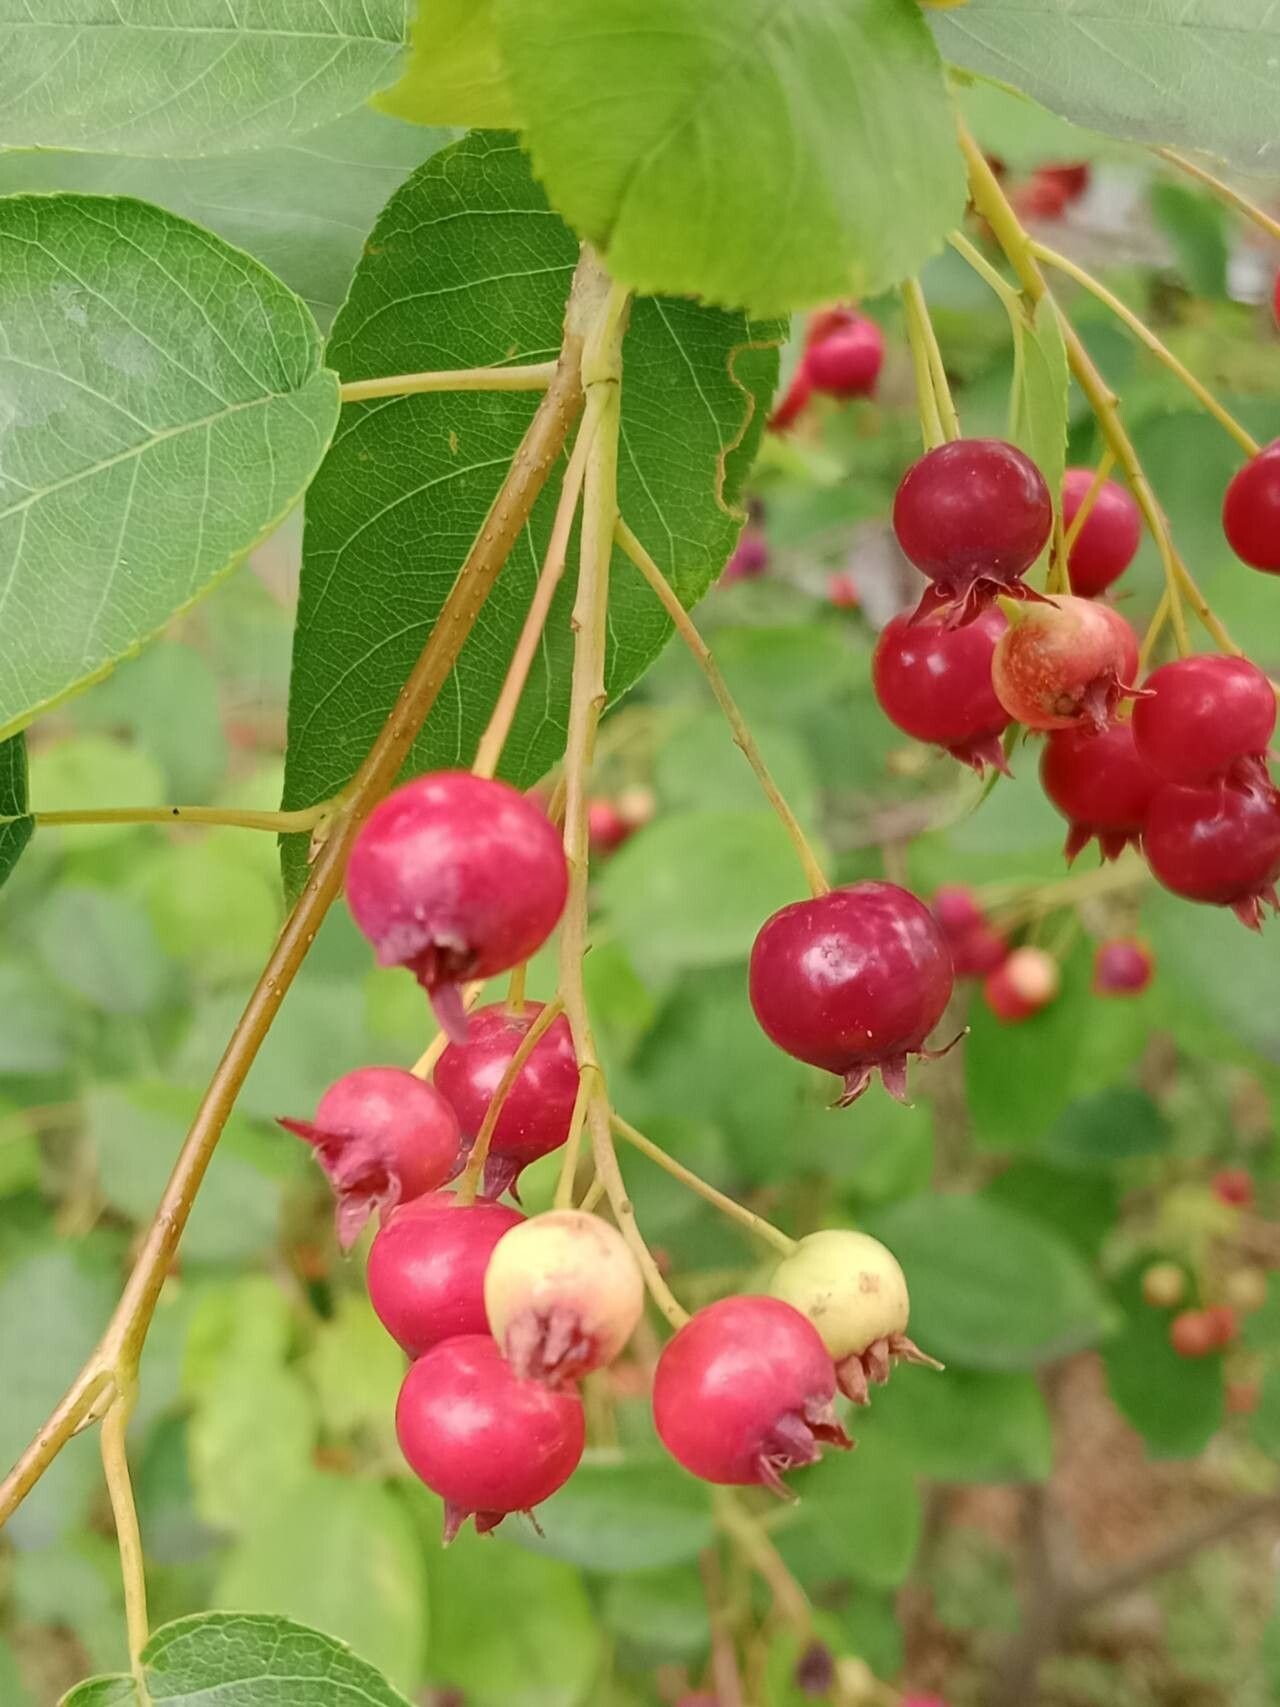
Oh, Amelanchier canadensis! Or as many of us fondly call it, Serviceberry or Shadbush – what a treasure to have in the garden! I’ve spent two decades with these beauties, and honestly, their delicate spring flowers, followed by delicious berries, and then that glorious autumn foliage… it’s pure magic. And the best part? Sharing that magic by propagating them yourself!
For beginners, I’d say propagating Serviceberry is moderately easy. It’s not as tricky as some finicky orchids, but it does require a little patience and the right approach. But trust me, the reward of nurturing a new life from a parent plant is absolutely worth it.
The Best Time to Start
My favorite time to get started with Amelanchier canadensis is during the late spring to early summer, when the plant is actively growing. You’ll want to focus on semi-hardwood cuttings. These are stems that have started to harden off from the current season’s growth – they’re not the soft, floppy new shoots, but they’re not old, woody growth either. Think of it as that perfect in-between stage.
Supplies You’ll Need
Here’s what I always have on hand when I’m ready to propagate:
- Sharp Pruning Shears or Scissors: Cleanliness is key!
- Rooting Hormone Powder or Gel: This significantly boosts your success rate.
- A Light, Well-Draining Potting Mix: I like a blend of peat moss, perlite, and a bit of compost.
- Small Pots or Trays: With drainage holes, of course.
- Plastic Bags or a Propagator with a Lid: To create a humid environment.
- Dibbler or Pencil: For making holes in the soil.
- Watering Can or Mister: For gentle watering.
Propagation Methods
While you can sometimes divide Serviceberry, stem cuttings are my go-to for reliable propagation.
Stem Cuttings (The Most Rewarding Way!)
- Select Your Stems: From a healthy, well-established Serviceberry plant, choose vigorous, non-flowering shoots that are about 4-6 inches long. Snip them carefully with your clean shears.
- Prepare the Cuttings: Remove the lower leaves, leaving just a few at the very top. If any of the leaves are particularly large, I’ll even cut them in half to reduce water loss through transpiration.
- Make the Cut: Just below a leaf node (where a leaf attaches to the stem), make a clean angled cut with your shears. This is where the roots will eventually emerge.
- Dip in Rooting Hormone: Moisten the cut end of the stem with a little water, then dip it into your rooting hormone. Tap off any excess – you don’t need a thick coating.
- Plant Your Cuttings: Fill your chosen pots with your prepared potting mix. Use your dibbler or a pencil to create a hole in the soil. Gently insert the coated end of your cutting into the hole, pushing it down about 1-2 inches. Firm the soil gently around the stem to ensure good contact.
- Water Gently: Water the soil thoroughly but gently so you don’t dislodge the cuttings.
- Create Humidity: Cover the pot with a plastic bag or place it in a propagator. Make sure the bag doesn’t touch the leaves of the cuttings. This creates that essential humid microclimate.
The “Secret Sauce” (Pro Tips)
- Bottom Heat is Your Friend: If you can, place your pots on a heated propagator mat. This gentle warmth from below encourages root development like nothing else. It truly makes a difference, especially if your ambient temperature isn’t consistently toasty.
- Don’t Let Them Drown: While humidity is vital, don’t let water pool in the bottom of the pot or sit on the leaves. A little condensation on the bag is fine, but if you see puddles, there’s too much. It’s a fine line between moist and waterlogged.
- Patient Observation is Key: I find that rotating the pots every few days can help ensure all sides of the cutting get even light and air circulation, promoting more uniform rooting. And resist the urge to yank them out to check for roots too soon!
Aftercare & Troubleshooting
Once your cuttings have taken root (you’ll usually see new leaf growth, which is a good sign, or you might feel a gentle tug when you very carefully try to move them), it’s time for a bit more attention.
Gradually introduce them to less humid conditions by opening the bag or propagator a little more each day over a week. Continue to keep the soil consistently moist but not soggy. Once they’re strong enough to handle, you can transplant them into slightly larger individual pots.
The most common issue you’ll face is rot. If you see a cutting turn black and mushy, it’s a sign of too much moisture and not enough air circulation. Discard any rotten cuttings immediately to prevent it from spreading. Another sign of failure is if the cutting simply shrivels and stays like that without any new growth – often this just means it didn’t get enough encouragement from the rooting hormone or the conditions weren’t quite right. Don’t be discouraged if a few don’t make it; that’s part of the learning process.
A Encouraging Closing
See? It’s a journey, but a wonderfully rewarding one. Be patient with your Amelanchier cuttings. Nature has its own timetable, and sometimes it takes a little longer than you expect. Enjoy the process, celebrate each new leaf, and soon you’ll have your very own Serviceberry plants to admire and share. Happy gardening!
Resource:
https://identify.plantnet.org/k-world-flora/species/Amelanchier%20canadensis%20(L.)%20Medik./data