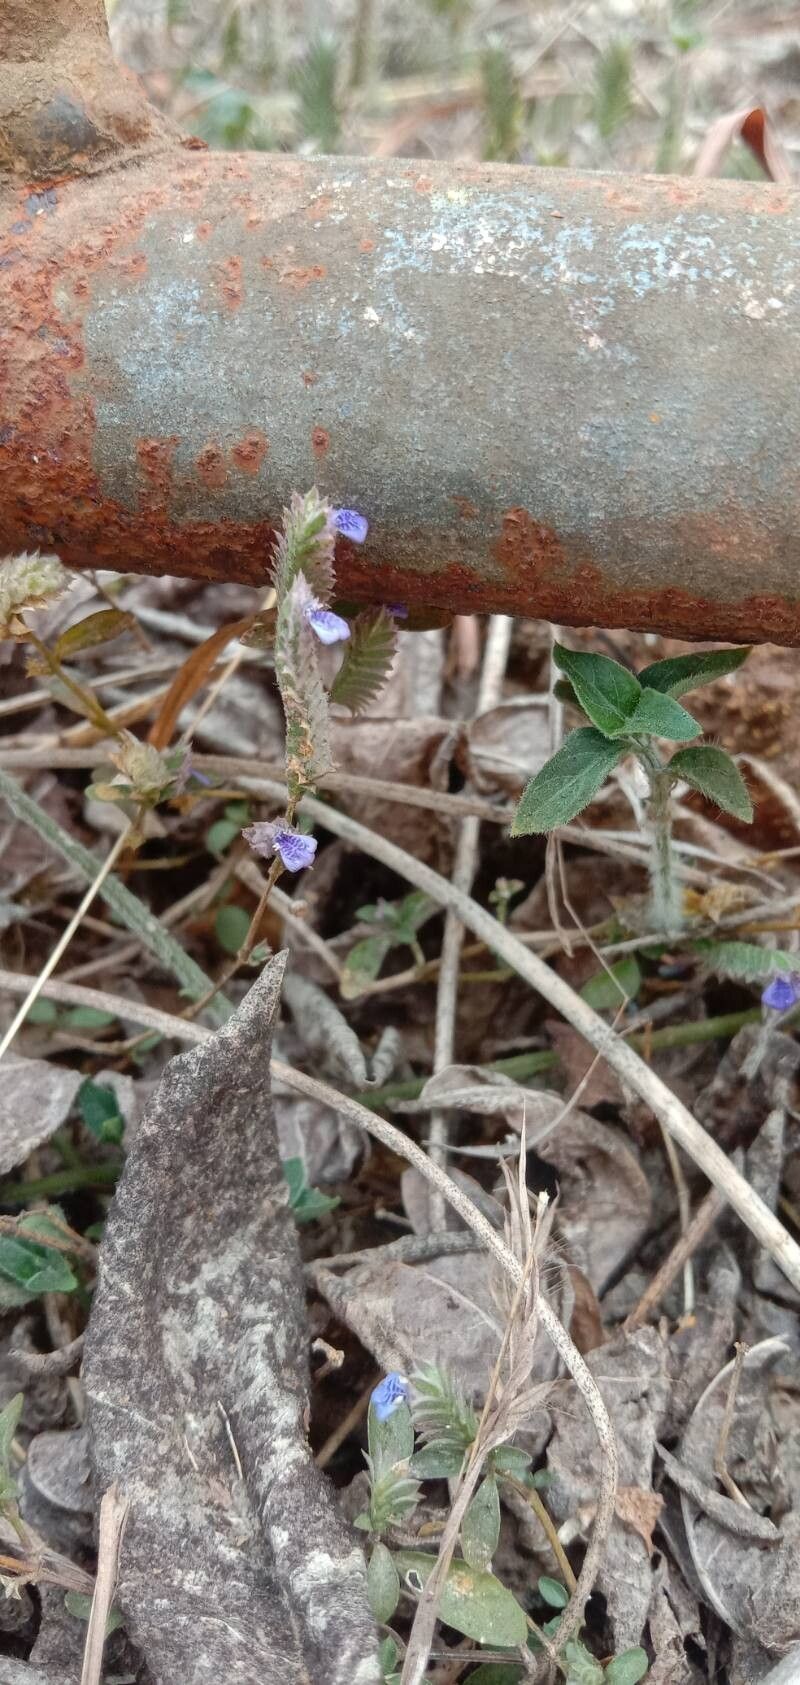
Oh, hello there, fellow plant enthusiast! Come on in, grab a mug, and let’s chat about Rungia pectinata. You know, that lovely little plant with the delicate, fringed foliage that just adds a touch of elegant whimsy to any corner? I’ve been growing it for years, and honestly, its charm never fades.
What I love most about Rungia pectinata is its unique texture. It’s not a showy bloomer, but those delicate leaves… they’re just something else! And the best part? It’s surprisingly easy to multiply. Propagating it yourself is incredibly rewarding. You get to share the love with friends (or just fill your own space with more beauty!), and it truly is a beginner-friendly plant. Don’t let its delicate looks fool you; it’s quite forgiving.
The Best Time to Start
Timing is always key in gardening, isn’t it? For Rungia pectinata, I find the spring and early summer to be absolutely perfect. This is when the plant is actively growing and has that wonderful vigor that translates into successful rooting. Aim to take cuttings when the plant is putting out new, healthy growth. Avoid trying to propagate from old, woody stems.
Supplies You’ll Need
Gathering your supplies makes the whole process so much smoother. Here’s what I usually have on hand:
- Sharp pruning shears or a clean knife: For taking clean cuttings.
- A rooting hormone (optional but helpful): I like to use a powder or gel.
- A well-draining potting mix: A good blend is usually peat moss or coco coir mixed with perlite or coarse sand.
- Small pots or trays: Clean ones are essential to prevent disease.
- A spray bottle: For misting.
- Clear plastic bags or a humidity dome (optional): To create a mini-greenhouse effect.
Propagation Methods
There are a couple of ways you can go about this, and I often use both depending on how much Rungia I have.
Stem Cuttings: This is my go-to method.
First, find a healthy stem on your Rungia pectinata. Using your sharp shears, cut a piece that’s about 4-6 inches long. Make sure it has at least a couple of sets of leaves.
Next, gently remove the lower leaves. You want the part of the stem that will go into the soil to be clear.
Now, you can dip the cut end into rooting hormone, if you’re using it. Just a light coating is all you need.
Fill your clean pots with your well-draining potting mix. Make a small hole with your finger or a pencil.
Gently insert the cutting into the hole, firming the soil around it so it stands upright.
Water lightly to settle the soil.
To keep the humidity high, I often cover the pot with a clear plastic bag, making sure the leaves don’t touch the plastic. You can also use a humidity dome. Place the pot in a warm spot with bright, indirect light. Avoid direct sun.
Water Propagation: This one is almost magical to watch sometimes!
For this method, you’ll take similar stem cuttings as above.
Once you have your cuttings, remove the lower leaves.
Then, simply place the cuttings in a jar or glass of clean water.
Crucially, make sure no leaves are submerged in the water. This is super important to prevent rot. Just let the stems sit in the water.
Place the jar in a spot with bright, indirect light.
You’ll start to see tiny white roots emerge in a week or two. Once the roots are about an inch long, you can carefully pot them up into your well-draining potting mix.
The “Secret Sauce” (Pro Tips)
Over the years, I’ve picked up a few little tricks that seem to make Rungia pectinata propagation even more reliable:
- Bottom Heat: If you can, place your pots on a seedling heat mat. It doesn’t need to be super hot, just consistently warm. This encourages those roots to get going much faster.
- Don’t Overwater: I know I mentioned watering lightly, but it bears repeating. Soggy soil is the enemy of cuttings. Let the topsoil dry out slightly between waterings. It’s better to be a little too dry than too wet.
- Air Circulation: While we want humidity, stagnant air can lead to fungal issues. If you’re using a plastic bag, lift it off for about 15-30 minutes each day to allow for some fresh air exchange. It’s a small step, but it makes a difference.
Aftercare & Troubleshooting
Once you see those first signs of new growth emerging from the top of your cutting or those roots have developed nicely in water, it’s time for a little tender loving care.
Continue to keep the soil lightly moist but not waterlogged. As the plant gets more established, you can gradually reduce the humidity if you were using a cover.
Gradually introduce it to more light, but always avoid harsh, direct sunlight, especially when it’s young.
If you notice your cuttings wilting, turning yellow and mushy, or developing black spots, it’s likely due to overwatering or a fungal issue. In this case, you might need to start over with fresh cuttings and ensure you’re using clean tools and well-draining soil. If part of the cutting is mushy, it’s usually a sign of rot and that piece is probably lost.
A Little Patience Goes a Long Way
And there you have it! Propagating Rungia pectinata is such a satisfying way to extend your collection. Don’t get discouraged if your first few attempts aren’t perfect. Gardening is a journey, and each plant teaches us something new. Take a deep breath, enjoy the process, and soon you’ll have an abundance of this lovely plant to grace your home! Happy propagating!
Resource:
https://identify.plantnet.org/k-world-flora/species/Rungia%20pectinata%20(L.)%20Nees/data