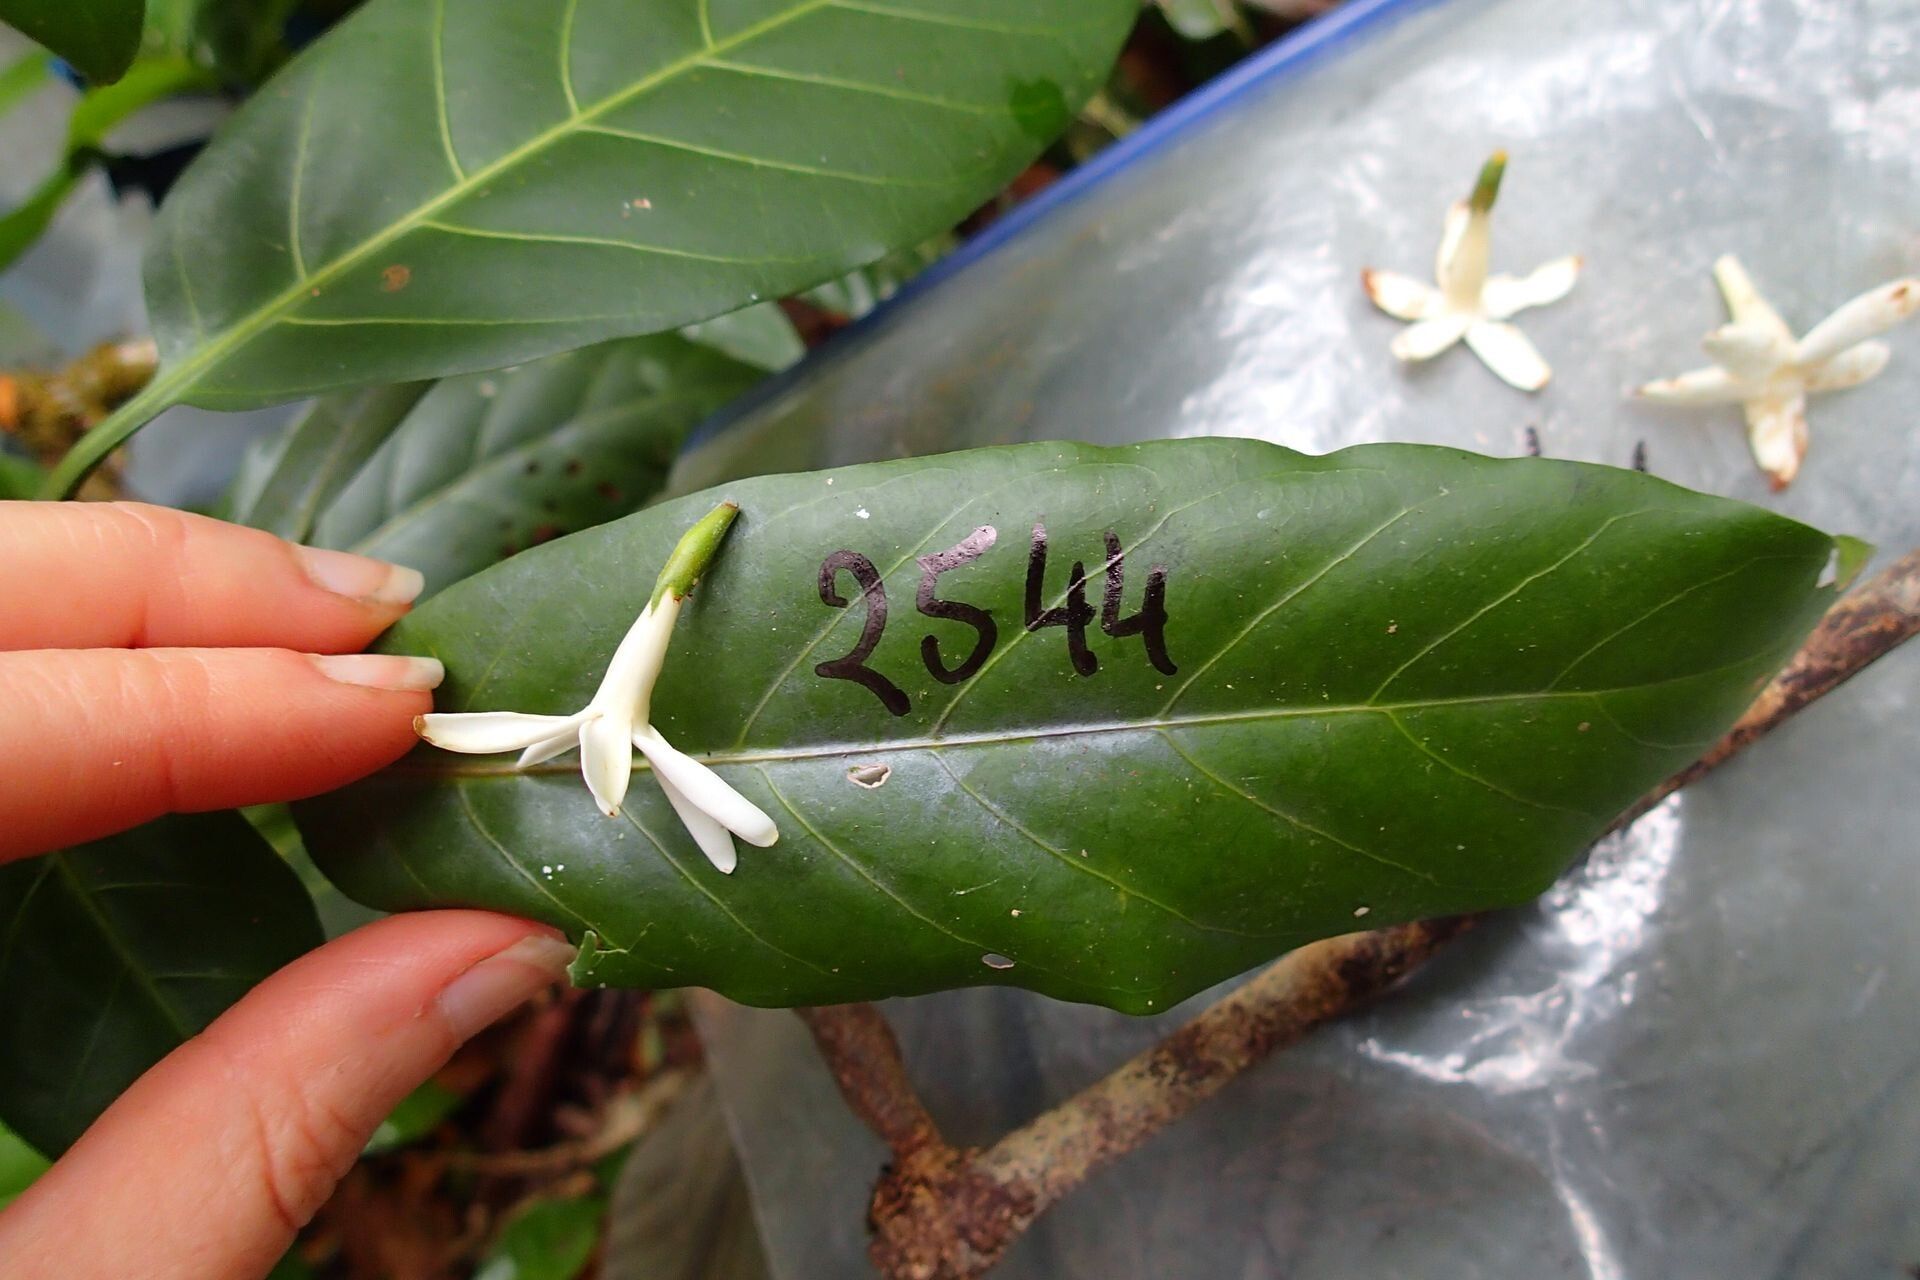
Oh, Atractocarpus ngoyensis! I just love this plant. Its glossy evergreen leaves and delicate, star-shaped fragrant flowers are a true delight in any garden or conservatory. And the best part? Bringing new life into the world by propagating your own specimens is incredibly rewarding. It’s a bit of a special plant, and while not impossible for a complete beginner, it does require a little patience and a keen eye. I’d say it’s more of a rewarding challenge for those who’ve played in the dirt a bit.
The Best Time to Start
For Atractocarpus ngoyensis, your best bet is to try propagating in late spring or early summer. This is when the plant is in its active growth phase, meaning it has plenty of energy to put into developing new roots. Look for healthy, new growth that’s beginning to mature slightly – not the super soft, new tips, but the ones that are starting to firm up a bit. They’ll be more robust and less prone to issues.
Supplies You’ll Need
Gathering your supplies beforehand makes the whole process so much smoother. Here’s what I always have on hand:
- Sharp, clean pruning shears or a razor blade: For making clean cuts, which is crucial.
- Rooting hormone powder or gel: This significantly boosts your success rate. I usually prefer a powder for softer cuttings, but gel works beautifully too.
- Well-draining potting mix: A blend of peat moss, perlite, and a little bit of compost is ideal. You want it light and airy. For this plant, aim for a mix that feels almost sandy.
- Small pots or seed trays: Clean ones, of course!
- Clear plastic bags or a propagator: To create a humid environment.
- Watering can with a fine rose or a spray bottle: For gentle watering.
- Labels and a marker: You’ll thank me later for keeping track of what’s what!
Propagation Methods
While you can try division, I find stem cuttings to be the most consistently successful method for Atractocarpus ngoyensis. It’s tried and true!
Stem Cuttings:
- Select your cutting: Choose a healthy stem from your mature plant. Aim for pieces about 4-6 inches long. Make your cut just below a leaf node. This is where the magic happens for rooting.
- Prepare the cutting: Gently remove the lower leaves, leaving just a few at the top. This prevents them from rotting in the soil and encourages the plant to focus its energy on root development. If the remaining leaves are very large, you can even cut them in half to reduce water loss.
- Apply rooting hormone: Dip the cut end of the stem into your rooting hormone, tapping off any excess.
- Plant the cutting: Make a pilot hole in your pre-moistened potting mix with a pencil or your finger. This prevents the rooting hormone from rubbing off. Gently insert the cutting into the hole, ensuring the nodes where you removed lower leaves are below the soil surface. Firm the soil gently around the cutting.
- Create humidity: Water the pot gently. Then, cover the pot with a clear plastic bag or place it in a propagator. Make sure the bag doesn’t touch the leaves. You can use stakes to prop it up if needed. This creates that essential humid microclimate.
- Place in bright, indirect light: Find a warm spot that receives plenty of bright, diffused light. Avoid direct sunlight, which can scorch the delicate cuttings.
The “Secret Sauce” (Pro Tips)
Now for a couple of little tricks I’ve picked up over the years that really make a difference:
- Bottom Heat is Your Friend: If you have a heated propagator or an old heat mat, using bottom heat can dramatically speed up the rooting process. It mimics the warmth of summer soil and encourages those roots to get going. Don’t go too hot, just a gentle warmth.
- The “Tap Test” for Rooting: Don’t be tempted to yank on your cuttings to check for roots! A much better indicator is to gently tug on the cutting itself. If you feel any resistance, it’s a good sign roots are developing. You might also see tiny new leaf growth.
Aftercare & Troubleshooting
Once you see signs of rooting, which can take anywhere from 4-8 weeks or even longer, it’s time for a little extra care.
- Acclimatization: Gradually get your new plants used to normal room humidity. Slowly open the plastic bag or propagator vents over a week or two.
- Consistent Moisture: Keep the soil consistently moist but not waterlogged. Overwatering is the quickest way to invite root rot, which is our biggest enemy for new cuttings.
- Light: Continue to provide bright, indirect light.
- Transplanting: Once the roots have filled the pot and you can see good, healthy top growth, you can transplant them into slightly larger pots.
If you notice yellowing leaves, wilting that doesn’t improve, or a mushy stem at the soil line, it’s usually a sign of overwatering or fungal issues. Don’t despair! Sometimes, even with the best care, not all cuttings will make it. It’s a natural part of the process.
A Encouraging Closing
Propagating Atractocarpus ngoyensis is a journey, and like all good journeys, it’s about the process as much as the destination. Be patient with yourself and your little green babies. Watching those tiny roots emerge and a new plant begin to thrive is one of the most satisfying feelings a gardener can experience. Happy propagating!
Resource: