Bringing More Beech Beauty into Your Life: Propagating Fagus sylvatica
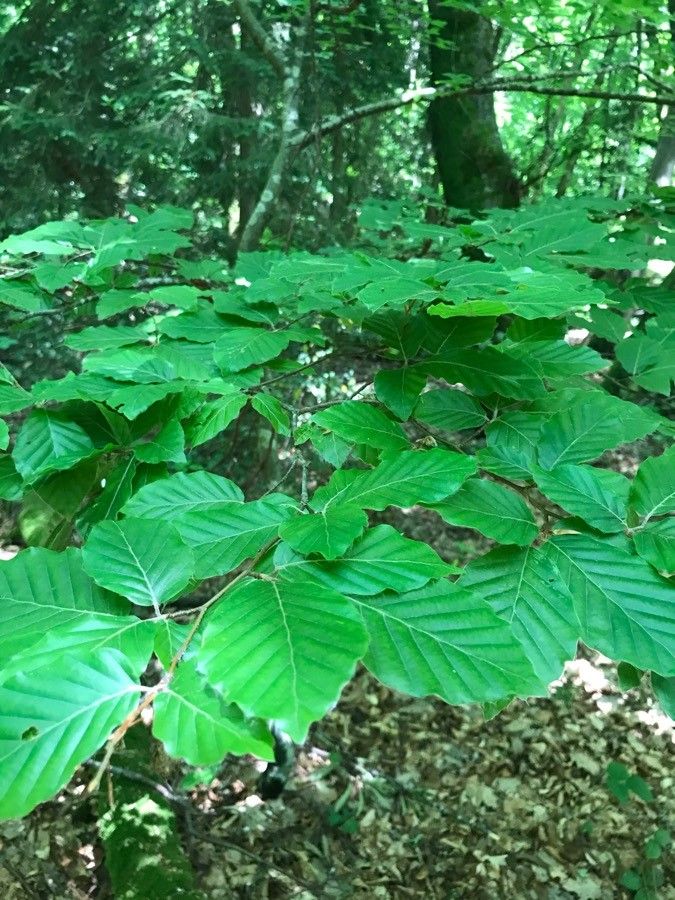
Oh, the noble Beech tree! Fagus sylvatica, or the European Beech, is just a stunner. With its smooth, grey bark and canopy that transitions from a vibrant green in summer to burnished gold and copper in autumn, it’s a tree that truly earns its place in the garden. Many of us fall in love with a specimen and dream of having more, perhaps for a hedge, a smaller accent tree, or even just to share with fellow garden enthusiasts. Propagating these beauties can feel a little daunting, and I’ll be honest, for beginners, Beech isn’t the easiest plant to start with. But with a little patience and the right approach, it’s absolutely achievable, and oh-so-rewarding!
When to Get Your Hands Dirty
The key to success with Beech propagation lies in timing. For the highest chance of successful cuttings, you’ll want to take softwood cuttings in late spring to early summer, typically between June and July. This is when the new shoots are still flexible and have plenty of energy. If you’re looking at seed propagation, collecting fresh seeds in the autumn is your best bet.
Your Propagator’s Toolkit
Before we dive in, let’s gather our supplies. Having everything ready will make the process so much smoother.
- Sharp pruning shears or secateurs: For clean cuts that heal well.
- Sharp knife or scalpel: For finer trimming and preparing cuttings.
- Rooting hormone powder or gel: A little boost for those woody stems.
- A well-draining potting mix: A blend of perlite, peat moss (or coco coir), and a little coarse sand works wonders. Avoid heavy garden soil.
- Small pots or trays: With drainage holes, of course!
- Plastic bags or propagator lids: To create a humid environment.
- Water source: For misting and watering.
- Labels and a marker: To keep track of what’s what!
- Optional but helpful: A heat mat: For bottom warmth which can really speed things up for stem cuttings.
Crafting New Beech Trees: The Methods
Let’s get our hands into the soil (or water!).
Stem Cuttings: The Most Common Route
This is generally the most reliable method for home gardeners.
- Select your best shoots: Look for healthy, semi-ripe wood on your parent Beech tree. You’re looking for stems that have started to harden slightly but can still be bent without snapping. Aim for pieces about 4-6 inches long.
- Make the cut: Using your sharp pruning shears, make a clean cut just below a leaf node (where a leaf attaches to the stem).
- Prepare the cutting: Gently strip off any lower leaves. You want to leave at least two to three sets of leaves at the top. If the remaining leaves are large, I often cut them in half horizontally to reduce water loss through transpiration.
- Apply the rooting hormone: Dip the cut end of the stem into your rooting hormone powder or gel. Tap off any excess.
- Pot them up: Fill your small pots with your well-draining mix. Make a pilot hole with a pencil or your finger. Insert the cutting into the hole, ensuring the hormone-coated end is well-covered by the soil. Firm the soil gently around the base.
- Water and cover: Water the pots thoroughly. Then, either place the pots into a propagator with a lid or cover them loosely with a plastic bag, securing it so it doesn’t directly touch the leaves. This humidity is crucial!
- Find a bright spot: Place your pots in a bright location, but out of direct sunlight. A greenhouse or a bright windowsill is perfect.
Water Propagation (for the more adventurous!)
While less common for Beech and often with lower success rates for woody shrubs, you can try this for a bit of fun.
- Prepare your cuttings: Follow steps 1-3 from the stem cutting method.
- Place in water: Pop your prepared cuttings into a clean jar or vase filled with fresh water.
- Keep it clean: Change the water every few days to prevent bacterial growth.
- Wait and watch: Roots should eventually emerge from the nodes. Once you have a decent root system (about an inch long), you can carefully pot them up into your well-draining soil mix.
My “Secret Sauce” for Beech Success
Over the years, I’ve picked up a few tricks that seem to make a real difference.
- Cleanliness is King: Always use sterilized tools and pots. This dramatically reduces the risk of fungal infections, which are the bane of cuttings. A quick dip in bleach solution (1 part bleach to 9 parts water) followed by a rinse works wonders.
- Bottom Heat is Your Friend: For stem cuttings, placing your pots on a heated propagator mat can significantly speed up root development. It mimics the warmth of the soil in summer and gives those roots a real kickstart. Keep the temperature around 70-75°F (21-24°C).
- Don’t Rush the Transplant: Be patient! Don’t try to transplant cuttings until you feel a good resistance when you gently tug on them. This indicates a healthy root system has formed. If you’re unsure, a gentle examination of the drainage holes can sometimes reveal roots.
Aftercare and When Things Go Wrong
Once those little roots start to form, it’s time for gentle care.
- Gradually Acclimate: As soon as you see good root development, begin to gradually introduce your cuttings to less humid conditions. This means opening the propagator lid or the plastic bag a little each day. This hardening-off process is vital before you remove the cover completely.
- Watering is Key: Keep the soil consistently moist but not waterlogged. Overwatering is a common culprit for rot. Let the surface of the soil almost dry out before watering again.
- Troubleshooting Rot: The most common sign of failure is rot. If your cuttings turn black and mushy, it’s usually due to overwatering and poor airflow. Unfortunately, there’s not much you can do once rot sets in, so learning from it and trying again with slightly drier conditions and better ventilation is the way forward. Yellowing leaves can sometimes indicate they’re not getting enough light, so try moving them to a brighter spot.
Enjoy the Journey!
Propagating Beech trees takes a bit of dedication, but seeing those tiny roots emerge and a new sapling begin to grow is incredibly satisfying. Don’t be discouraged if your first few attempts aren’t perfect. Every gardener has their share of trials and triumphs. Be patient, observe your cuttings closely, and most importantly, enjoy the process of coaxing new life from your beloved trees. Happy propagating!
Resource:
https://identify.plantnet.org/k-world-flora/species/Fagus%20sylvatica%20L./data