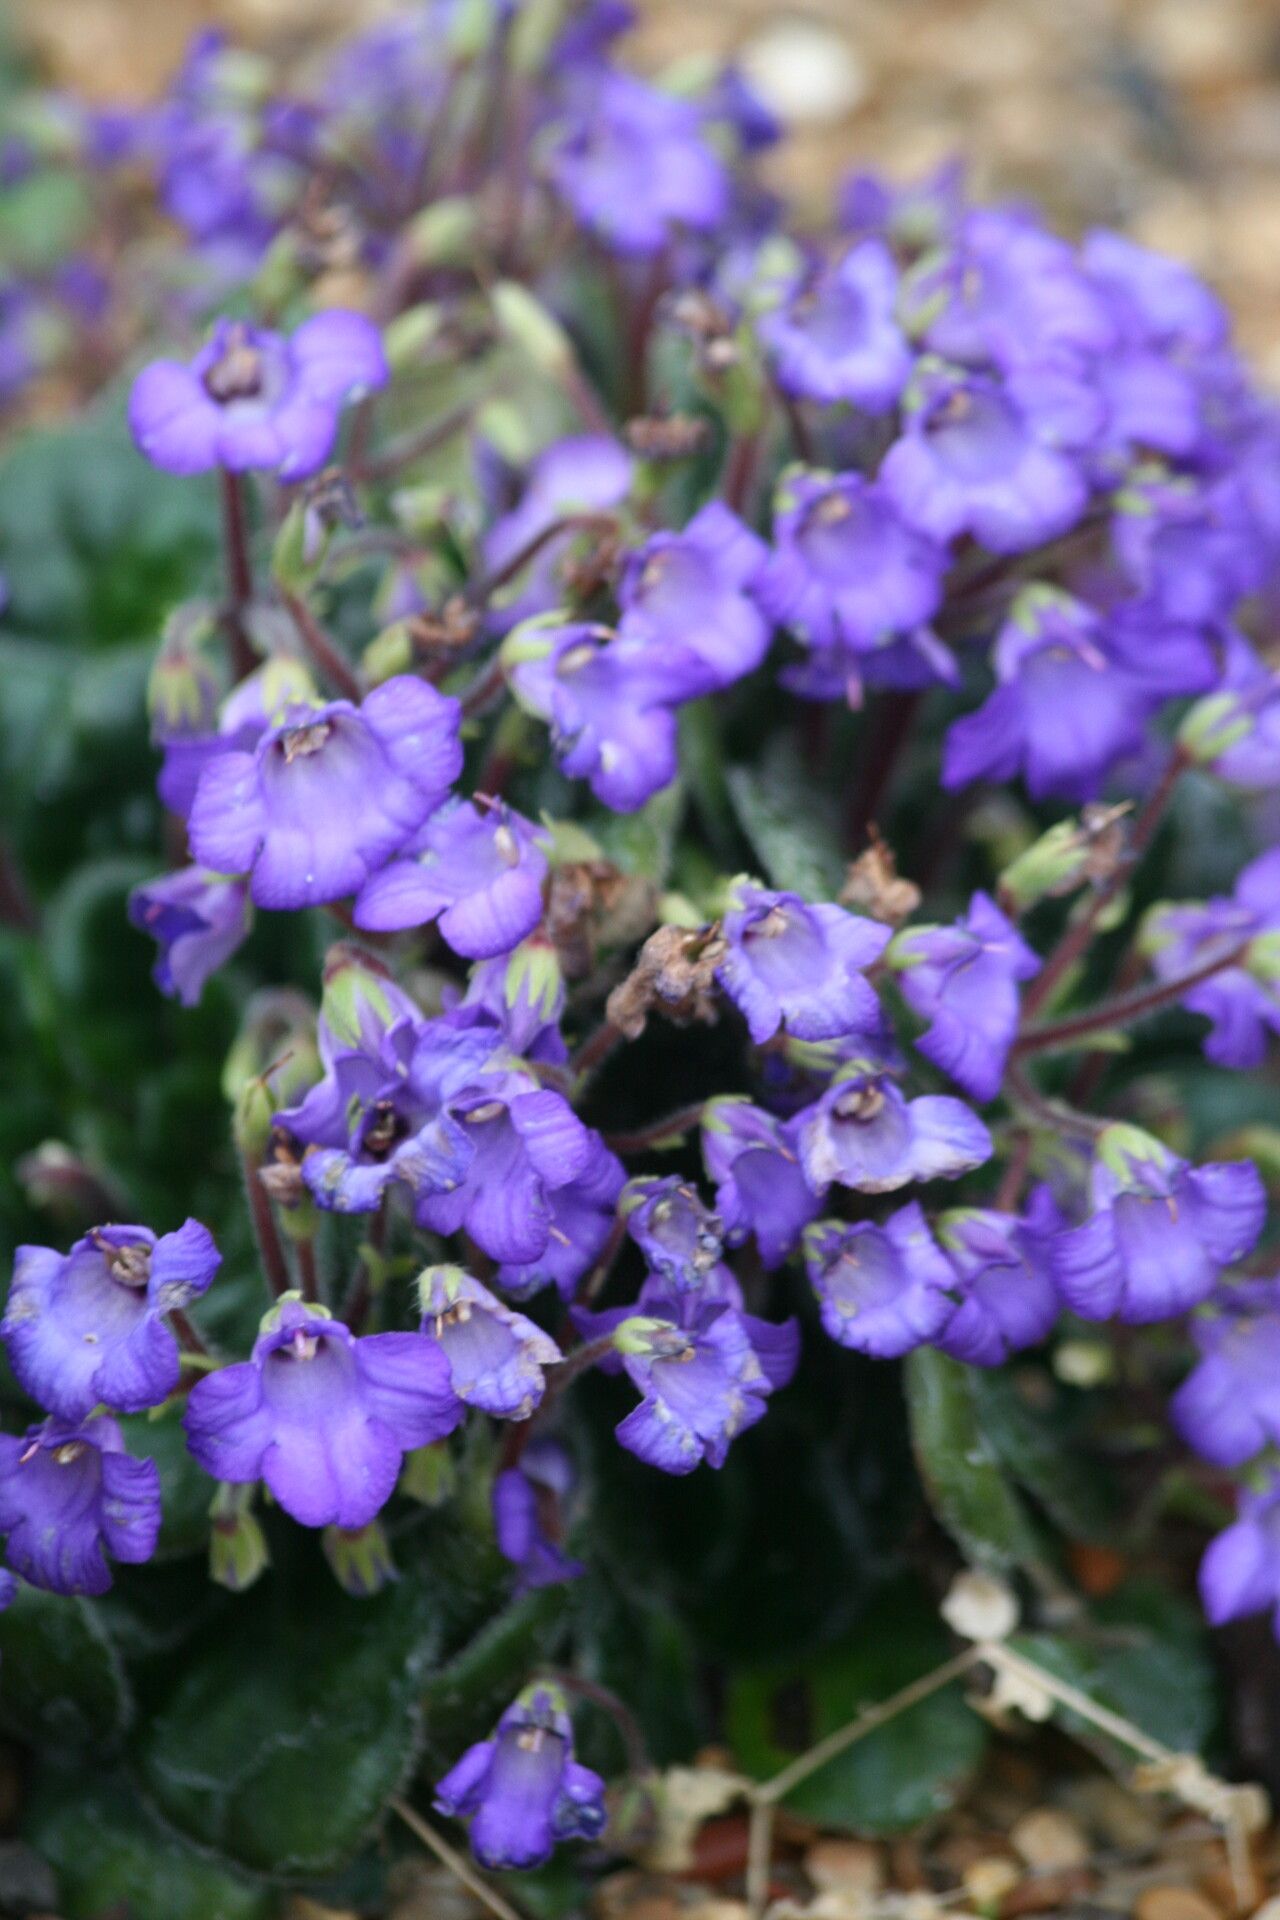
Oh, Petrocosmea minor! If you’ve ever seen these little darlings, you know why they’re so captivating. They look like miniature African violets, with fuzzy, velvety leaves and dainty little blooms. They bring such a charming, delicate touch to any collection. Propagating them is a fantastic way to share their beauty, and trust me, the satisfaction of watching new life sprout from a tiny piece is just chef’s kiss. Now, are they a breeze for absolute beginners? I’d say they’re a little more on the “moderately easy” side. They’re not fussy, but they do appreciate a little attention to detail.
The Best Time to Start
For Petrocosmea, like many gesneriads, the spring and early summer are your golden ticket. That’s when the plants are naturally gearing up for growth after a (gentle) rest period. You’ll find they’re more vigorous, and cuttings or divisions will readily establish themselves.
Supplies You’ll Need
You don’t need a fancy lab for this! Here’s what you’ll want to have on hand:
- Sharp pruning shears or a very sharp knife: Clean cuts are key to preventing disease.
- A well-draining potting mix: I like a blend of peat moss, perlite, and a little bit of orchid bark. Think airy!
- Small pots or propagation trays: You just need something small to start those new roots in.
- Clear plastic bags or a propagation dome: To keep humidity nice and high.
- Rooting hormone (optional but helpful): Pelleted or powdered forms work well.
- Water: Either distilled or rainwater is best to avoid mineral buildup.
Propagation Methods
Petrocosmea minor is wonderfully versatile, and I’ve had great luck with a couple of methods.
Stem Cuttings
This is my go-to! It’s straightforward and yields lovely little plants.
- Take your cuttings: When your Petrocosmea is actively growing, look for healthy stems. You want to snip off a piece that has at least two sets of leaves. Give it a clean cut, just below a leaf node (where the leaves attach to the stem).
- Prepare the cutting: If you’re using rooting hormone, dip the cut end into it. You don’t need to go nuts with it; a light coating is perfect.
- Pot them up: Fill your small pots with your prepared potting mix. Make a small hole with your finger or a pencil, and gently insert the cutting. Press the soil gently around the stem to ensure good contact.
- Water and cover: Give the soil a gentle watering, just enough to make it moist but not soaked. Then, pop each pot into a clear plastic bag or place them under a propagation dome. This creates a miniature greenhouse effect, which is crucial for cuttings to root.
Division
If your Petrocosmea has gotten a little crowded or you see multiple growth points, division is a fantastic option!
- Gently remove from pot: Carefully slide your Petrocosmea out of its pot.
- Loosen the root ball: Gently tease apart the roots and soil. You’re looking for natural breaks where you can divide the plant into smaller clumps, each with its own healthy root system and some leaves.
- Pot the divisions: Pot each division into its own small pot with fresh, well-draining soil. Water gently.
- Keep them humid: Just like cuttings, divisions benefit from a humid environment while they re-establish. Use plastic bags or a dome.
The “Secret Sauce” (Pro Tips)
Here are a couple of things I’ve learned over the years that can really give you an edge.
- Humidity is King, but Avoid Soggy Leaves: While we want that humid environment, don’t let the leaves sit in water. If you’re using a plastic bag, try to prop it up a bit so it doesn’t directly rest on the leaves. This prevents fungal issues.
- Warmth Encourages Roots: Petrocosmea, like many plants, loves a bit of warmth from below. Placing your propagation trays or pots on a heat mat (specifically for plants) can significantly speed up the rooting process. You don’t need it scorching hot, just a gentle warmth.
Aftercare & Troubleshooting
Once you see tiny roots peeking out of the drainage holes, or new leaves unfurling on your cuttings, you’re doing great! At this point, you can gradually acclimate them to lower humidity. Start by opening the plastic bag for a few hours each day, then remove it entirely over a week or so.
The main thing to watch for is rot. If you see leaves going mushy or a dark, slimy stem, that’s usually a sign of too much moisture and not enough air circulation. If you catch it early, you might be able to save it by removing the rotted parts and letting the remaining bit dry out a bit more. Always use clean tools!
A Encouraging Closing
There’s so much joy in creating new life in the garden, and propagating Petrocosmea minor is such a rewarding journey. Be patient with your little propagations; they have their own timeline. And remember, every experienced gardener has had their share of plants that didn’t make it. Just keep trying, learn as you go, and most importantly, enjoy watching those tiny roots take hold. Happy propagating!
Resource:
https://identify.plantnet.org/k-world-flora/species/Petrocosmea%20minor%20Hemsl./data