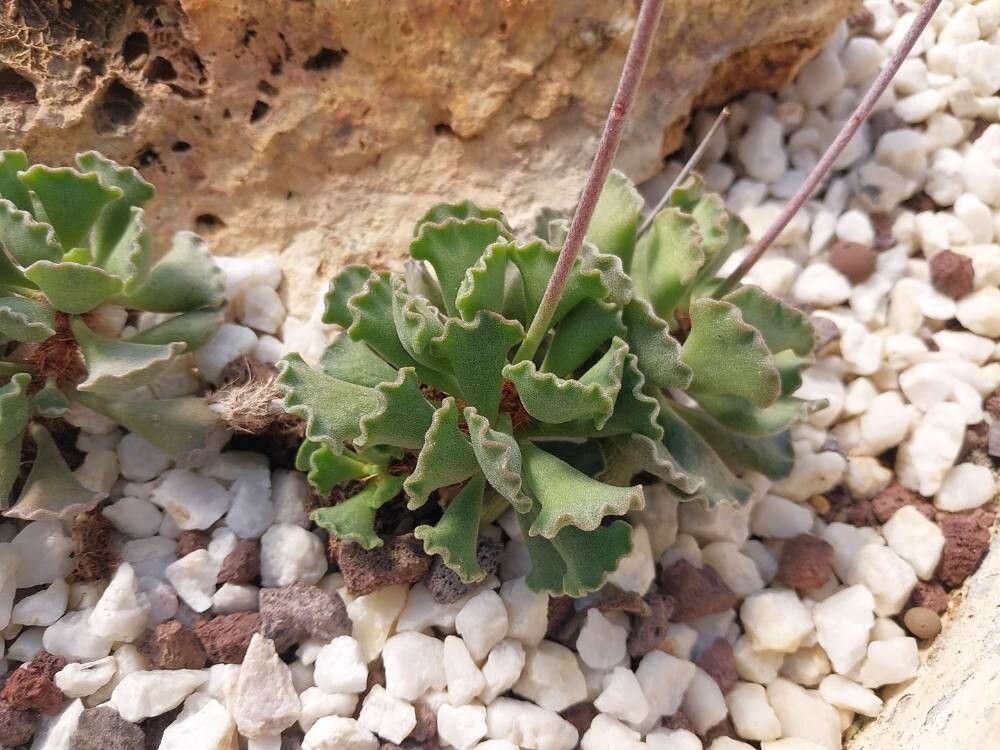
Oh, hello there! Pull up a chair and let’s chat about one of my absolute favorite little plants: Adromischus cristatus, affectionately known as the “Jeweled Fan” or often just “Adro.” These succulent cuties are really something special. Their fuzzy, textured leaves, often rolled and curled like tiny scrolls, have a certain charm that just pulls you in. Plus, there’s a deep satisfaction that comes with creating a whole new plant from a single leaf or stem. It’s like magic, but the kind you create with your own two hands!
Now, if you’re wondering if this is a good plant for beginners to try propagating, I’d say Adromischus cristatus is moderately easy. It’s not quite as foolproof as, say, a succulent sedum, but with a little attention to detail, you’ll be well on your way to success.
The Best Time to Start
My personal favorite time to get busy with propagating Adromischus cristatus is during its active growing season. For most of us, that’s late spring and summer. You’ll notice your plant pushing out new growth, and this vigor is exactly what we want to tap into. Starting them when they’re already feeling energetic really gives your new propagations the best chance to thrive and root quickly.
Supplies You’ll Need
Before we dive in, let’s gather our tools. It’s always good to be prepared!
- Sharp Pruning Shears or a Clean Knife: For making clean cuts.
- Well-Draining Potting Mix: I like a mix that’s roughly 50% succulent or cactus soil and 50% perlite or pumice. This is crucial!
- Small Pots or Trays: Terracotta pots are great because they breathe.
- Rooting Hormone (Optional but Recommended): A little boost can help encourage faster root development.
- Spray Bottle: For gentle watering.
- Labels: So you don’t forget what you’ve planted where!
Propagation Methods
Adromischus cristatus is wonderfully versatile, and you can propagate it using a couple of my favorite methods.
Stem Cuttings
This is my go-to for a reason – it’s usually the quickest way to get a decent-sized new plant.
- Select a Healthy Stem: Look for a mature, healthy stem on your existing plant. You want a piece that’s at least an inch or two long.
- Make a Clean Cut: Using your sharp shears or knife, cut the stem cleanly. If you’re using rooting hormone, you’ll dip the cut end into it now.
- Allow to Callus: This is super important for succulents! Let the cut end dry and form a callus for 2-3 days in a dry spot. This prevents rot.
- Planting: Gently insert the callused end into your prepared, well-draining potting mix. You can stick one or multiple cuttings in a pot.
- Water Sparingly: Wait a few days after planting before giving it its first light watering. It’s better to err on the side of too dry than too wet at this stage.
Leaf Cuttings
This method takes a bit more patience, but it’s incredibly rewarding to see a whole new plant emerge from a single leaf!
- Choose Healthy Leaves: Gently twist or cut off a healthy, plump leaf from the main stem.
- Allow to Callus: Just like with stem cuttings, let the leaf end dry and form a callus for a day or two.
- Lay or Stick: You have two options here. You can either lay the callused end of the leaf on top of the soil, or gently stick the callused end slightly into the soil. I find laying it on top works well.
- Mist Lightly: Keep the soil surface lightly moist by misting with your spray bottle. Avoid soaking.
The “Secret Sauce” (Pro Tips)
Here are a couple of things I’ve learned over the years that make a real difference:
- Don’t let the leaves touch the water! If you’re doing water propagation for other plants, that’s one thing. But for Adromischus leaves, if they sit in water, they’ll almost certainly rot before they root. Keep them resting on or just above the soil.
- A little bottom heat can work wonders. If you have a seedling heat mat, placing your pots on it can really speed up root development, especially if your home is on the cooler side. It mimics the warmth of spring and summer.
Aftercare & Troubleshooting
Once you start seeing tiny roots or even a new little rosette emerging from your cuttings, congratulations! Now it’s time for a bit more focused care.
- Gradual Watering: Once roots are established, you can begin watering more regularly, but always let the soil dry out completely between waterings. The new little plant still needs time to adjust.
- Bright, Indirect Light: Keep your new propagations in a spot with bright, indirect sunlight. Direct sun can scorch delicate new growth.
- Watch for Rot: The most common issue is rot, which is usually caused by overwatering. If you see mushy, black stems or leaves, it’s a sign. If it’s just one leaf that’s rotted, you can often remove it and save the rest. If the whole cutting looks terrible, it’s unfortunately best to discard it and start again.
A Little Patience Goes a Long Way
Propagating plants is a journey, and Adromischus cristatus is a lovely companion for that journey. Don’t get discouraged if your first attempt isn’t perfect. Keep observing, keep experimenting, and most importantly, enjoy the process of nurturing these little green lives into their own. You’ve got this!
Resource:
https://identify.plantnet.org/k-world-flora/species/Adromischus%20cristatus%20(Haw.)%20Lem./data