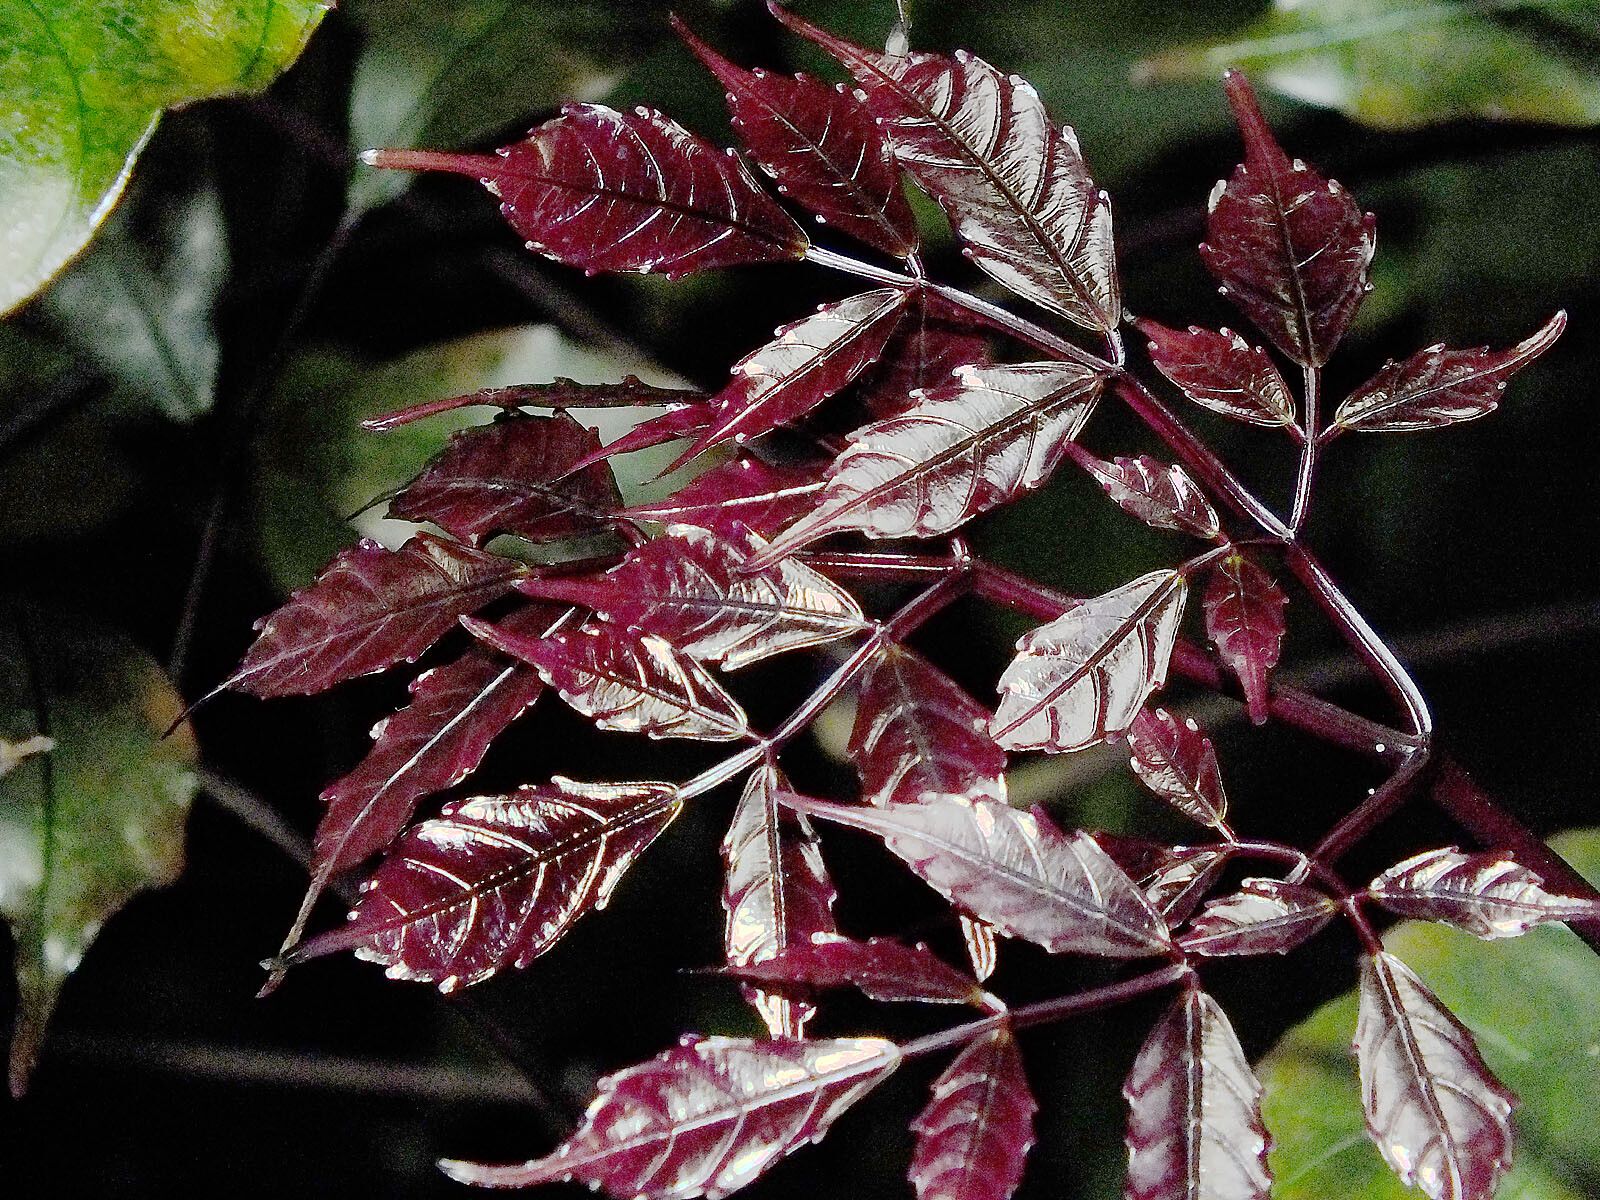
Oh, hello there, fellow plant lover! Pull up a chair, let’s chat about one of my absolute favorites: Leea guineensis. You know, the one with those gorgeous, deep green, almost glossy leaves. They have this wonderful way of adding a touch of lushness to any corner, whether it’s inside your home or out in a bright, shady spot. And the best part? Learning to create more of these beauties from a single plant is incredibly rewarding.
Now, I won’t pretend every plant is a walk in the park, but Leea guineensis is actually quite forgiving. If you’ve dabbled in propagation before, you’ll find this one a joy. Even if you’re just starting out, with a little patience, you can absolutely succeed. It’s a wonderful feeling to watch a tiny cutting transform into a thriving new plant.
The Best Time to Start
For the absolute best chance of success, spring and early summer are your golden ticket. This is when Leea guineensis is at its peak growth phase. The days are getting longer, the temperatures are warming up, and the plant has a good supply of energy to put into rooting. You can get away with it in late summer too, but the earlier, the better for strong new plants. Look for healthy, vigorous new growth on your existing plant.
Supplies You’ll Need
Gathering your tools before you begin makes the whole process so much smoother. Here’s what I always have on hand:
- Sharp Pruning Shears or a Clean Knife: For making clean cuts.
- A Well-Draining Potting Mix: I like to use a mix of equal parts peat moss, perlite, and a little bit of compost.
- Small Pots or Propagation Trays: Clean ones, mind you!
- Rooting Hormone (Optional but Recommended): This really gives your cuttings a boost.
- Clear Plastic Bag or a Propagator Lid: To create a humid environment.
- Watering Can with a Fine Rose or a Spray Bottle: For gentle watering.
- Labels and a Pen: To keep track of your new plant babies!
Propagation Methods
We’ll focus on stem cuttings, as that’s usually the most straightforward way to propagate Leea guineensis.
- Take Cuttings: Head back to your healthy plant during the prime growing season. Look for semi-hardwood stems – these are stems that are starting to mature but aren’t woody yet. They should be firm but still have a bit of flexibility. Using your clean shears, cut a section of stem that is about 4-6 inches long. Make sure each cutting has at least two to three sets of leaves. Remove the lower leaves, leaving only the top set or two.
- Prepare the Cuttings: If you’re using rooting hormone, dip the cut end of the stem into the powder or gel. Tap off any excess. This step is like giving your cutting a little superpower to encourage root growth.
- Plant the Cuttings: Fill your small pots or trays with your well-draining potting mix. Make a small hole in the center of the mix with your finger or a pencil. Gently insert the cutting into the hole, making sure the cut end is making good contact with the soil. Firm the soil gently around the base of the cutting.
- Water Gently: Water your cuttings well. You want the soil to be evenly moist, but not waterlogged.
- Create a Humid Environment: This is crucial! Cover the pot with a clear plastic bag, securing it around the rim with a twist tie or rubber band. You can also use a propagator lid. This traps moisture and creates the humid microclimate that cuttings love. Make sure the leaves do not touch the sides of the bag if possible. Pop the bag off for an hour or so every few days to let some air circulate.
The “Secret Sauce” (Pro Tips)
Sometimes it’s the little things that make all the difference, right? Here are a couple of things I’ve learned over the years:
- Bottom Heat is Your Friend: If you have a heat mat designed for seedlings, popping your pots on it can really speed up the rooting process. Leea guineensis just loves that gentle warmth from below.
- Don’t Go Overboard with Watering: While humidity is key, soggy soil is the enemy of cuttings. It can lead to rot very quickly. Aim for consistently moist, not soaking wet, soil. If you can gently squeeze the soil and only a tiny drop of water comes out, you’re in the right zone.
- Patience is a Virtue (and a Gardener’s Best Friend): Seriously. Don’t be tempted to pull up your cuttings every day to check for roots. Give them time. You’ll usually see new leaf growth or feel a gentle tug when you very carefully try to move the cutting. That’s your cue!
Aftercare & Troubleshooting
Once you see signs of new growth – be it tiny leaves unfurling or the tell-tale tug when you gently test for roots – it’s time to acclimatize your new plant. Gradually remove the plastic bag over a few days, giving it more air each time. Continue to keep the soil moist and in bright, indirect light.
The biggest challenge you might face is rot. If you notice your cutting turning black and mushy, it’s a sign that it’s too wet or has picked up a fungal infection. Unfortunately, this is usually a sign it’s not going to make it. This is where those tips about careful watering and good air circulation really shine. If you do get rot, discard the affected cutting immediately to prevent it from spreading.
A Encouraging Closing
See? Propagation isn’t some mystical art reserved for the plant gurus. It’s a natural, beautiful process that you can absolutely master with Leea guineensis. Enjoy the journey of nurturing these new plants, celebrate each new leaf that unfurls, and don’t get discouraged if one or two don’t make it. The thrill of creating life from your own plant is truly something special. Happy propagating!
Resource:
https://identify.plantnet.org/k-world-flora/species/Leea%20guineensis%20G.Don/data