Hey there, fellow plant lovers!
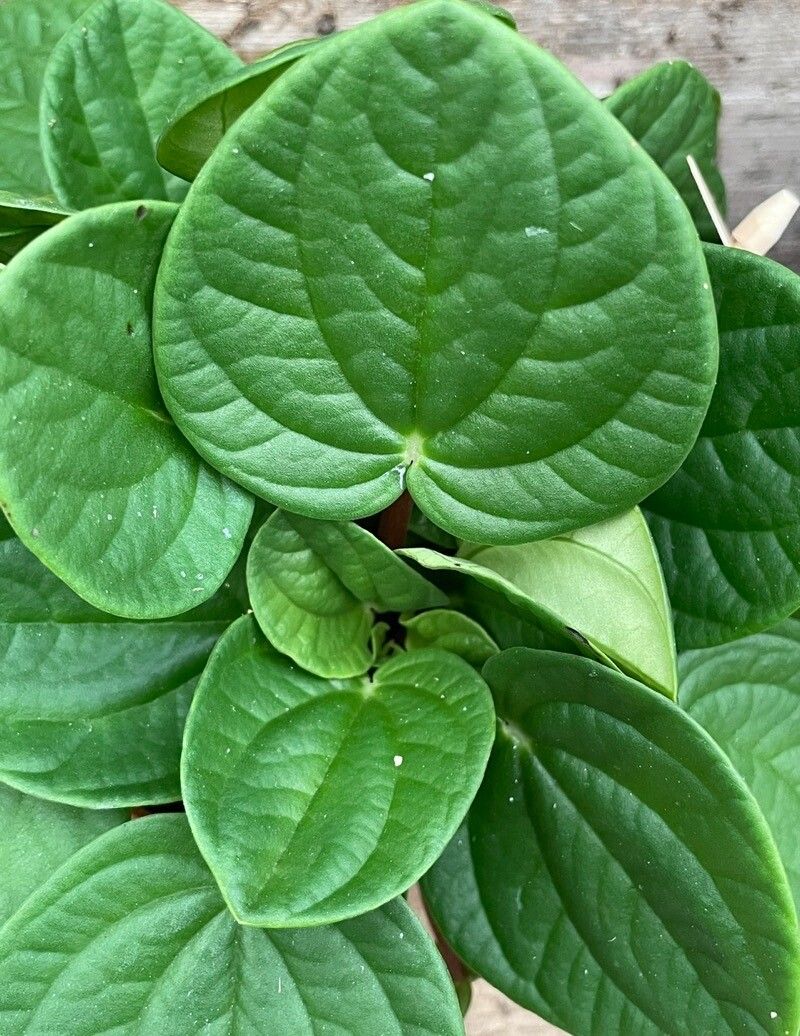
If you’ve ever marveled at the elegant, striped leaves of Peperomia albovittata, you’re not alone. It’s a real standout in the Peperomia family, and I’ll tell you, getting more of these beauties to call your own is surprisingly simple, and incredibly satisfying. Imagine having a whole little army of these lovely plants! For beginners, this one is a definite yes. It’s quite forgiving, which makes it a fantastic plant to start your propagation journey with.
The Best Time to Start
When it comes to encouraging new life, spring and early summer are your golden ticket. This is when your Peperomia albovittata is actively growing and has the most energy to put into rooting. You can absolutely try it at other times, but you’ll likely see faster, more robust results during its active growth phase.
Supplies You’ll Need
Before we dive in, let’s gather our tools. Nothing fancy here, just the usual suspects:
- Clean scissors or pruning shears: Always make sure they are sharp and clean to prevent disease.
- Well-draining potting mix: I like a blend of regular potting soil with perlite and a bit of orchid bark. This ensures no soggy roots!
- Small pots or trays: Anything from little nursery pots to clean yogurt containers will work, as long as they have drainage holes.
- Optional: Rooting hormone: This can give your cuttings an extra boost, but it’s not strictly necessary for Peperomias.
- Optional: Clear plastic bag or dome: For creating a humid environment.
Propagation Methods
Let’s get our hands dirty! Peperomia albovittata is quite obliging and happily propagates through a couple of easy methods.
Stem Cuttings
This is my go-to method for this plant!
- Take a cutting: Using your clean shears, snip a healthy stem just below a leaf node. A good cutting will be about 3-4 inches long and have at least two or three leaves. You can even take smaller tip cuttings.
- Prepare the cutting: Gently remove the lower leaves, leaving the top couple of leaves intact. This exposes the nodes where roots will form. If the leaves are very large, you can even cut them in half horizontally to reduce water loss.
- Rooting hormone (optional): Dip the cut end into rooting hormone if you’re using it.
- Plant it up: Stick the cut end about an inch deep into your well-draining potting mix. Gently firm the soil around the stem.
Leaf Cuttings
This method takes a bit more patience, but it’s so rewarding!
- Select a healthy leaf: Choose a mature, healthy leaf with its stem attached.
- Cut the leaf: snip the leaf from the parent plant, making sure to get a small piece of the stem attached.
- Plant or water: You can either plant the whole leaf, stem down, into your potting mix (similar to stem cuttings), or you can try water propagation.
Division
If your Peperomia albovittata has grown into a dense clump, it’s sometimes possible to divide the root ball.
- Gently remove from pot: Take the plant out of its pot.
- Loosen the roots: Carefully tease apart the root ball. If it’s very dense, you might need to use a clean knife to help separate sections.
- Repot: Replant each section into its own pot with fresh soil.
The “Secret Sauce” (Pro Tips)
Here are a few little tricks I’ve learned over the years that can really help your success rate:
- Just like with many plants, don’t let the leaves touch the water if you’re doing water propagation. This can lead to rot. If they do dip, trim them back so they’re slightly above the waterline.
- For stem cuttings, I often use bottom heat if I can. Setting the pot on a seedling heat mat can significantly speed up root development. It just creates that perfect cozy environment for new roots to emerge.
- When planting leaf cuttings, don’t be afraid to “bury” the petiole (the leaf stem). This is where those precious new baby plants will emerge from.
Aftercare & Troubleshooting
Once your cuttings are planted, a little TLC goes a long way.
- Watering: Keep the soil consistently moist but not soggy. Think of it like a wrung-out sponge. Overwatering is the fastest way to invite rot, so err on the side of slightly too dry rather than too wet.
- Humidity: Peperomias love a bit of humidity. You can lightly mist them once a day or cover the pots with a clear plastic bag or dome to create a mini-greenhouse. Remember to vent the bag daily to prevent fungal issues.
- Light: Place your cuttings in a spot with bright, indirect light. No direct sun, please – it can scorch those tender new leaves.
The most common sign of trouble is rot. If you see mushy, black stems or leaves, it’s usually a sign of overwatering. If this happens, carefully remove the affected parts with clean shears and let the soil dry out more before watering again. If the whole cutting looks sad and limp, it might just be taking its time or didn’t get enough moisture. Sometimes patience is the best remedy! It can take several weeks, or even months, for roots to fully develop, so don’t get discouraged if you don’t see growth immediately.
A Little Encouragement
Propagating plants is a journey, and Peperomia albovittata is a wonderful companion for it. Be patient, observe your little green babies, and enjoy the magic of watching them grow. Happy propagating!
Resource:
https://identify.plantnet.org/k-world-flora/species/Peperomia%20albovittata%20C.DC./data