Oh, hello there! Come on in, grab a mug. Let’s talk about one of my absolute favorite plants to fuss over: Rhipsalis neves-armondii.
The Charm of Rhipsalis and Why You Should Propagate
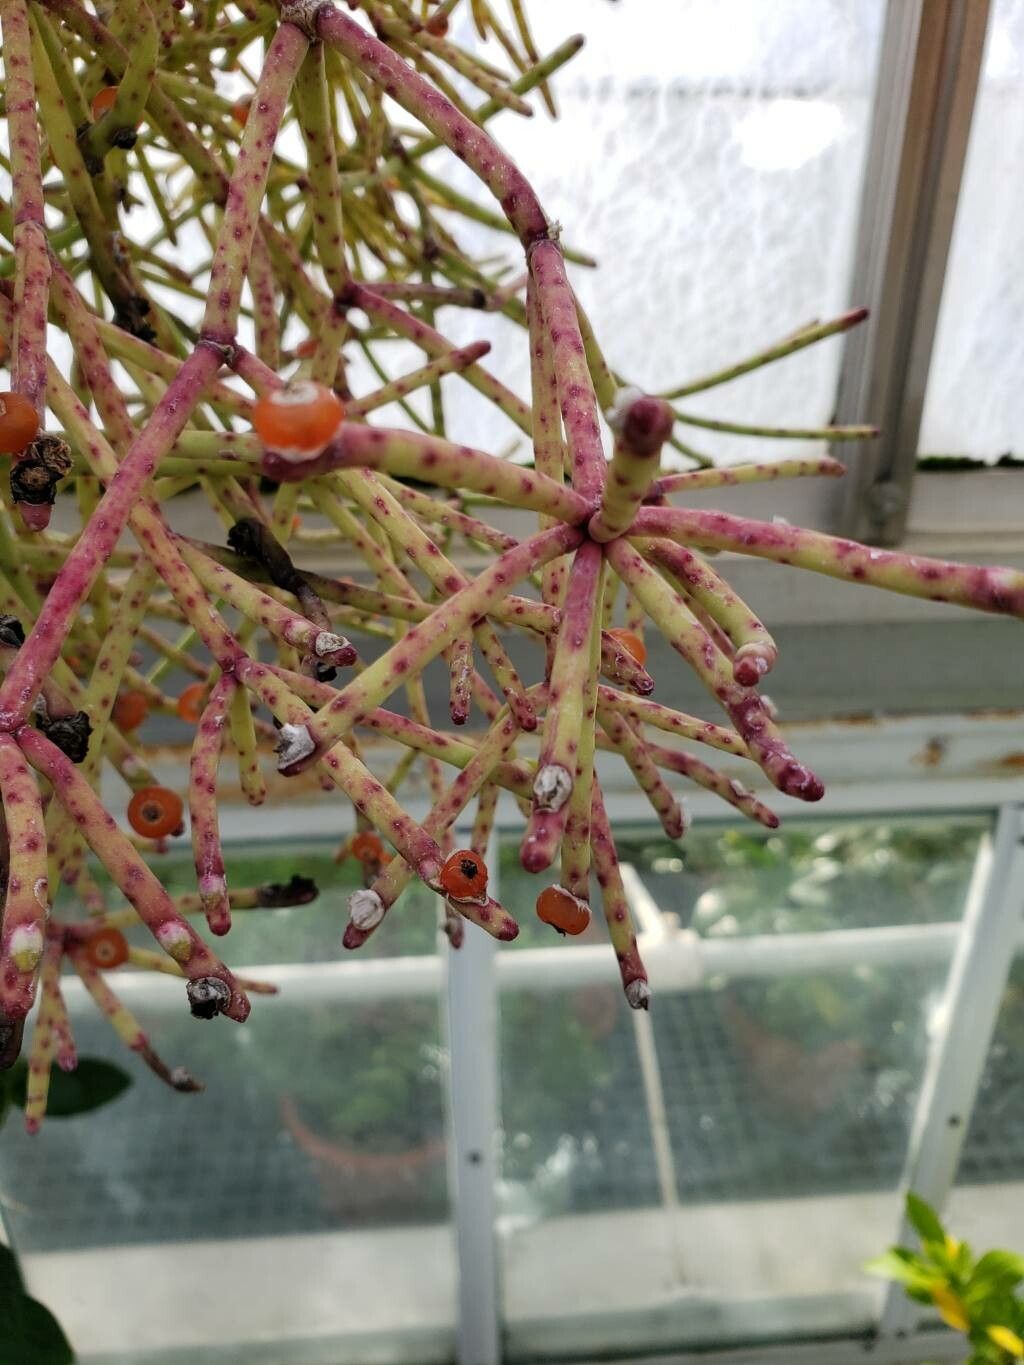
You know, those trailing stems, like delicate green chains, just have a way of softening any space. Rhipsalis neves-armondii, with its wonderfully segmented, almost lace-like appearance, is a real showstopper. It brings a touch of the exotic without demanding too much. And the joy of watching a tiny cutting transform into a lush cascade? Pure garden magic! Honestly, propagating Rhipsalis is a wonderfully rewarding experience, and I’d say it’s quite beginner-friendly. You’ll be amazed at how easily you can fill your home with these beautiful plants.
The Best Time to Start
Timing is everything, as they say. For Rhipsalis, the late spring or early summer is your golden window. This is when the plant is actively growing, soaking up that warm sunshine and energy. Cuttings taken during this period tend to root much faster and with more vigor. Avoid propagating during the plant’s dormant rest period in winter.
Supplies You’ll Need
Gathering your tools makes the whole process smoother. Here’s what I always have on hand:
- Sharp Pruning Shears or a Clean Knife: To make clean cuts.
- Well-Draining Potting Mix: Think an orchid bark mix or a blend of equal parts peat moss, perlite, and coarse sand. Rhipsalis hates soggy feet.
- Small Pots or Seed Trays: With drainage holes, of course!
- Rooting Hormone (Optional but Recommended): A gentle dip can really speed things up.
- Spray Bottle: For misting.
- Small Pebbles or Perlite (Optional): To mix into the potting soil for extra aeration.
Propagation Methods: Letting New Life Begin
There are a couple of ways we can coax new Rhipsalis plants into existence, and both are pretty straightforward.
Stem Cuttings: My Go-To Method
This is by far the easiest and most successful method for Rhipsalis.
- Take Cuttings: Look for a healthy, mature stem. Using your clean pruning shears, snip off a piece that’s at least 3-4 inches long. It’s best to take cuttings that have at least two or three segments.
- Allow to Callus: This is a crucial step! Lay your cuttings on a dry paper towel in a shaded spot for 2-3 days. You want the cut end to dry out and form a protective callus. This prevents rot when you plant them.
- Prepare the Potting Mix: Fill your small pots with your prepared, well-draining mix. Moisten it slightly, but don’t make it soggy.
- Plant the Cuttings: If you’re using rooting hormone, dip the callused end into it. Then, gently insert the callused end about an inch deep into the potting mix. You can plant a few cuttings in one pot, giving them a little space.
- Water Lightly: Mist the surface of the soil gently. I like to use a spray bottle to control the moisture.
Water Propagation: A Peek at Progress
Some folks prefer to watch the roots grow in water, and that’s perfectly fine for Rhipsalis too!
- Take Cuttings: Same as above – healthy stems, 3-4 inches long with a few segments.
- Remove Lower Segments (Optional but Recommended): If there are any small leaf-like structures on the very bottom segment, you can gently pinch them off. This helps prevent them from rotting in the water.
- Place in Water: Fill a clean glass or jar with room-temperature water. Submerge the bottom of the cutting, ensuring no segments are submerged. Only the cut end should be in the water.
- Location, Location, Location: Place the jar in bright, indirect light.
- Change Water Regularly: Refresh the water every few days to keep it clean and oxygenated.
The “Secret Sauce” (Pro Tips)
Now, for a couple of little tricks I’ve picked up over the years that make a big difference.
- Avoid Direct Water Contact: If you’re propagating in water, and I can’t stress this enough, do not let any of the Rhipsalis segments touch the water. Those segments are like little humidity sponges, and they’ll rot faster than you can say “root development.” Only the cut stem should be submerged.
- Bottom Heat is Your Friend: For stem cuttings in soil, if you have a heat mat for seedlings, popping your pots on it can dramatically speed up rooting. Rhipsalis loves warmth, and a little heat from below encourages those roots to get going without drying out the top too quickly.
- Don’t Overcrowd: When planting multiple cuttings in one pot, give them a little breathing room. Overcrowding can lead to poor air circulation and increase the risk of fungal issues.
Aftercare & Troubleshooting: Nurturing Your New Sprouts
Once you see those little white roots peeking out – hooray!
- For Water Cuttings: When the roots are about an inch long, it’s time to transfer them to soil. Treat them just like newly planted stem cuttings.
- For Soil Cuttings: Patience is key! Roots can take anywhere from 3 weeks to a couple of months to establish. You’ll know they’re ready when you gently tug on a cutting and feel resistance.
- Watering: Once rooted, water them as you would a mature Rhipsalis – when the top inch of soil feels dry. Mist occasionally to keep humidity up, especially in dry environments.
- Troubleshooting: The most common culprit for failure is root rot. This happens if the soil stays too wet. If you see a cutting turning mushy and black, it’s likely rot. Pull it out, check the others, and ensure your soil dries out a bit between waterings. If the cutting is just limp and not growing, it might not have rooted yet, or it’s not getting enough light. Don’t give up too quickly!
Keep Growing and Enjoy!
Propagating Rhipsalis is a beautiful, accessible way to expand your plant family. Don’t be discouraged if your first attempt isn’t perfect. Gardening is all about learning, experimenting, and enjoying the process. Celebrate those tiny roots and watch your new green babies thrive. Happy propagating!
Resource:
https://identify.plantnet.org/k-world-flora/species/Rhipsalis%20neves-armondii%20K.Schum./data