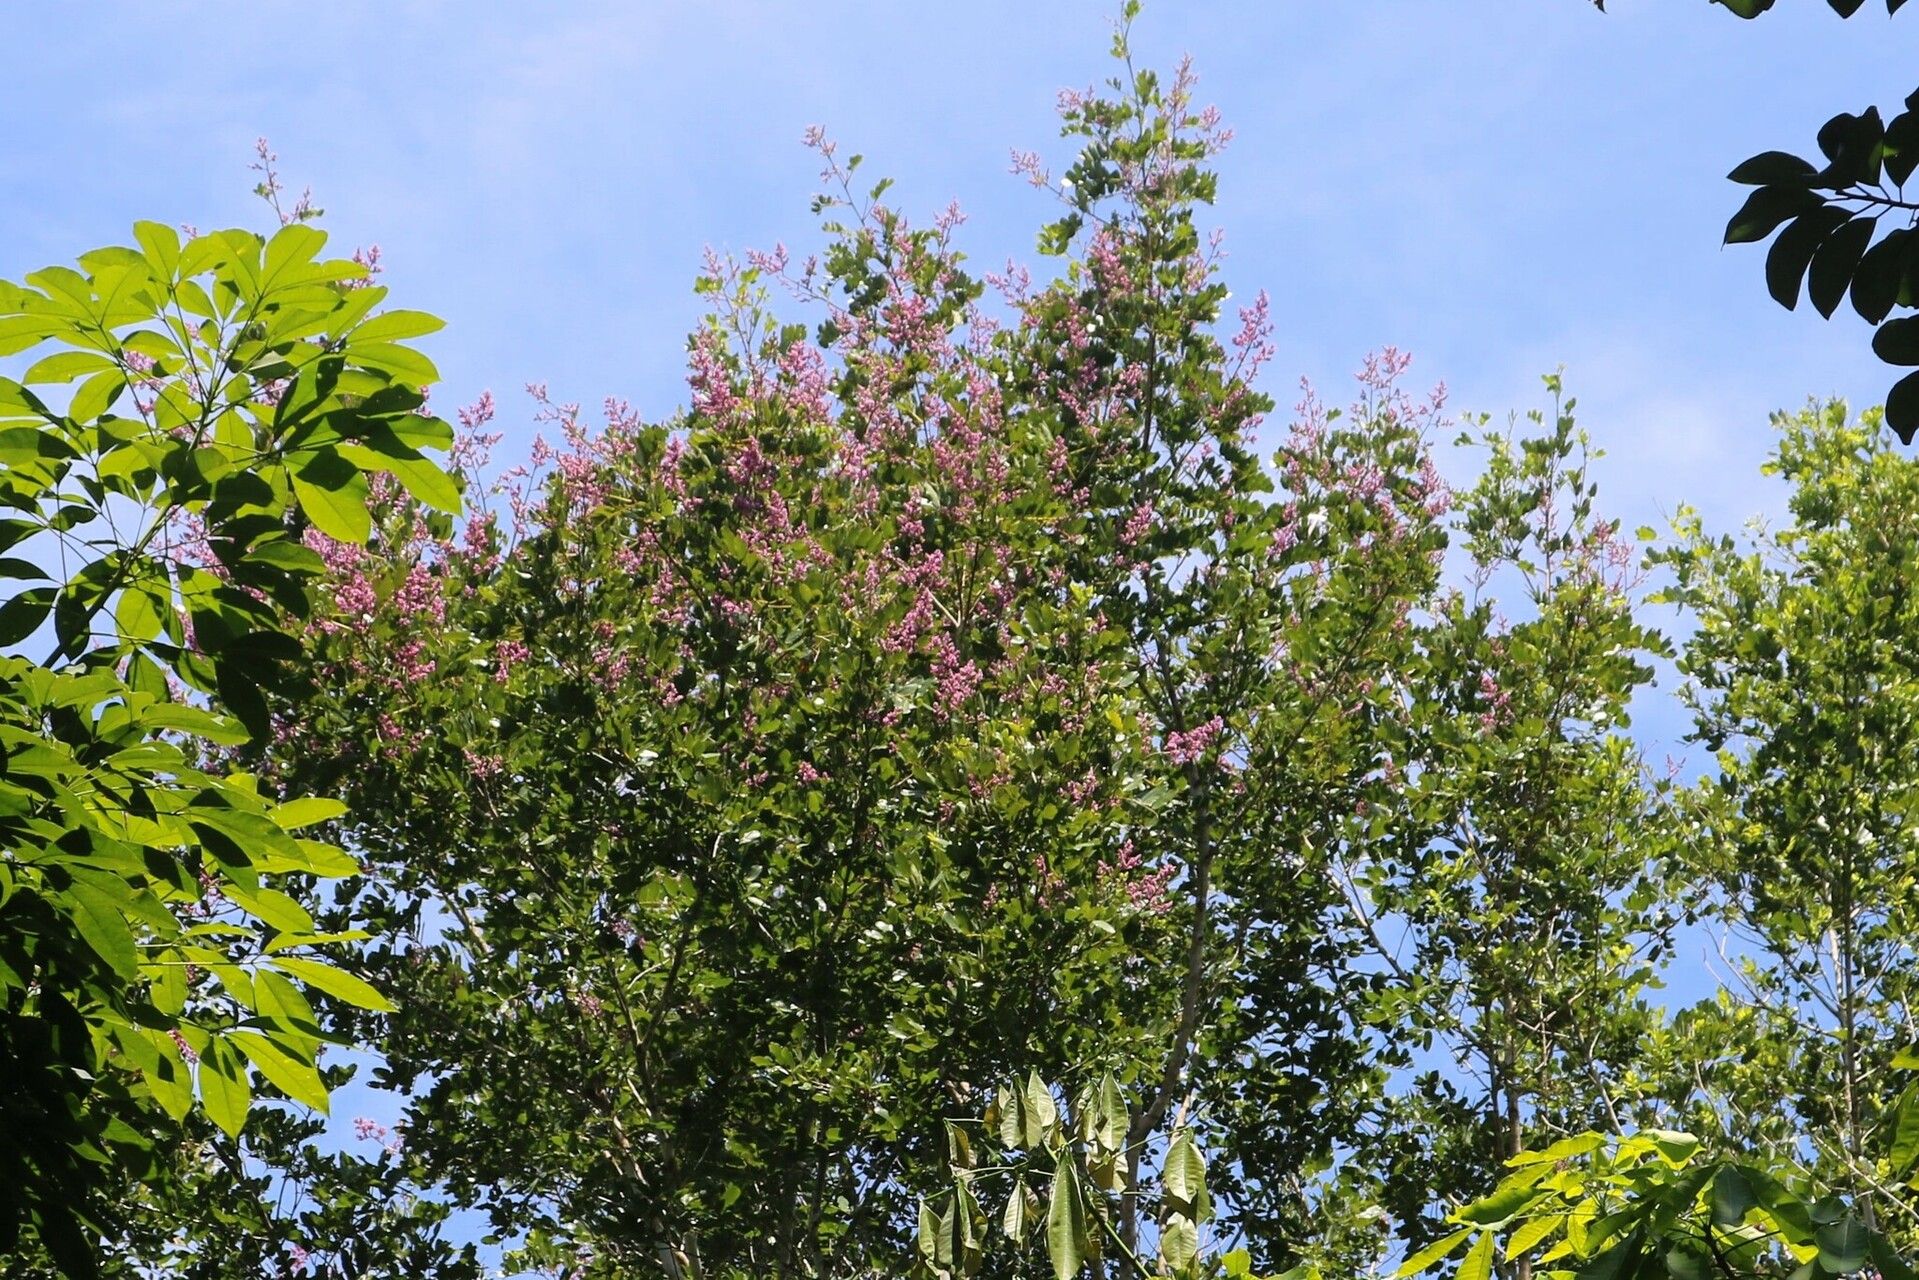
Oh, hello there! Come on in, pull up a chair. I’m so glad you’re interested in Dipteryx micrantha, also known as the much-loved Cumaru or Tonka Bean tree. They’re just magnificent, aren’t they? The glossy leaves, the lovely fragrance when they bloom – it’s a little piece of tropical paradise you can bring right into your home or garden, depending on your climate.
Propagating them is a truly rewarding endeavor. Watching a tiny cutting transform into a thriving young tree? There’s nothing quite like it. Now, for beginners, I’ll be upfront: Dipteryx micrantha can be a little bit of a journey. It’s not as straightforward as, say, a pothos, but with a bit of patience and the right approach, you’ll find success. Think of it as a delightful challenge that offers a beautiful prize!
The Best Time to Start
When it comes to getting those successful new plants, timing is everything. For Dipteryx micrantha, your best bet is to propagate during its active growing season. This typically means late spring through summer. You’re looking for young, vibrant growth – that nice, tender, but not too soft, new wood. Avoid attempting this when the plant is dormant or stressed. Think of it like starting a new adventure: you want to begin when energy is high!
Supplies You’ll Need
Gathering your tools beforehand makes the whole process so much smoother. Here’s what I usually have on hand:
- Sharp Pruning Shears or Knife: Make sure they’re clean and sterilized to prevent disease.
- Rooting Hormone Powder or Gel: This helps give your cuttings a boost.
- Well-Draining Potting Mix: I like to use a blend of equal parts peat moss, perlite, and a bit of coarse sand. It mimics the conditions they love – airy and not waterlogged.
- Small Pots or Seedling Trays: Make sure they have drainage holes!
- Plastic Bag or Dome: To create a mini-greenhouse effect.
- Watering Can with a Fine Rose: For gentle watering.
- Labels or Plant Tags: To mark your cuttings and the date.
Propagation Methods
While Dipteryx micrantha can be a bit particular, stem cuttings are usually your most successful route. Let’s get started!
Stem Cuttings:
- Select Your Cuttings: Find a healthy branch with new growth. You want pieces that are about 4-6 inches long. Look for a stem that has started to firm up but still has some flexibility – not the very tips, but not old, woody growth either.
- Make the Cut: Using your sterilized shears, make a clean cut just below a leaf node. A leaf node is where a leaf attaches to the stem; this is where roots are most likely to emerge.
- Prepare the Cutting: Gently remove the lower leaves, leaving just a few at the top. This reduces water loss.
- Apply Rooting Hormone: Dip the cut end of the stem into your rooting hormone powder or gel, tapping off any excess. This step is really important for encouraging root development.
- Plant Your Cuttings: Fill your small pots or trays with your prepared potting mix. Make a small hole in the center of each pot with your finger or a pencil. Insert the cut end of your treated cutting into the hole, ensuring it’s firm enough to stand up. You can fit several cuttings in one tray, giving them a little space.
- Water Gently: After planting, water thoroughly but gently. You want the soil to be moist, not soggy.
- Create the Greenhouse: Cover the pots with a clear plastic bag (you can use a stake to keep it from touching the leaves) or place them under a clear propagation dome. This keeps humidity high, which is crucial for preventing the cuttings from drying out before they root.
The “Secret Sauce” (Pro Tips)
Here are a couple of things I’ve learned over the years that can really make a difference:
- Don’t Let Leaves Touch the Water: If you happen to be water-propagating (which is less common but still possible for Dipteryx micrantha with very tender tips), ensure that no leaves are submerged. Any leaves in the water are a direct invitation for rot to set in. My preference for this plant, however, is always soil.
- Bottom Heat is Magic: If you can, place your pots on a heating mat designed for plants. This provides gentle warmth to the soil, which significantly encourages root formation. It’s like giving your cuttings a cozy blanket to help them get started.
Aftercare & Troubleshooting
Once your cuttings are planted, the waiting game begins! Keep them in a bright, indirect light location. Avoid direct sun, which can scorch those tender new leaves. Check the moisture level regularly – the soil should be consistently moist but not waterlogged. You can gently pull on a cutting after a few weeks; if there’s resistance, it means roots are forming!
The most common signs of failure are wilting and rot. If a cutting is wilting and the soil is dry, it’s likely not getting enough moisture. If it’s wilting and the soil is wet, or if the stem turns mushy and black at the soil line, you’ve got rot. This is often due to overwatering or poor drainage. If you see rot, it’s best to discard the affected cutting to prevent it from spreading.
A Encouraging Closing
So there you have it! Propagating Dipteryx micrantha might take a little extra care, but the joy of success is so worth it. Be patient with your little ones, learn from any setbacks, and most importantly, enjoy the process of nurturing new life. Happy gardening!
Resource:
https://identify.plantnet.org/k-world-flora/species/Dipteryx%20micrantha%20Harms/data