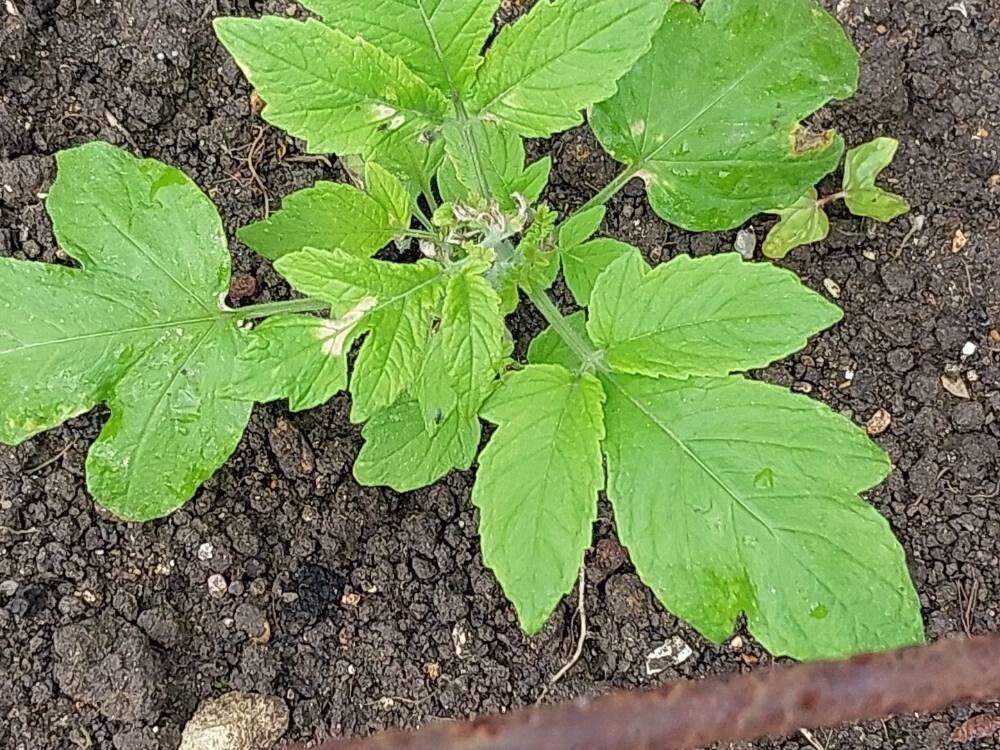
Hey there, green thumbs! You know, there are some plants that just steal your heart with their vibrant colors and unique charm. Loasa tricolor is definitely one of them. Those fiery orange and yellow blooms, often with splashes of deep red or purple, are like little jewels in the garden. And guess what? They’re surprisingly easy to share! Propagating them is a wonderful way to fill your own garden bed, surprise a friend with a new plant baby, or simply experiment with the magic of making new life from an old favorite. For those of you just starting out, you’ll find Loasa tricolor a nice and forgiving plant to practice your propagation skills on.
The Best Time to Start
Spring is really where it’s at for Loasa tricolor. As the days get longer and warmer, usually after the last frost has completely kissed your area goodbye, the plant is buzzing with energy. This is when it’s actively growing and most receptive to taking root. You can also try it in early summer, but spring gives you the best head start.
Supplies You’ll Need
To get your Loasa tricolor propagation journey started, gather these goodies:
- Sharp pruning shears or a clean knife: For making neat cuts.
- Rooting hormone (optional but helpful): A powdered or liquid solution that encourages root development.
- Well-draining potting mix: A mix formulated for containers or cuttings. I often use a blend of perlite and peat moss.
- Small pots or propagation trays: With drainage holes, of course!
- Watering can or spray bottle: For gentle hydration.
- Plastic bag or clear dome: To create a humid environment.
- A warm, bright spot: Out of direct, harsh sunlight.
Propagation Methods
Loasa tricolor is a champ at stem cuttings, which is my go-to method. It’s straightforward and usually yields great results.
-
Take Your Cuttings: In spring or early summer, select a healthy, non-flowering stem. It should be about 4-6 inches long and have at least a couple of sets of leaves. Using your sharp shears or knife, make a clean cut just below a leaf node (that little bump where a leaf grows from the stem). Remove the lower leaves, leaving just the top two or three.
-
Apply Rooting Hormone (if using): Dip the cut end of the stem into your rooting hormone powder or liquid. Tap off any excess.
-
Plant Your Cuttings: Fill your small pots or trays with the well-draining potting mix. Make a small hole in the center of the soil with your finger or a pencil. Gently insert the prepared cutting into the hole, ensuring the leaf nodes are below the soil surface. Firm the soil gently around the stem to hold it in place.
-
Provide Humidity: Water the soil lightly. Then, cover the pot with a clear plastic bag or place it under a clear dome. This traps moisture and creates a mini-greenhouse effect, which is crucial for cuttings.
-
Find the Right Spot: Place the potted cuttings in a location that receives bright, indirect light. Avoid direct sun, as it can scorch the delicate young stems. A warm spot is also key.
The “Secret Sauce” (Pro Tips)
Here are a few tricks I’ve picked up over the years that really boost success with plants like Loasa tricolor:
- Bottom Heat is Your Friend: If you can, place your pots on a heated propagation mat. This warmth from below encourages roots to form much faster. It’s like giving your cuttings a cozy little spa day for root growth!
- Don’t Drown Them! While humidity is important, your cuttings don’t want to sit in waterlogged soil. Check the moisture regularly by poking your finger into the soil. Water only when the top inch feels dry. Soggy soil is an open invitation for rot.
- Patience with the Pinch: Once you see new leaf growth on your cutting, it’s a good sign roots are forming! Resist the urge to tug them out to check. Wait until you have a decent amount of growth before gently teasing them out to see how well-rooted they are.
Aftercare & Troubleshooting
Once your cuttings have developed a good root system (you’ll be able to see roots emerging from the drainage holes or feel resistance when you gently tug), it’s time to transition them to their own slightly larger pots or into the garden bed if the weather is cooperating. Continue to water them consistently, but allow the soil to dry out slightly between waterings.
The most common issue you might encounter is rot. If your cutting turns black and mushy, it’s usually a sign of too much moisture and not enough air circulation. If you catch it early, you might be able to salvage a firmer part of the stem. Yellowing leaves can sometimes indicate overwatering or sometimes underwatering, so observe your plant closely.
A Little Encouragement to Finish
Propagating plants is all about patience and observation. Don’t be discouraged if not every cutting takes. Every gardener has had their share of failures! Just think of it as learning. Enjoy the process of watching these little bits of beauty transform into their own plants. Happy propagating!
Resource:
https://identify.plantnet.org/k-world-flora/species/Loasa%20tricolor%20Ker%20Gawl./data