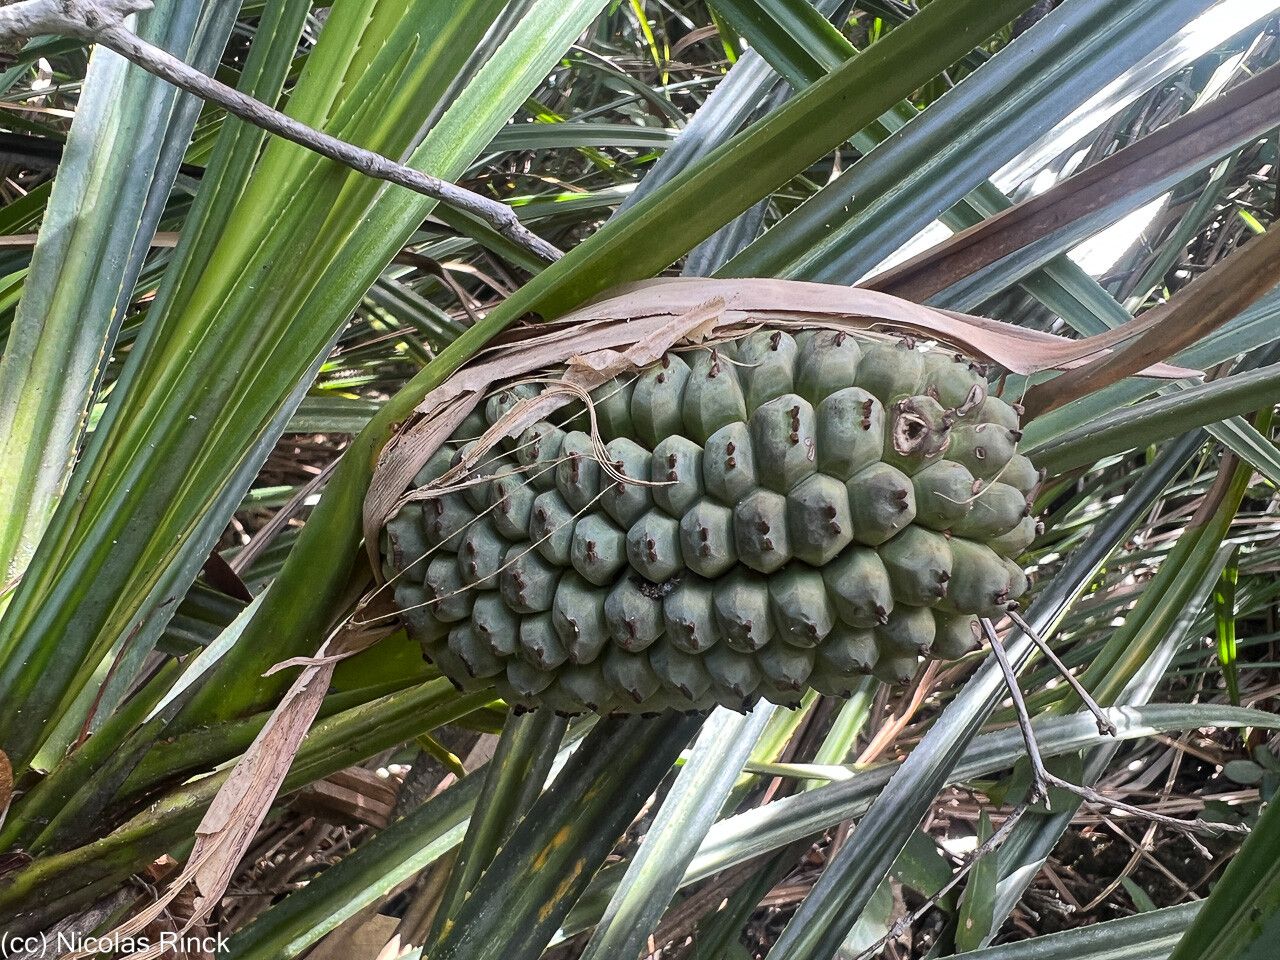
Oh, Pandanus decumbens! What a fantastic plant to have gracing your home or garden. Those striking, spiky leaves with their architectural beauty are simply captivating. And the best part? Taking cuttings from your existing plant is a wonderfully rewarding way to multiply that beauty. You’ll end up with more of these architectural wonders to share or just fill your space. For many common houseplants, propagation can feel a bit daunting, but I’ve found Pandanus decumbens to be quite forgiving, making it a great plant for beginners looking to dip their toes into the world of plant parenthood by way of cuttings.
The Best Time to Start
Generally, your Pandanus decumbens will be most receptive to propagation during its active growing season. For most of us, this means spring and early summer. You’ll see your plant putting out new growth, and it’s during this vigorous period that the cuttings will have the best chance of establishing quickly. Wait until you have a well-established, healthy mother plant before you think about taking cuttings.
Supplies You’ll Need
- Sharp pruning shears or a clean knife: It’s essential to make clean cuts to minimize damage to the plant and prevent disease.
- Potting mix: A well-draining mix is crucial. I like to use a blend of equal parts peat moss and perlite, or you can use a good quality cacti and succulent mix.
- Small pots or containers: Whatever you choose, make sure they have drainage holes. Yogurt cups with holes poked in the bottom work in a pinch!
- Rooting hormone (optional but recommended): This can help speed up the process and increase your success rate. Look for one with an indole-butyric acid (IBA) base.
- Watering can or spray bottle: For gentle watering.
- Plastic bag or propagation dome (optional): To create a humid environment for cuttings, especially if your home is dry.
Propagation Methods
My preferred method for Pandanus decumbens is taking stem cuttings, as it’s usually the most successful. Here’s how I do it:
- Select a healthy stem: Look for a mature stem that is at least 4-6 inches long and has a few sets of leaves. You’ll want to cut just below a node, which is a point where a leaf attaches to the stem.
- Make the cut: Using your sharp pruning shears or knife, make a clean cut through the stem.
- Prepare the cutting: Gently remove the lower leaves from the cutting, leaving at least two or three sets of leaves at the top. If the leaves are very large, you can even cut them in half to reduce water loss.
- Apply rooting hormone (if using): Dip the cut end of the stem into your rooting hormone, tapping off any excess.
- Plant the cutting: Make a hole in your prepared potting mix with your finger or a pencil. Carefully insert the cutting into the hole, ensuring the node where you removed the leaves is below the soil line. Gently firm the soil around the cutting.
- Water gently: Give the soil a light watering to settle it around the cutting.
- Provide humidity (optional): If you’re using a plastic bag or dome, place it over the pot, ensuring it doesn’t touch the leaves. This creates a mini-greenhouse effect. Loosely tie the bag or place the dome on top.
The “Secret Sauce” (Pro Tips)
Here are a few things I’ve learned over the years that really make a difference when propagating Pandanus:
- Let it callus: After you make your cut, let the stem cutting sit out in a dry, airy spot for a day or two. This allows the cut end to dry and form a callus, which helps prevent rot and encourages rooting.
- Beware of rot in the leaves: If you’re doing water propagation (which I generally avoid for these but some people succeed), make sure no leaves are submerged in the water. They’ll just rot and take your cutting with them. Submerged leaves are the enemy!
- Bottom heat is your friend: If you have an old heating mat designed for seedlings, placing your pots on it can significantly speed up root development. It mimics the warmth of the soil from a mother plant.
Aftercare & Troubleshooting
Once your cutting is planted, it’s time for patience and observation. Keep the soil consistently moist but not soggy. Check the humidity inside your plastic bag or dome daily, and if there’s a lot of condensation, vent it for a few hours. You’ll know your cutting has rooted when you see new leaf growth emerging from the center of the plant or when you gently tug on the cutting and feel resistance. This can take anywhere from 4 weeks to a couple of months.
The most common issue you’ll encounter is rot. If you see your cutting turning mushy or black, it’s likely due to overwatering or lack of drainage. Unfortunately, a rotted cutting is usually a goner. Don’t be discouraged though! Just try again, paying close attention to your watering and soil mix.
A Encouraging Closing
Propagating plants is a wonderful journey of connection with nature. Don’t be afraid to experiment and learn from each attempt. Be patient, keep your new cuttings in a bright spot with indirect light, and before you know it, you’ll have a whole new generation of these stunning Pandanus decumbens to admire. Happy propagating!
Resource:
https://identify.plantnet.org/k-world-flora/species/Pandanus%20decumbens%20(Brongn.)%20Solms/data