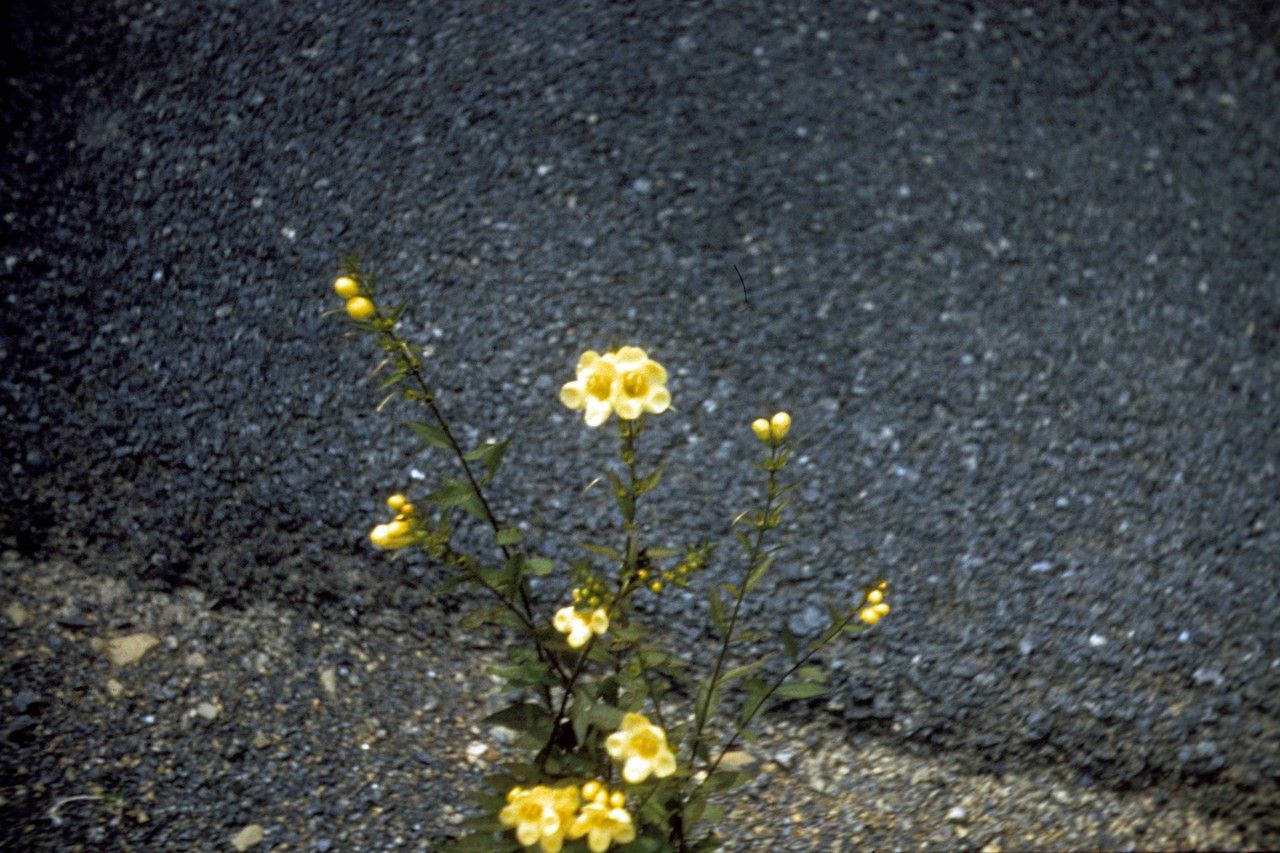
Well hello there, fellow plant lover! I’m so glad you’ve stopped by. Today, we’re going to talk about a quite special plant: Aureolaria levigata. You might know it as golden ragwort, or perhaps even yellow-flowered Aureolaria. Whatever you call it, this beauty is definitely a treat for the eyes. Its sunny yellow blooms have a way of brightening any corner of the garden, and frankly, it’s just a joy to watch it unfurl.
Propagating Aureolaria levigata is a wonderfully rewarding experience. There’s something magical about nurturing a tiny cutting into a fully formed plant. It’s a bit of a journey, but don’t let that intimidate you. While it might not be the absolute easiest plant for a complete beginner, with a little guidance, you’ll be well on your way to success.
The Best Time to Start
When it comes to getting the most bang for your propagation buck, late spring to early summer is truly your golden window. This is when Aureolaria levigata is in its active growing phase. The new shoots are vigorous and full of life, making them prime candidates for taking cuttings. Think about it – they’re already bursting with energy, ready to put down roots and grow!
Supplies You’ll Need
Before we get our hands dirty, let’s gather up our essentials. Having everything ready makes the whole process so much smoother.
- Sharp, clean pruning shears or a sharp knife: A clean cut is crucial to prevent disease.
- A well-draining potting mix: I like a blend of good quality potting soil mixed with perlite or horticultural grit. About a 50/50 ratio works wonders for aeration.
- Rooting hormone (optional, but recommended): This can give your cuttings a helpful boost and increase your success rate. Look for a powder or gel.
- Small pots or trays: Clean pots are your friend! About 3-4 inch pots are perfect.
- Plastic bags or a clear plastic dome: This will help create a humid environment for your cuttings.
- A watering can with a fine rose: Gentle watering prevents disturbing your precious cuttings.
- Labels and a marker: Trust me, you’ll thank yourself later for labeling your pots!
Propagation Methods
Now for the fun part! Aureolaria levigata is quite amenable to stem cuttings, which I find to be the most reliable method.
Stem Cuttings: Step-by-Step
- Gather your cuttings: On a bright morning, select healthy, non-flowering stems from your parent plant. Look for stems that are about 4-6 inches long and feel firm, not woody.
- Make the cut: Using your sharp shears, make a clean cut just below a leaf node (that little bump where a leaf attaches to the stem).
- Prepare the cutting: Gently remove the lower leaves from the stem, leaving just two or three sets of leaves at the top. This helps the plant conserve energy and prevents leaves from rotting in the soil.
- Apply rooting hormone (if using): Dip the cut end of the stem into the rooting hormone, tapping off any excess.
- Pot them up: Fill your small pots with your prepared potting mix. Make a small hole in the center of the soil with your finger or a pencil.
- Insert the cutting: Carefully place the cut end of the stem into the hole, ensuring the leaf nodes are covered by soil. Gently firm the soil around the cutting.
- Water gently: Water the soil thoroughly until it’s evenly moist but not waterlogged.
- Create humidity: Place the potted cuttings into a plastic bag, ensuring the leaves don’t touch the sides of the bag. Alternatively, cover the pots with a clear plastic dome. This traps moisture and creates the humid microclimate the cuttings need.
- Find a good spot: Place your pots in a bright location with indirect light. Avoid direct sunlight, as this can scorch the delicate cuttings.
The “Secret Sauce” (Pro Tips)
Over the years, I’ve learned a few tricks that can really give your propagation efforts a leg up.
- Bottom heat makes a difference! If you have a propagation mat or can place your pots on top of something that’s slightly warm (like a gently used electronics charger), it can significantly speed up root development. It mimics the warmth of spring soil.
- Don’t be afraid to mist: Even with the plastic cover, a light misting of the leaves with water every few days can help keep them plump and happy, especially in drier indoor environments.
- Patience is key, but observe closely: While we want to be patient, it’s also vital to keep an eye out. As soon as you see new leaf growth, that’s a really good sign that roots are forming below the surface.
Aftercare & Troubleshooting
Once you detect those first signs of new growth, rejoice! It means roots are developing. Continue to keep the soil consistently moist but not soggy. As the cuttings grow larger and stronger, you can gradually acclimate them to less humid conditions by partially opening the plastic bag or dome. Eventually, you can remove it entirely.
The most common issue you might encounter is rot. This usually happens if the soil stays too wet or if there isn’t enough air circulation. If you see a stem turning black and mushy, sadly, that cutting is likely lost. Remove it immediately to prevent the rot from spreading to other cuttings. Overwatering is almost always the culprit.
A Encouraging Closing
Bringing new life into the world, one cutting at a time, is one of the most fulfilling aspects of gardening. Be patient with your Aureolaria levigata cuttings. Like any new endeavor, there might be a learning curve, but with each attempt, you’ll gain more confidence. Enjoy the process, celebrate the small victories, and soon you’ll have a whole happy family of golden ragwort to share! Happy propagating!
Resource:
https://identify.plantnet.org/k-world-flora/species/Aureolaria%20levigata%20(Raf.)%20Raf./data