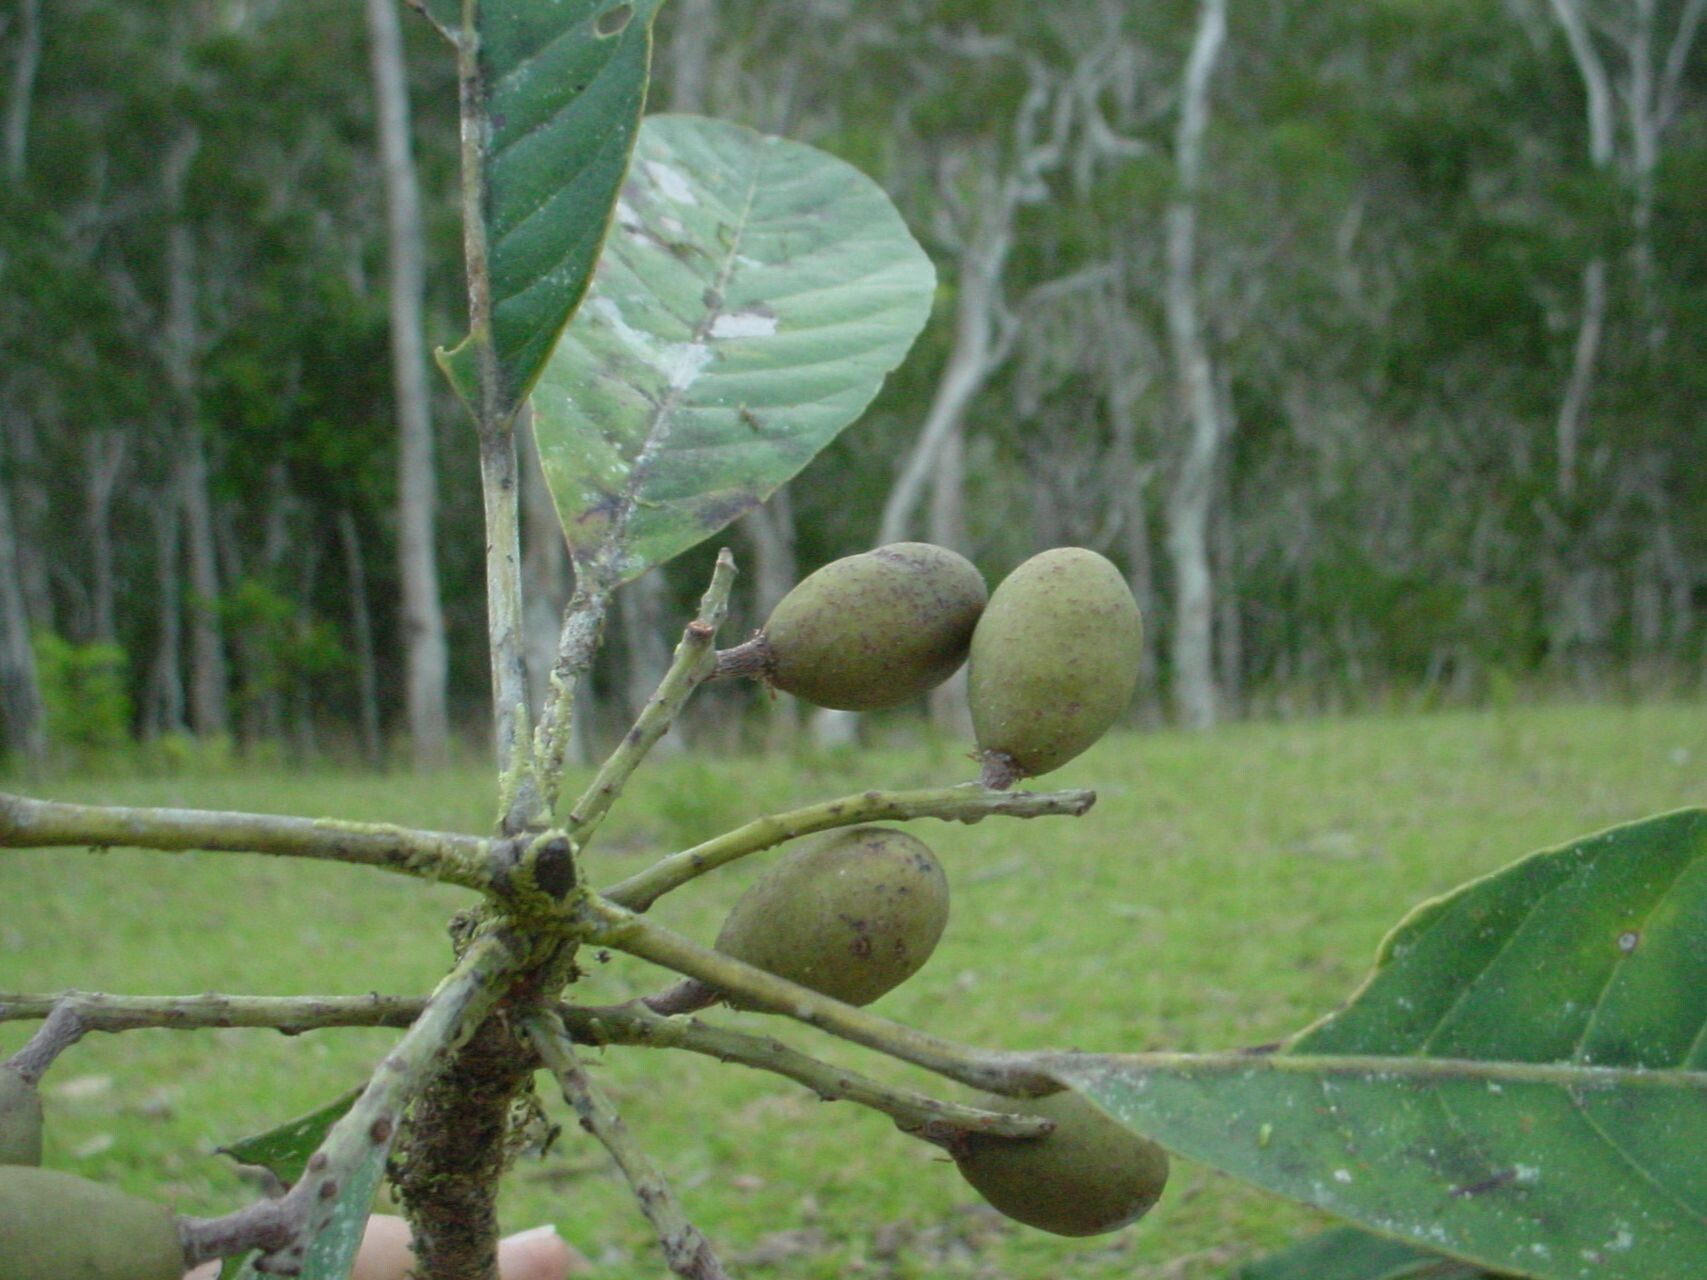
Oh, hello there! Come on in, grab a mug. We’re going to talk about a truly special plant today: Elaeocarpus weibelianus. If you’re looking for a bit of vibrant, glossy green to brighten your garden, this is a fantastic choice. Its handsome foliage and, if you’re lucky, delicate blue flowers make it a real charmer. And you know, the joy of coaxing a brand new plant from a piece of an old one? There’s nothing quite like it. While Elaeocarpus weibelianus can be a little more thoughtful than some of the super-easy bedroom plants, it’s absolutely achievable, especially with a few good pointers. Don’t be put off; think of it as getting to know your plant on a deeper level.
The Best Time to Start
When I’m looking to get new Elaeocarpus weibelianus plants going, my favorite time is late spring to early summer. This is when the plant is actively growing, full of vigour. You’ll find the new shoots are flexible and receptive to rooting. Trying to propagate too early, when growth is slow, or too late in the year, when things are winding down, can really make things tougher for your little cuttings. So, aim for when the days are getting longer and warmer.
Supplies You’ll Need
Having everything ready makes the process so much smoother. Here’s what I usually gather:
- Sharp Pruning Shears or a Knife: Clean cuts are essential for healthy rooting. Sterilize them with rubbing alcohol before you begin.
- Rooting Hormone: A good quality rooting powder or gel will give your cuttings a great head start. Look for one containing IBA (Indole-3-butyric acid).
- Propagation Pots: Small pots or seed trays work well. Ensure they have drainage holes.
- Well-Draining Potting Mix: I like a mix of 50% perlite and 50% peat moss or coco coir. This keeps things airy and prevents waterlogging.
- Watering Can with a Fine Rose: Gentle watering is key.
- Plastic Bags or a Propagator: To create a humid environment for your cuttings.
- Labels and a Pen: To keep track of what you’ve planted and when!
Propagation Methods
For Elaeocarpus weibelianus, rooting stem cuttings is generally the most successful and widely used method. It’s quite straightforward once you get the hang of it. Let’s dive in.
- Select Your Cuttings: Look for healthy, semi-hardwood cuttings. These are usually found on the current season’s growth that has started to harden off – think stems that aren’t bright green and floppy, but also aren’t woody and stiff. You want pieces about 10-15 cm (4-6 inches) long.
- Take Your Cuttings: Using your sterilized pruning shears, make a clean cut just below a leaf node (where a leaf attaches to the stem). This is an area where roots are more likely to form.
- Prepare the Cuttings: Gently remove the lower leaves, leaving only a few at the very top. This reduces water loss and prevents leaves from rotting in the soil. If the top leaves are very large, you can even cut them in half horizontally.
- Apply Rooting Hormone: Dip the bottom 2-3 cm (about an inch) of each cutting into water briefly, then into the rooting hormone powder or gel. Tap off any excess.
- Pot Them Up: Fill your small pots or seed tray with your well-draining potting mix. Make small holes in the soil with a pencil or dowel.
- Insert the Cuttings: Carefully insert the base of each cutting into the holes, ensuring the rooting hormone stays on the stem. Gently firm the soil around them.
- Water Gently: Water the pots thoroughly until water runs out of the drainage holes.
The “Secret Sauce” (Pro Tips)
Here are a couple of things I’ve learned over the years that really make a difference:
- Bottom Heat is Your Friend: Elaeocarpus weibelianus cuttings absolutely love a bit of warmth from below. If you can, place your pots on a heated propagator mat or in a warm spot in your greenhouse. This encourages root development much faster than ambient room temperature alone. It’s a real game-changer!
- Don’t Let Them Drown: When misting or watering, be mindful of creating a swamp. While humidity is crucial, waterlogged soil is the enemy. Ensure your pots have good drainage, and if you’re using a propagator lid, open it for a half-hour each day to allow for air circulation. “Sweating” lids can sometimes lead to fungal issues.
Aftercare & Troubleshooting
Once your cuttings are potted up, the next step is to create that humid environment. Cover the pots with a clear plastic bag, propped up with stakes so it doesn’t touch the leaves, or pop them into a propagator. Place them in a bright location but out of direct, harsh sunlight. Keep the soil consistently moist but not soggy.
You’ll start to see signs of life – new leaf growth – which is usually a good indicator that roots are forming. It can take anywhere from 4 to 8 weeks, sometimes longer, so patience is key!
Now, what if things go wrong? The most common issue is rot. This usually happens if the soil is too wet, there’s not enough air circulation, or the cuttings have been kept too cold. If you see your cutting turning black and mushy, it’s unfortunately a goner. Remove it immediately to prevent it from spreading. Sometimes, a cutting might just shrivel up – this can be due to lack of moisture or too much direct sun. Don’t despair if a few don’t make it; it’s all part of the learning curve for any gardener! When new roots are well-established (you can gently tug and feel resistance), or you see roots emerging from the drainage holes, it’s time to acclimate them slowly to normal room conditions before potting them into slightly larger pots.
A Encouraging Closing
So there you have it! Propagating Elaeocarpus weibelianus is a rewarding journey. It requires a little attention and patience, but seeing those tiny roots emerge and knowing you’ve nurtured a new life from a simple cutting is incredibly satisfying. Don’t be afraid to experiment, and most importantly, enjoy the process of gardening and growing. Happy propagating!
Resource:
https://identify.plantnet.org/k-world-flora/species/Elaeocarpus%20weibelianus%20Tirel/data