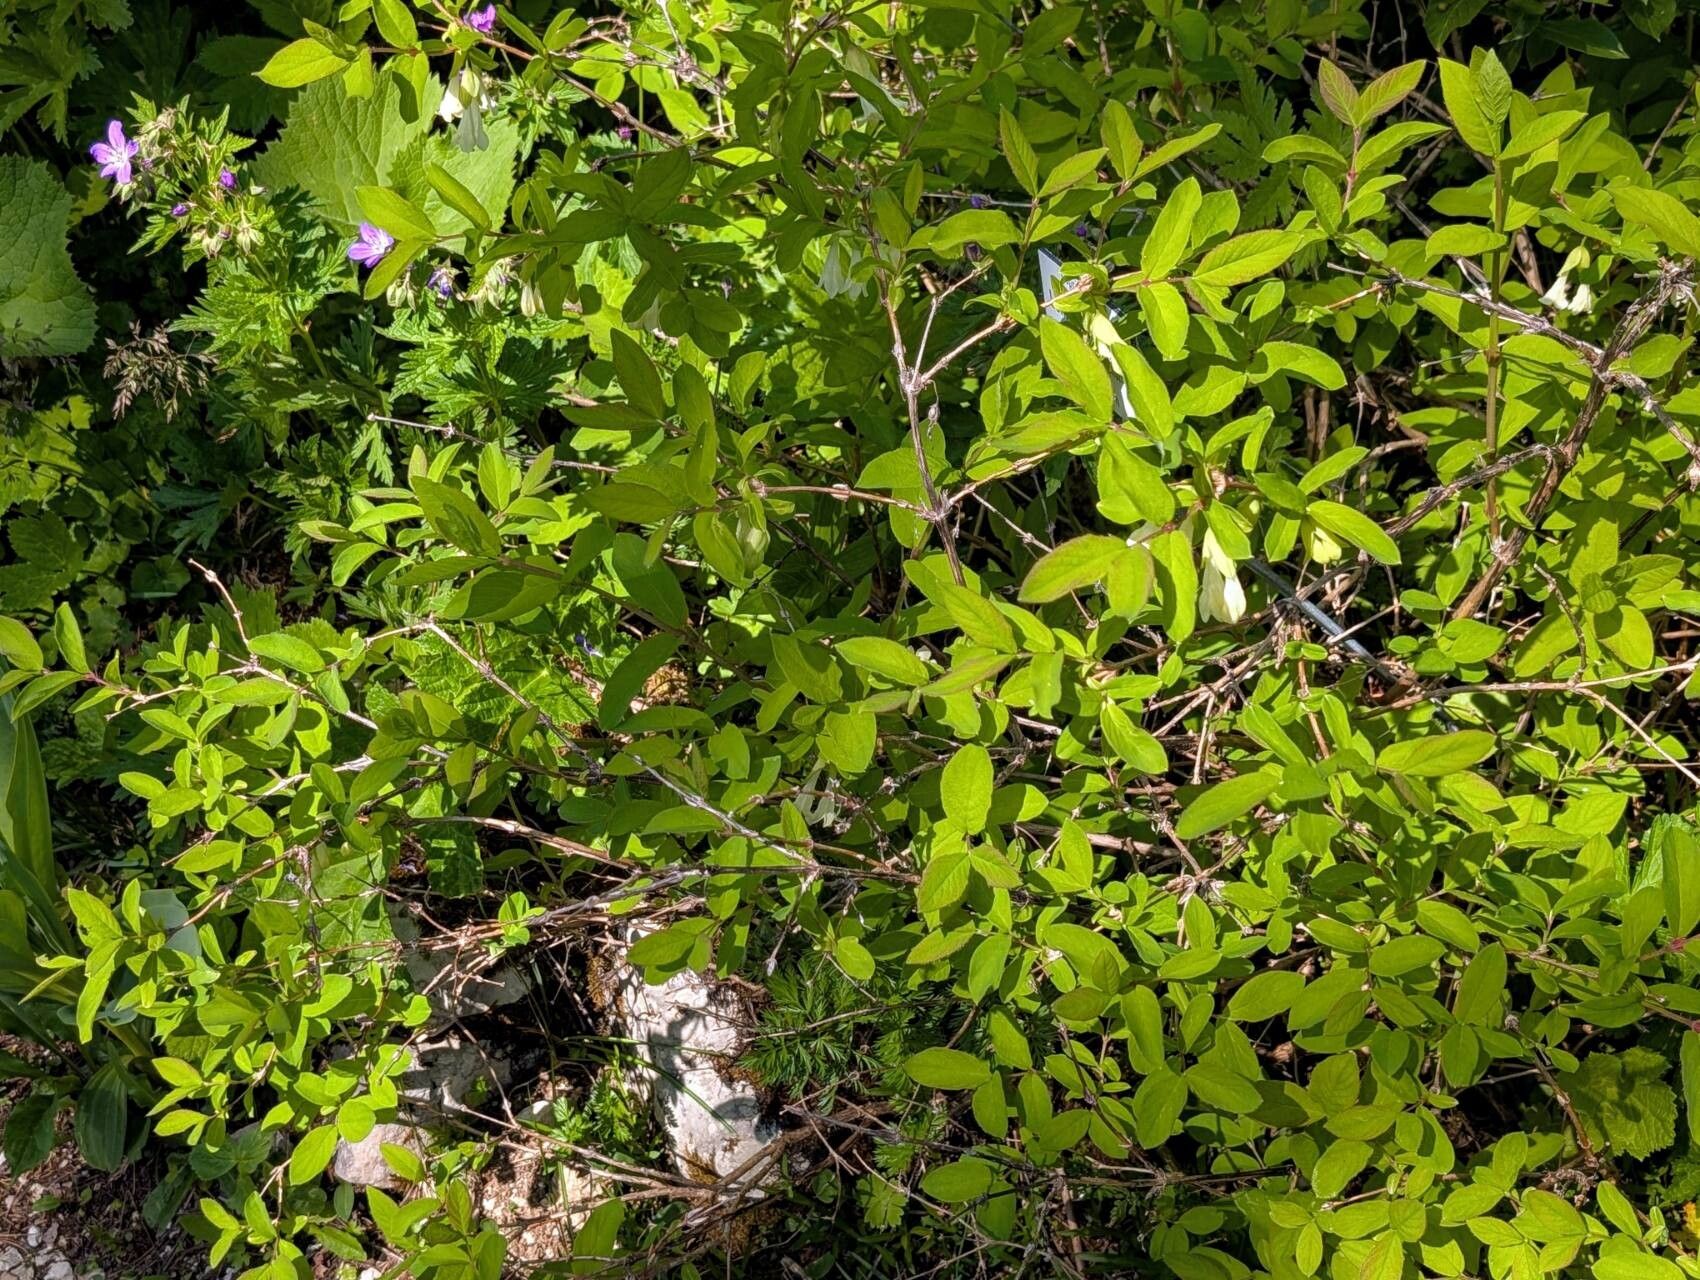
Oh, hello there! Come on in, pull up a chair. I’ve got a fresh pot of coffee brewing, and I’m just itching to share a little secret with you about a plant I absolutely adore: Lonicera hispida. You might know it better by its common name, the bristly honeysuckle. Isn’t she a beauty? Those graceful, arching stems draped with delicate, often fragrant flowers… it just warms my heart to see them gracing a garden. And the best part? You can easily grow your own! Propagating Lonicera species, and hispida is no exception, is a really rewarding endeavor. For those of you dipping your toes into the world of plant propagation, I’ll be honest, Lonicera hispida is a wonderfully forgiving plant to start with. You’ll likely find yourself with success sooner than you think!
The Best Time to Start
When it comes to timing, we want to catch our bristly honeysuckle at its most vigorous. For stem cuttings, which is my go-to method for this plant, late spring to early summer is your golden ticket. This is when the new shoots have hardened off a bit – they’re not super floppy and green, but not woody and old either. Think of it as the perfect in-between stage. You’re looking for those semi-hardwood cuttings.
Supplies You’ll Need
Don’t let a long list intimidate you; it’s mostly common garden fare:
- Sharp Pruning Shears or a Clean Knife: For making clean cuts. We don’t want to tear anything!
- Rooting Hormone (Optional, but Recommended): A powder or gel to encourage root development. I find it gives an extra boost.
- Small Pots or Seedling Trays: Clean and with drainage holes, of course.
- Well-Draining Potting Mix: A blend of equal parts potting soil, perlite, and peat moss works wonderfully. A cactus mix can also be a good base with a little extra peat added.
- Plastic Bags or a Clear Plastic Dome: To create a humid environment for your cuttings.
- Watering Can with a Fine Rose: For gentle watering.
- Labels and a Pen: Don’t forget to label your cuttings! Trust me on this one.
Propagation Methods: Stem Cuttings
This is where the magic happens! It’s straightforward and yields fantastic results for Lonicera hispida.
- Take Cuttings: Select healthy, non-flowering shoots from your parent plant. Look for those that are about 4-6 inches long. Using your sharp shears, make a clean cut just below a leaf node. A leaf node is that little bump where a leaf grows from the stem.
- Prepare the Cuttings: Gently remove the lower leaves from the cutting, leaving just the top two or three leaves. If the remaining leaves are quite large, I like to cut them in half horizontally. This reduces water loss through transpiration while still allowing for photosynthesis.
- Dip in Rooting Hormone (Optional): Dip the cut end of the stem into your rooting hormone powder or gel. Tap off any excess.
- Plant the Cuttings: Fill your pots or trays with your prepared potting mix. Make a hole in the center with your finger or a pencil and gently insert the cutting. Firm the soil around it so it stands upright.
- Water Gently: Water the soil thoroughly but gently, ensuring it’s moist but not waterlogged.
- Create a Humid Environment: Cover each pot with a clear plastic bag, securing it with a rubber band around the rim, or place them under a clear plastic dome. This is crucial for keeping the cuttings from drying out.
The “Secret Sauce” (Pro Tips)
Now, for a couple of my little tricks that have always served me well:
- Bottom Heat is Your Friend: If you can, place your pots on a heating mat designed for seedlings. This encourages quicker root development from below, giving your cuttings a real head start. It’s like a cozy little spa day for their roots!
- Don’t Overcrowd: Give your cuttings a little breathing room. If you’re using a tray, space them about 2-3 inches apart. Overcrowding can lead to poor air circulation, which is a breeding ground for fungal issues.
Aftercare & Troubleshooting
Be patient! It can take anywhere from 4 to 8 weeks for your cuttings to develop a good root system. You’ll know they’re ready when you give a gentle tug and feel resistance, or if you see new leaf growth.
Once roots have formed, you can carefully transplant them into individual, slightly larger pots. Continue to keep them in a bright spot with indirect light and maintain consistent moisture. Gradually acclimate them to normal room humidity by opening the plastic bags or dome a little bit each day over a week.
Now, what if things go wrong? The most common culprit is rot. If your cutting turns black and mushy, or if you see mold on the surface of the soil, it’s usually a sign of too much moisture and not enough air circulation. Discard any affected cuttings and ensure your remaining ones have good drainage and aren’t sitting in soggy soil.
A Little Encouragement
There you have it! Propagating Lonicera hispida is truly a joy. Don’t be discouraged if your first attempt isn’t perfect. Gardening is all about learning and adapting. Enjoy the process, watch your little honeysuckles grow, and soon you’ll have a whole garden full of their sweet fragrance. Happy propagating!
Resource:
https://identify.plantnet.org/k-world-flora/species/Lonicera%20hispida%20Pall.%20ex%20Schult./data