Hello there, fellow green enthusiasts! It’s so wonderful to connect with you today from my little corner of the garden. We’re going to talk about a true gem: Kylicanthe rohrii.
Why You’ll Love Propagating Kylicanthe rohrii
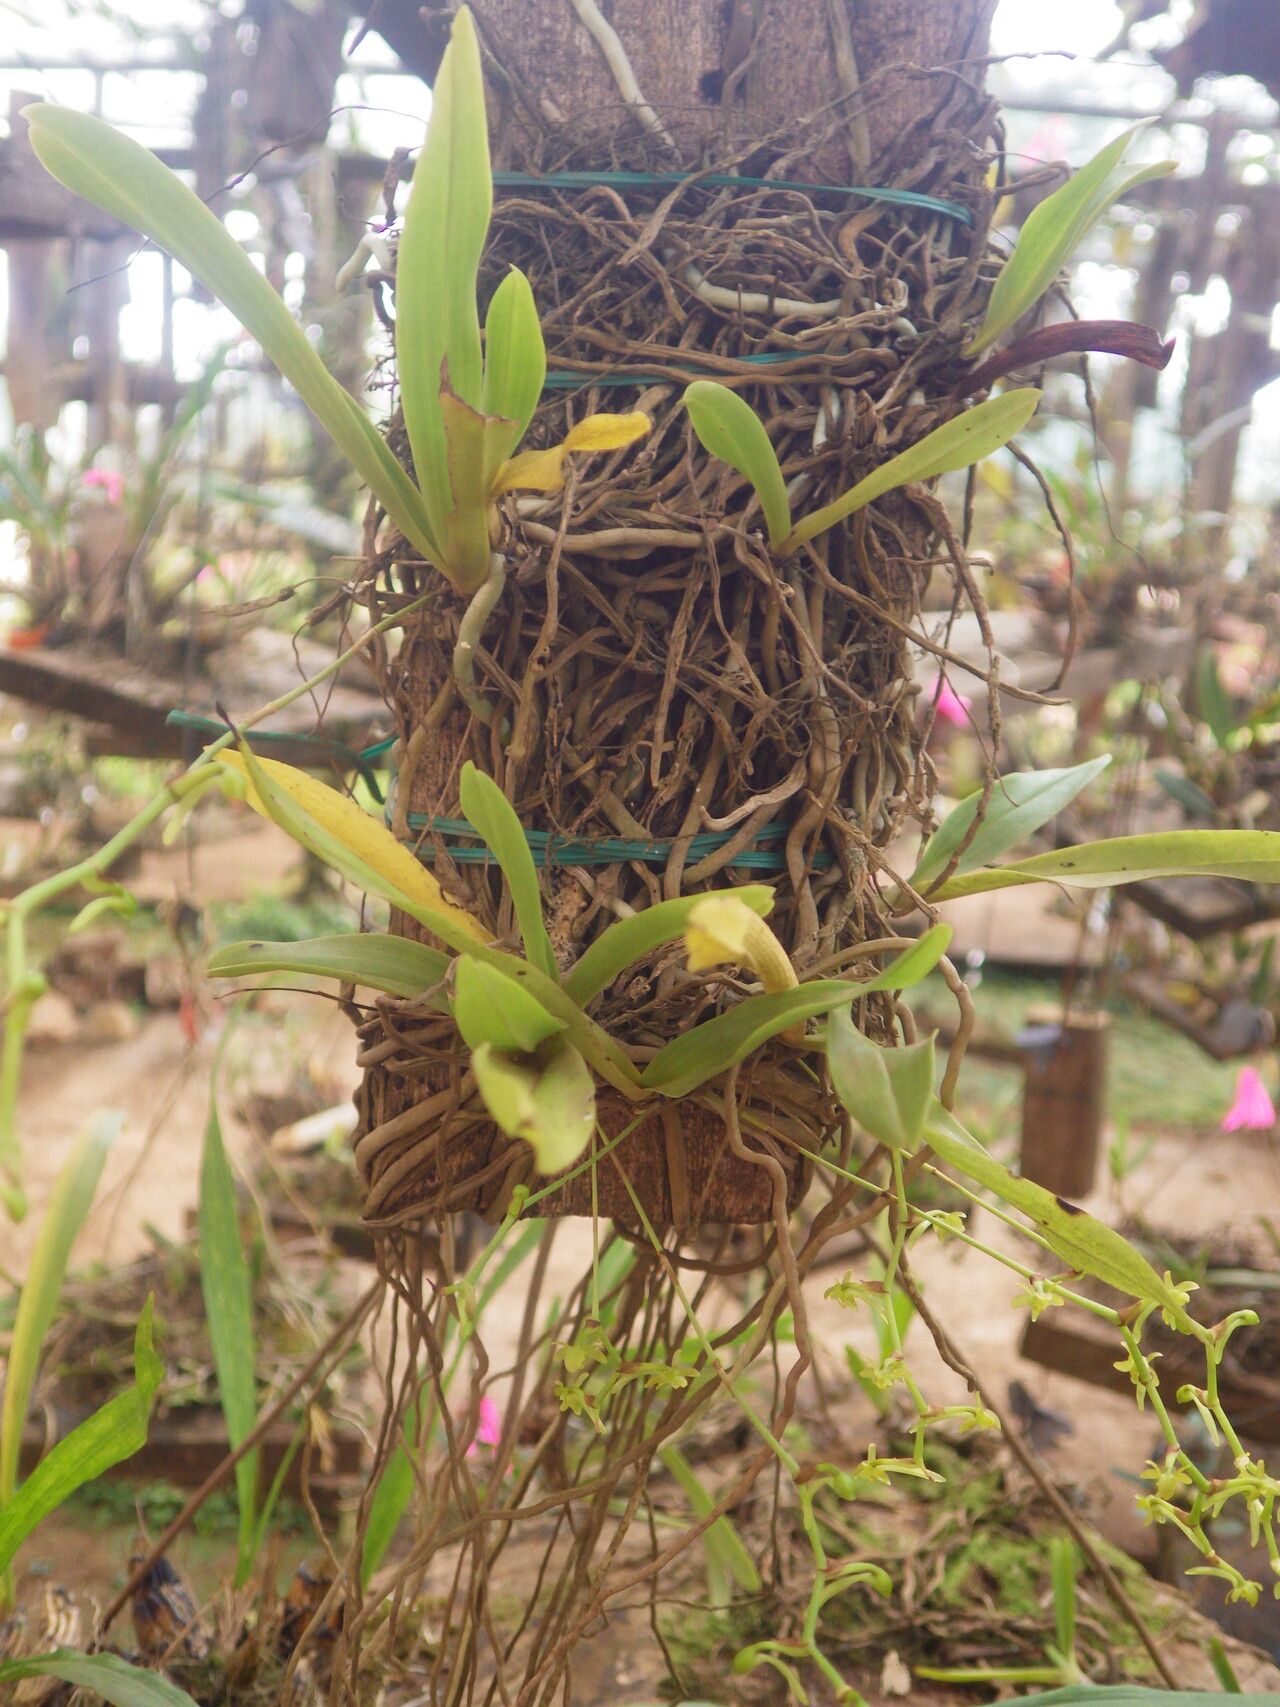
This plant, with its delicate, bell-shaped blooms and often striking foliage, brings such a unique charm to any space. Seeing a new plant emerge from a tiny cutting or division is one of the most rewarding experiences a gardener can have. It’s a testament to life’s tenacity and a fantastic way to share beautiful plants with friends. Now, I wouldn’t say Kylicanthe rohrii is for absolute beginners who’ve never touched a trowel, but with a little care and attention, it’s certainly achievable for those of you who have a bit of gardening under your belt.
The Best Time to Start
The sweet spot for propagating Kylicanthe rohrii is typically late spring to early summer. This is when the plant is actively growing and has plenty of energy reserves to put into developing new roots. Look for stems that are healthy and have just finished flowering, or are in their vigorous vegetative growth phase. Avoid trying to propagate from overly woody or dormant stems.
Supplies You’ll Need
Gathering your tools before you start will make the whole process smoother. Here’s what I usually have on hand:
- Sharp Pruning Shears or a Clean Knife: For making clean cuts. Sterilize them with rubbing alcohol to prevent disease.
- Rooting Hormone: While not strictly essential for all plants, it can give your Kylicanthe rohrii cuttings a real boost. Look for one specifically for stem cuttings.
- Well-Draining Potting Mix: A good blend for me is equal parts perlite and a good quality seed-starting or potting mix. You want something that allows water to drain freely but still retains a little moisture.
- Small Pots or Seedling Trays: Clean pots are a must! Small ones, about 3-4 inches in diameter, are perfect for cuttings.
- Plastic Bags or a Propagation Dome: To create a humid microclimate for your cuttings.
- Spray Bottle: For misting.
- Labels: To remember what you’ve planted and when!
Propagation Methods for Kylicanthe rohrii
This lovely plant is usually best propagated from stem cuttings. It’s straightforward and typically yields good results.
-
Taking Stem Cuttings:
- Select a healthy, non-flowering stem that is about 4-6 inches long.
- Using your sterile shears or knife, make a clean cut just below a leaf node (where a leaf attaches to the stem).
- Gently remove the lower leaves, leaving only the top two or three at the tip of the cutting. This prevents leaves from rotting in the soil.
- If your stem seems a bit “flappy,” you can dip the cut end into rooting hormone, tapping off any excess powder.
-
Planting Your Cuttings:
- Fill your small pots with your prepared potting mix.
- Make a pilot hole in the center of the soil with your finger or a pencil. This prevents you from scraping off the rooting hormone.
- Insert the cutting into the hole, ensuring the nodes where you removed the leaves are buried in the soil. Gently firm the soil around the base of the cutting.
- Water gently to settle the soil.
-
Creating the Right Environment:
- Place the potted cuttings in a bright location but out of direct, harsh sunlight.
- Cover the pots with a plastic bag or place them under a propagation dome to maintain high humidity. You can prop up the bag with a skewer if it touches the leaves.
- Keep the soil consistently moist but not soggy. I like to mist the leaves and soil surface every few days.
The “Secret Sauce” (Pro Tips)
Here are a couple of things I’ve learned over the years that really make a difference:
- Bottom Heat is Your Friend: Placing your pots on a gentle heat mat is fantastic for encouraging root development. The warmth helps the plant’s natural rooting hormones kick into gear. Just make sure it’s not too hot – think lukewarm bath water, not sizzling pan!
- Don’t Rush the Transplant: Resist the urge to pull on your cuttings to “check for roots.” Be patient! New growth at the tip or slight resistance when you gently tug is a good sign. It can take anywhere from 4 to 8 weeks for roots to establish well enough.
Aftercare & Troubleshooting
Once you see signs of new growth, like tiny leaves unfurling from the tip or you feel a good tug when gently testing resistance, it’s time for the next step.
- Gradual Acclimation: If you had your cuttings under cover, gradually acclimate them to normal room humidity over a week or so. Lift the cover for longer periods each day.
- Watering: Now, you can water them a bit more thoroughly, but still always allow the top inch of soil to dry out between waterings.
- Light: Continue to provide bright, indirect light.
The most common issue you might encounter is rot. If you see your cutting turning black and mushy, or if it wilts dramatically and doesn’t bounce back, it’s likely rot. This is usually caused by overwatering and poor drainage. If you catch it early, you might be able to save a section by taking a fresh cutting from an unaffected part. Ensure your soil mix is excellent and that you’re not drowning your little ones.
Happy Propagating!
Growing new plants is always a journey, and the most important ingredient is patience. Don’t get discouraged if a cutting doesn’t make it; it’s all part of the learning process. Enjoy the moments of anticipation, celebrate every new sprout, and soon you’ll have a whole new collection of beautiful Kylicanthe rohrii to admire and share! Happy gardening!
Resource: