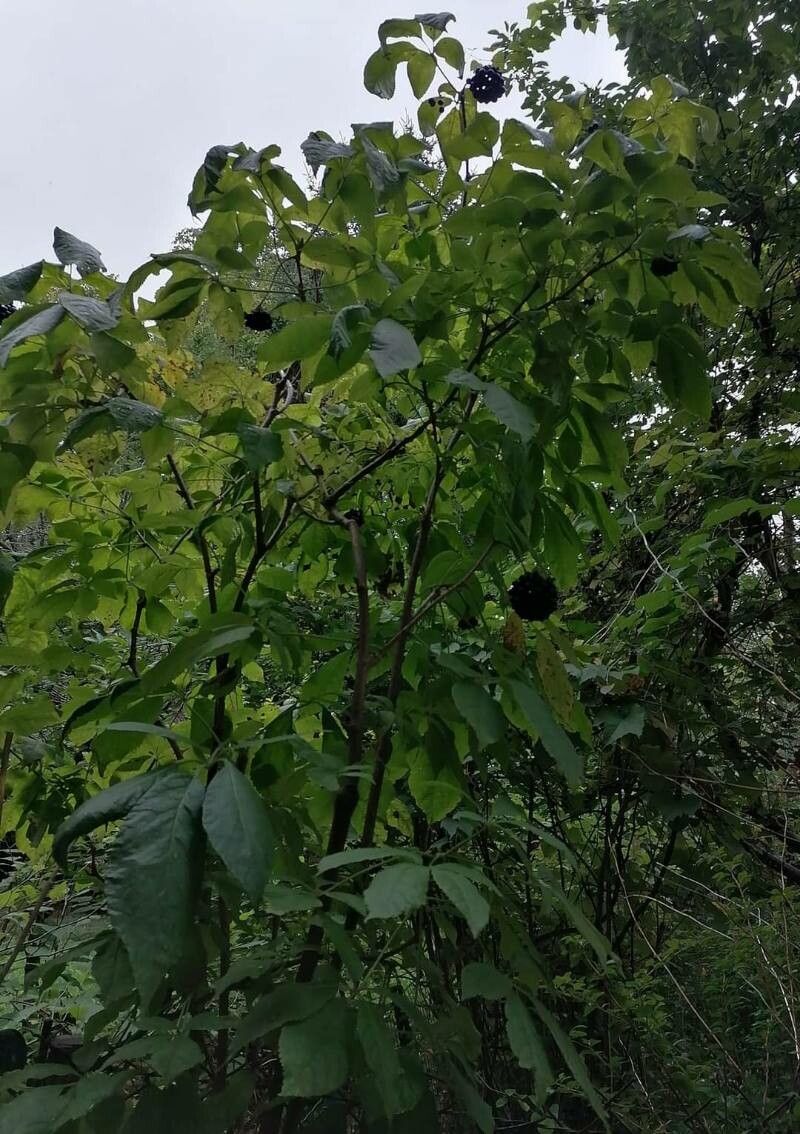
Oh, hello there! Pull up a chair and let’s talk about Eleutherococcus senticosus, sometimes called Siberian Ginseng. You might know it for its lovely, palmate leaves that look a bit like a hand reaching out, or perhaps for its purported health benefits. But for me, it’s the sheer resilience of this plant that has me hooked. It’s a trooper, and the satisfaction of coaxing a new life from an existing one? Unbeatable! Now, is it a walk in the park for absolute beginners? Honestly, it can be a little slow to get going, but with a bit of understanding, anyone can have success.
The Best Time to Start
When it comes to propagating Eleutherococcus, I’ve found my best results come from taking cuttings in late spring or early summer. This is when the plant is actively growing and has plenty of energy to put into forming new roots. Look for stems that are semi-hardwood – not brand new, flimsy growth, but not old, woody stems either. They should be flexible, with a slight give when you bend them.
Supplies You’ll Need
Here’s what I usually have on hand when I’m ready to get a bit of propagation done:
- Sharp pruning shears or a clean knife: We want clean cuts to prevent disease.
- Rooting hormone: This is a lifesaver, especially for plants that can be a bit stubborn. I prefer powder, but gel works too.
- Potting mix: A good, well-draining mix is crucial. I often use a 50/50 blend of peat moss and perlite or a good quality seed starting mix.
- Small pots or trays: Whatever you have that will hold your cuttings and the soil. Make sure they have drainage holes!
- Plastic bags or a propagator lid: We need to create a humid environment.
- Watering can or spray bottle: For gentle watering.
- Labels and a marker: Trust me, you’ll thank yourself later!
Propagation Methods
Let’s get our hands dirty with a couple of tried-and-true methods.
Stem Cuttings
This is generally my go-to for Eleutherococcus.
- Take Your Cuttings: Select healthy, semi-hardwood stems. Cut sections about 4-6 inches long. Make your cut just below a leaf node (where a leaf attaches to the stem).
- Prepare the Cuttings: Remove the lower leaves, leaving just the top 2-3 leaves. This reduces water loss. If the remaining leaves are very large, I often cut them in half horizontally to further minimize transpiration.
- Apply Rooting Hormone: Dip the cut end of each stem into your rooting hormone, tapping off any excess. This sounds simple, but it really gives the cuttings a boost.
- Plant Them Up: Fill your small pots with your prepared potting mix. Make a hole in the center with your finger or a pencil and gently insert the cutting, ensuring the hormone-coated end is in the soil. Firm the soil around the base.
- Create a Humid Environment: Water the soil thoroughly but gently. Then, cover the pot with a plastic bag, securing it around the pot with a rubber band, or place it inside a propagator with a lid. This traps humidity, which is key for root development.
- Provide Light and Warmth: Place the pots in a bright location but out of direct sunlight. A spot on a windowsill that gets gentle morning or evening sun is perfect. If you have a heat mat, placing the pots on it can significantly speed up rooting.
Division (If you have an established plant)
If you already have a mature Eleutherococcus, division is a super simple way to get more plants.
- Prepare for Digging: Water your established plant well a day or two beforehand. This helps the soil cling to the roots and reduces transplant shock.
- Dig Carefully: Dig around the base of the plant, lifting the entire root ball out of the ground or pot.
- Separate the Roots: Gently pull or use a clean spade to divide the root ball into sections. Each section should have some healthy roots and at least one or two shoots.
- Replant Immediately: Replant the divisions into prepared spots in your garden or into pots with fresh, well-draining soil. Water them in well.
The “Secret Sauce” (Pro Tips)
Here are a couple of things I’ve learned over the years that make a real difference:
- Don’t Let Those Leaves Drip! If you’re using a plastic bag to create humidity for cuttings, make sure the leaves aren’t constantly touching the inside of the bag. This can encourage fungal issues and rot. You might need to prop up the bag a bit with stakes if your cuttings are tall.
- Bottom Heat is Your Friend: As I mentioned, a gentle warmth from below can work wonders. A seedling heat mat provides consistent, low-level heat that encourages root formation much faster than ambient room temperature alone. You can often find inexpensive ones online.
Aftercare & Troubleshooting
Once you see new leaf growth on your cuttings, that’s a great sign the roots are forming! Start by gradually increasing ventilation. Open the plastic bag for an hour or two each day, slowly increasing the time over a week or two until the plant is accustomed to normal humidity. Continue to keep the soil consistently moist but not waterlogged.
What if things go wrong? The most common culprit is rot. If your cutting turns mushy and black, or the leaves start to wilt and die despite consistent watering, it’s likely rot. This often happens from too much moisture, poor drainage, or lack of air circulation. If you see rot, unfortunately, it’s best to discard that cutting to prevent it from spreading. Don’t be discouraged – sometimes it takes a few tries!
A Little Encouragement
Propagating plants is a journey, and Eleutherococcus is a wonderful plant to practice with. Be patient with your little cuttings. Sometimes it takes longer than you expect for roots to develop, and that’s perfectly okay. Enjoy the process of nurturing new life. Happy gardening!
Resource: