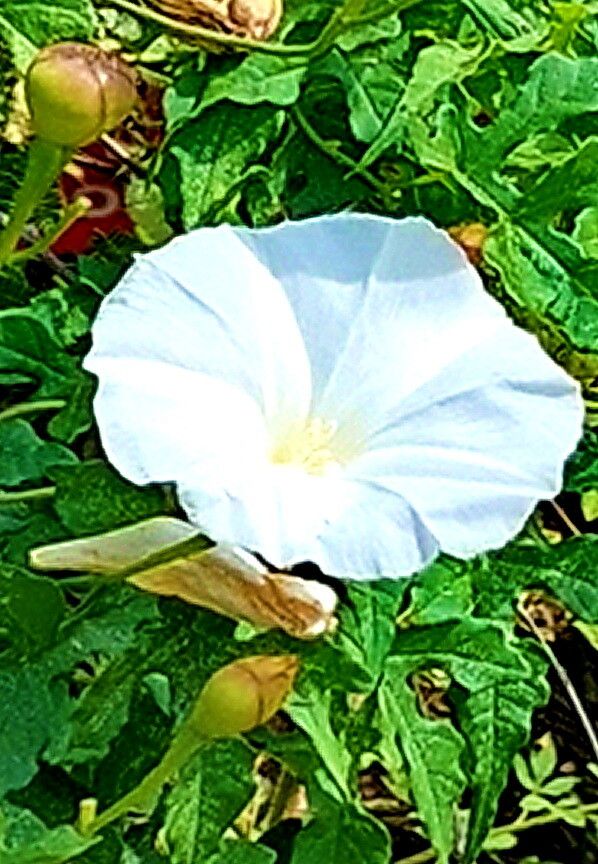
Oh, hello there, fellow plant enthusiast! It’s so lovely to have you join me today. Today, we’re going to talk about a plant that has truly captured my heart with its delicate beauty and unique charm: Operculina pinnatifida. This vining wonder, often mistaken for a type of morning glory, unfurls exquisite, intricate leaves that can really add a touch of elegance to any space. And the best part? Propagating it is a deeply rewarding experience, a little bit of magic you can perform yourself. While some plants can be a touch finicky, I find Operculina pinnatifida to be surprisingly approachable, even for those of you just dipping your toes into the world of plant propagation.
The Best Time to Start
For the highest chance of success with our Operculina pinnatifida, I always reach for my propagation tools in the late spring or early summer. This is when the plant is really in its active growth phase, full of vigor and ready to put out new shoots. Starting during this time means your cuttings will have plenty of warmth and light to encourage root development.
Supplies You’ll Need
Gathering your supplies is like preparing for a little garden adventure! Here’s what I usually have on hand:
- Sharp, clean pruning shears or a sharp knife: Essential for making clean cuts.
- A well-draining potting mix: I like a blend of equal parts peat moss or coconut coir, perlite, and a good quality potting soil. This keeps things airy.
- Small pots or seed trays: Clean ones, of course!
- Rooting hormone (optional but recommended): A powder or gel can give your cuttings a nice boost.
- A clear plastic bag or dome: To create a mini-greenhouse effect.
- A spray bottle: For misting.
- A heating mat (optional but beneficial): For that extra bit of warmth.
Propagation Methods
Let’s get our hands dirty! I’ve found two primary methods that work wonderfully for Operculina pinnatifida.
1. Stem Cuttings (My Go-To!)
This is my absolute favorite and usually the most reliable way to go.
- Take Your Cuttings: In the morning, when the plant is hydrated, select a healthy, non-flowering stem that’s about 4-6 inches long. Use your sharp shears to make a clean cut just below a leaf node (that little bump where a leaf emerges).
- Prepare the Cuttings: Gently remove the lower leaves from the stem, leaving only the top 2-3 leaves. This prevents them from rotting in the soil.
- Apply Rooting Hormone: If you’re using rooting hormone, dip the cut end into the powder or gel. Tap off any excess.
- Plant Your Cuttings: Fill your small pots with your prepared potting mix. Make a hole with your finger or a pencil and gently insert the cutting, ensuring the leaf nodes are below the soil surface. Firm the soil gently around the stem to provide support.
- Water and Cover: Water your cuttings lightly until the soil is evenly moist. Then, cover the pot with a clear plastic bag or dome. This helps to maintain humidity, which is crucial for cuttings. Poke a few small holes in the bag for ventilation.
2. Water Propagation (A Visual Treat!)
If you love watching roots grow, this is for you!
- Prepare Your Cuttings: Follow steps 1 and 2 from the stem cutting method. Make sure you have at least one or two leaf nodes exposed.
- Place in Water: Fill a clean glass or jar with lukewarm water. Place your cuttings in the water, ensuring that the leaf nodes are submerged but the leaves are not.
- Find a Good Spot: Place the container in a bright location, but out of direct sunlight, which can scorch the delicate leaves and heat the water too much.
- Change the Water Regularly: Change the water every few days, or whenever it starts to look cloudy. This prevents bacterial growth.
The “Secret Sauce” (Pro Tips)
Now, for a couple of little secrets I’ve picked up over the years that can really make a difference:
- The Humidity Bubble is Key: That plastic bag or dome isn’t just for show! It creates a humid microclimate that tricks your cutting into thinking it’s still attached to a healthy, hydrated parent plant, significantly reducing stress and encouraging root formation. Keep that humidity high!
- Bottom Heat is a Game Changer: Especially if your home tends to be on the cooler side, placing your pots on a heating mat specifically designed for propagation can dramatically speed up root development. It mimics the warmth of soil in the summer and gives those roots a wonderful encouragement to emerge.
Aftercare & Troubleshooting
Once you start seeing those lovely little roots peeking out (or if you gently tug on a cutting and feel resistance), it’s time for a little transition.
- For Cuttings in Soil: Once you see new leaf growth, your cuttings have likely rooted. You can begin to gradually acclimate them to less humidity by opening the plastic bag for a few hours each day. Once they seem sturdy, remove the bag entirely.
- For Cuttings in Water: When the roots are about an inch long, you can carefully transplant them into pots with your well-draining soil mix. Again, water thoroughly and consider keeping them lightly covered for a few days to help them adjust.
- Troubleshooting: The most common issue you’ll encounter is rot. If your cuttings turn mushy or black, it’s usually a sign of too much moisture and not enough air circulation. Ensure your soil is draining well and that you’ve provided some ventilation. Yellowing leaves can sometimes indicate a lack of light, so move them to a brighter spot.
A Little Patience Goes a Long Way
Propagating plants is truly a lesson in patience and observation. Don’t be discouraged if not every cutting takes; it’s all part of the learning process. Enjoy the journey of nurturing these new little lives, and soon you’ll be rewarded with beautiful Operculina pinnatifida plants of your own to share and admire. Happy propagating!
Resource: