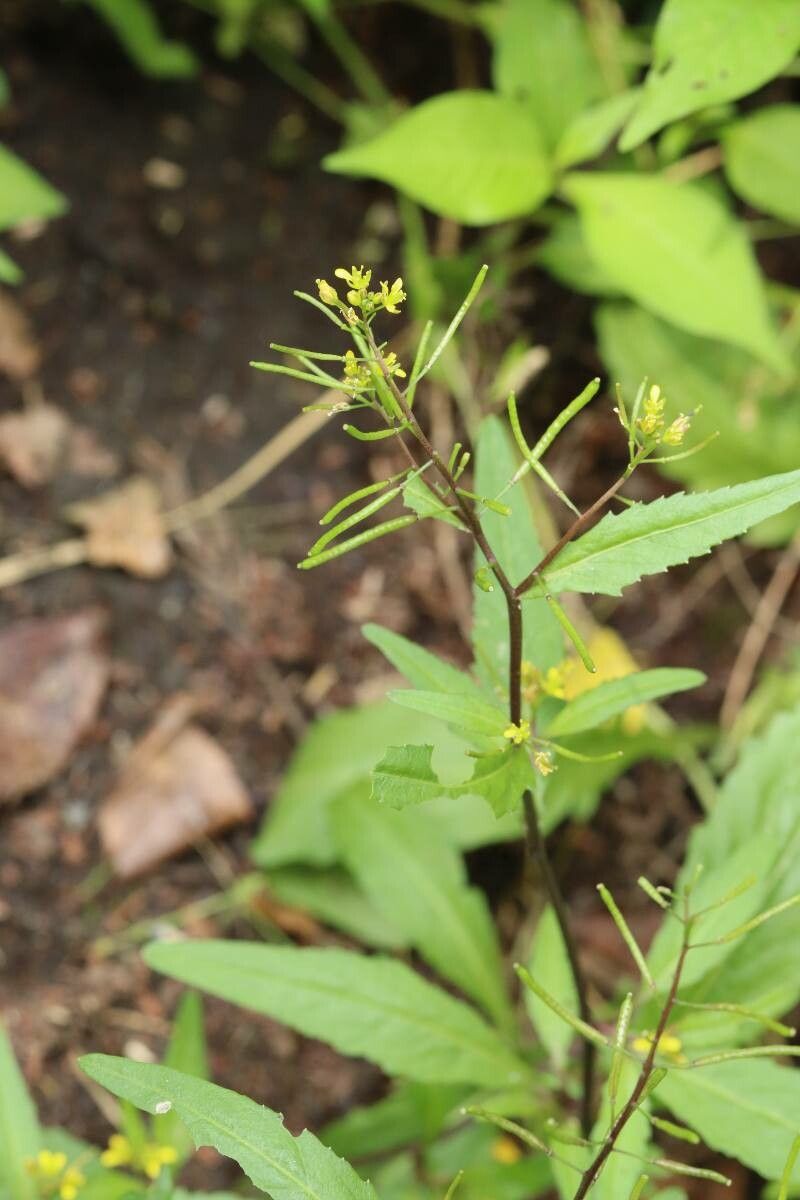
Hello, fellow plant lovers! I’m so excited to chat with you today about Rorippa indica, also known as Indian Yellowcress. This charming little plant might not get as much fanfare as some of its showier cousins, but trust me, it’s a gem worth getting to know and, more importantly, worth multiplying!
Why Grow (and Propagate) Rorippa indica?
I’ve spent two decades digging in the dirt, and Rorippa indica has always caught my eye with its delicate yellow blooms and its vigorous, almost wild, nature. It’s a wonderful groundcover, a cheerful addition to pond edges, or even a pretty filler in a mixed container. The real joy, though, comes from seeing your own little patch of yellowcress multiply. Propagating it is a fantastic way to fill your garden, share with friends, or simply experience the magic of creating new life from an existing plant. For beginners, I’d say Rorippa indica is quite forgiving, making it an excellent plant to try your hand at propagation.
When’s the Best Time to Get Growing?
The sweet spot for propagating Rorippa indica is generally late spring to early summer. This is when the plant is actively growing and has plenty of energy to put into developing new roots. You can also have decent success with cuttings taken in early autumn, just before the weather turns truly cold. Look for stems that are firm and have new growth, but aren’t flowering excessively.
What You’ll Need for Success
Gathering your supplies beforehand makes the whole process much smoother. Here’s what I usually have on hand:
- Sharp Pruning Shears or a Clean Knife: For taking clean cuts on your parent plant.
- Small Pots or Seed Trays: Clean ones are a must!
- Well-Draining Potting Mix: I like a blend of seed-starting mix or a light potting soil mixed with perlite for extra aeration.
- Rooting Hormone (Optional but Recommended): A powder or gel can give your cuttings a helpful boost.
- Watering Can with a Fine Rose: For gentle watering.
- Plastic Bags or a Small Greenhouse: To create a humid environment for your cuttings.
- Labels: To keep track of what you’ve planted!
Let’s Get Propagating!
There are a couple of really effective ways to grow more Rorippa indica.
1. Stem Cuttings: My Go-To Method
This is my favorite way to propagate yellowcress because it’s so straightforward.
- Select Your Stems: Find a healthy, non-flowering stem that’s about 4-6 inches long.
- Make the Cut: Using your sharp shears or knife, make a clean cut just below a leaf node (the bump where a leaf grows from the stem).
- Prepare the Cutting: Gently remove the lower leaves, leaving just a couple at the very top. This prevents them from rotting in the soil.
- Dip in Rooting Hormone (Optional): If you’re using rooting hormone, dip the cut end into the powder or gel.
- Plant the Cutting: Fill your small pots with your prepared potting mix. Make a hole with your finger or a pencil and insert the cut end of your stem, ensuring the nodes are buried.
- Water Gently: Water thoroughly but gently to settle the soil around the cutting.
- Create Humidity: Place the pot inside a plastic bag or propagtor, sealing it loosely. This keeps the humidity high, which is crucial for cuttings.
- Find a Bright Spot: Place your pots in a location with bright, indirect light. Avoid direct sun, which can scorch the delicate cuttings.
2. Water Propagation: Simple and Satisfying
If you want to see roots actually forming, water propagation is a fun option.
- Take Similar Cuttings: Prepare your cuttings just as you would for soil propagation (steps 1-3 above).
- Place in Water: Fill a small jar or glass with clean water. Submerge the cut end of the stem, ensuring no leaves are touching the water.
- Change the Water Regularly: Aim to change the water every 2-3 days to keep it fresh and prevent bacterial growth.
- Location, Location, Location: Just like with soil cuttings, place your jar in a spot with bright, indirect light.
- Transplant When Ready: Once you see a good network of roots forming, typically an inch or two long, you can carefully transplant them into pots filled with your potting mix.
The “Secret Sauce” – My Insider Tips
Over the years, I’ve learned a few little tricks that really boost my success rates:
- Bottom Heat is Your Friend: For stem cuttings, if you have access to a heat mat designed for seedlings, place your pots on it. This gentle warmth encourages root development from below and makes a surprising difference.
- Don’t Overcrowd: When planting multiple cuttings in a pot, give them a bit of breathing room. Overcrowding can lead to poor air circulation and increase the risk of fungal issues.
- Mist, Don’t Drench: While humidity is vital, avoid waterlogged soil. If you’re not using a propagator, a light misting of the leaves every day or two can help keep them from drying out.
Aftercare and What to Watch For
Once roots have formed (you can gently tug on a cutting to feel for resistance, or water propagation will show you clearly!), it’s time to transition your new plants.
- Gradual Acclimation: If your cuttings were in a humid propagator, slowly introduce them to drier air over a few days by gradually opening the bag or vent.
- Watering: Water when the top inch of soil feels dry.
- Light: Continue to provide bright, indirect light. As they grow stronger, you can gradually move them into a bit more direct sun if their parent plant enjoys it.
Now, what if things don’t go as planned? The most common problem is rot. If your cuttings turn black and mushy, it’s a sign of too much moisture and not enough air circulation. Don’t despair! Just take out the rotted pieces, ensure your mix is very well-draining, and try again. Another sign is wilting that doesn’t perk up after watering – this could mean the cutting never took or is drying out too quickly.
Keep Planting, Keep Growing!
Propagating plants is a journey, and like any good garden adventure, it involves patience and a little bit of learning as you go. Don’t be discouraged if not every cutting takes. Celebrate the successes, learn from the challenges, and most importantly, enjoy the process of bringing more beautiful Rorippa indica into your world! Happy gardening!
Resource:
https://identify.plantnet.org/k-world-flora/species/Rorippa%20indica%20(L.)%20Hiern/data