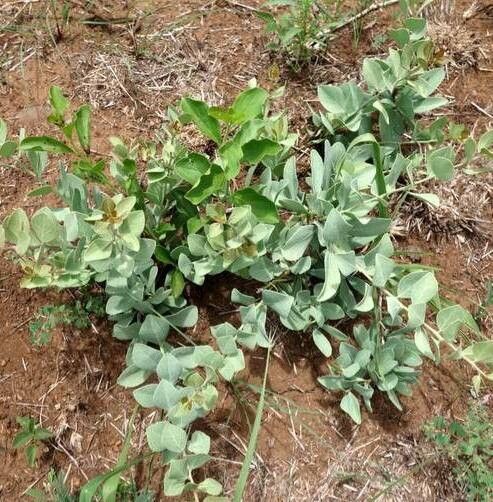
Oh, Carissa bispinosa! What a gem for the garden. You know, I just love its glossy, dark green leaves and those sweet, fragrant star-shaped flowers that lead to edible red berries. It’s a plant that just keeps on giving. And the best part? Growing more of them yourself is surprisingly rewarding, and I’m here to walk you through it. Don’t worry if you’re new to this; while it’s not as simple as pressing a button, it’s certainly doable for most any budding gardener.
The Best Time to Start
For Carissa bispinosa, spring is truly our magic window. As the plant bursts back to life after a cooler period, it’s full of energy and ready to grow. So, aim to take your cuttings or start your divisions when the weather is warming up, but before the intense heat of summer sets in. This gives your new propagations a really good head start.
Supplies You’ll Need
Gathering your tools before you begin makes everything go so much smoother. Here’s what I usually have on hand for propagating Carissa:
- Sharp Pruning Shears or a Craft Knife: Clean cuts are key for healthy rooting.
- Rooting Hormone (Optional but Recommended): This powder or gel really boosts your success rate.
- Well-Draining Potting Mix: A blend of equal parts peat moss or coco coir and perlite or coarse sand works wonderfully. You can also buy specific cactus and succulent mixes.
- Small Pots or Seed Starting Trays: Make sure they have drainage holes.
- Plastic Bags or a Small Greenhouse/Cloche: To create a humid environment.
- Watering Can with a Fine Rose: For gentle watering.
- Labels and a Pen: To keep track of what you’ve planted and when.
Propagation Methods
Let’s get our hands dirty! I find that stem cuttings are the most reliable method for Carissa bispinosa.
Stem Cuttings: My Go-To Method
- Select Your Cuttings: Look for healthy stems that are not flowering or fruiting. You want semi-hardwood pieces – they should be firm but still a little flexible, not woody. Aim for pieces about 4-6 inches long.
- Make the Cut: Using your very clean pruning shears or craft knife, take a cutting from the tip of a healthy stem. Make the cut just below a leaf node (where a leaf attaches to the stem). This is where the magic of rooting hormones often works best.
- Prepare the Cutting: Gently remove the leaves from the bottom half of the stem. You can leave the top 2-3 leaves for photosynthesis, but trim them in half if they are very large. This reduces water loss.
- Apply Rooting Hormone: Dip the cut end of the stem into your rooting hormone powder or gel, tap off any excess.
- Plant Your Cuttings: Fill your small pots or trays with your well-draining mix. Make a hole with a pencil or your finger, and insert the cutting, ensuring the leaf nodes are buried. Gently firm the soil around the stem.
- Water Gently: Water the soil thoroughly but be careful not to dislodge the cuttings.
The “Secret Sauce” (Pro Tips)
Now, for a couple of little tricks I’ve learned over the years.
First, don’t let those precious leaves touch the soil surface. It can encourage rot, which is our enemy in propagation. Keep them up and away from the damp soil.
Second, I absolutely swear by bottom heat. If you have a propagation mat or can place your pots on top of a gently warming radiator (ensure it’s not too hot!), it encourages root development from below. It really speeds things up!
Aftercare & Troubleshooting
Once your cuttings are planted and set up in their humid environment (cover them with a clear plastic bag or place them in a mini-greenhouse), the waiting game begins. Keep the soil consistently moist but not waterlogged. You want it to feel like a wrung-out sponge.
You’ll know they’re rooting when you see new leafy growth appearing. This can take anywhere from 4-8 weeks, sometimes longer. Resist the urge to tug on them!
The most common problem you’ll encounter is rot. If a cutting turns black and mushy, it’s often a sign of too much moisture and not enough air circulation. It’s best to discard it and start with a fresh one, ensuring your soil is well-draining and you’re not overwatering. Sometimes a cutting just isn’t viable, and that’s okay!
A Continuing Bloom
Remember, patience is a gardener’s best virtue. Not every cutting will make it, and that’s a natural part of the process. Celebrate the successes, learn from the setbacks, and most importantly, enjoy the journey of creating new life for your garden. Happy propagating!
Resource: