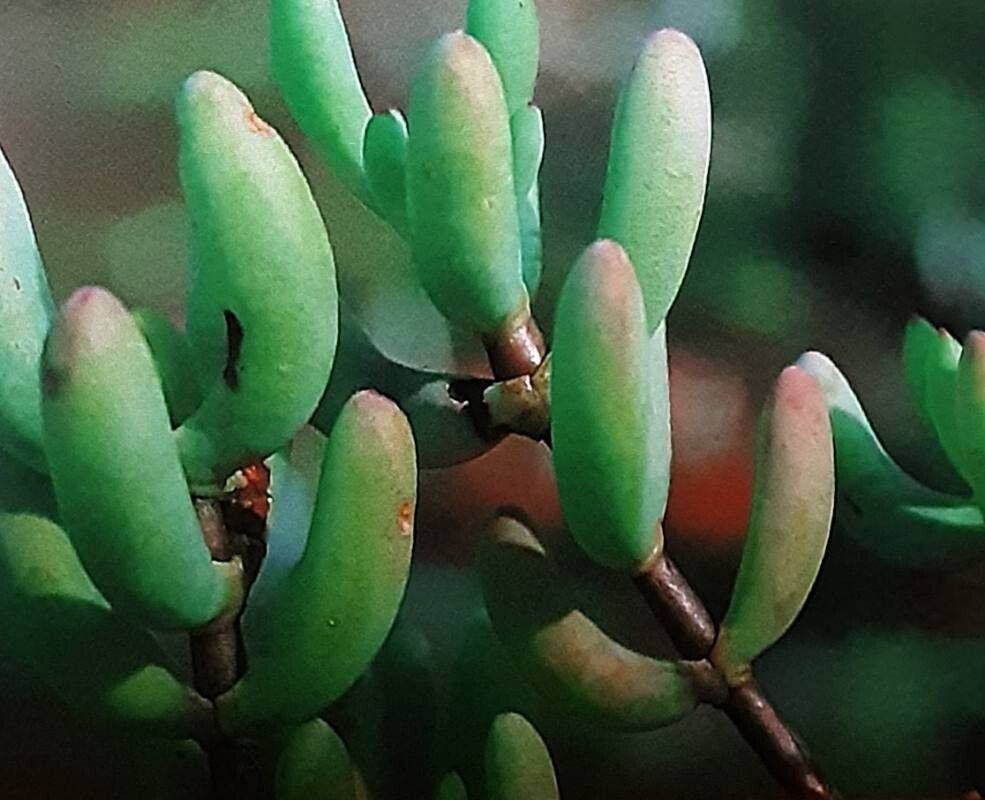
Oh, Stoeberia arborea! What a fantastic choice for your garden. If you haven’t had the pleasure yet, imagine this: delicate, star-shaped flowers that often carry a sweet, intoxicating perfume, cascading from a shrub that’s both graceful and robust. It truly is a gem, and being able to multiply that beauty yourself? Well, that’s just one of the most satisfying joys of gardening.
Now, when it comes to propagating Stoeberia arborea, I’d say it’s moderately easy. Not quite a “plant it and forget it” situation for absolute beginners, but with a little care and attention, you’ll find yourself with a delightful new collection in no time.
The Best Time to Start
For the highest success rates with Stoeberia arborea, I always reach for my propagation tools in late spring to early summer. This is when the plant is actively growing and has plenty of energy to put into developing those precious new roots. You’re looking for stems that are firm but not woody – think of it as just past the really soft, new growth stage.
Supplies You’ll Need
Gathering your supplies beforehand makes the whole process smoother. Here’s what I usually have on hand:
- Sharp, clean pruning shears or a sharp knife: For making clean cuts.
- Small pots or seed trays: With drainage holes, of course!
- A well-draining potting mix: I like a blend of peat moss or coir, perlite, and a little bit of compost. Some growers even add a bit of horticultural sand.
- Rooting hormone (optional but recommended): This really boosts your chances of success. Look for one specifically for stem cuttings.
- A watering can or spray bottle: For gentle watering.
- A plastic bag or humidity dome: To create a mini-greenhouse effect.
- Labels and a marker: So you don’t forget what you’ve planted!
Propagation Methods
The most reliable way to propagate Stoeberia arborea is through stem cuttings. It’s straightforward and gives you a great return.
-
Taking the Cuttings: On a healthy, vigorous Stoeberia arborea, select non-flowering stems. Using your sharp shears, take cuttings that are about 4-6 inches long. Make the cut just below a leaf node (that little bump where a leaf grows from the stem). Remove the leaves from the bottom half of the cutting, leaving just a couple of leaves at the top.
-
Preparing the Cuttings: Dip the cut end of each stem into rooting hormone, tapping off any excess.
-
Planting the Cuttings: Fill your small pots or trays with your prepared potting mix. Moisten it thoroughly. Make a hole in the center of the soil with your finger or a dibber, and insert the cut end of the Stoeberia arborea cutting. Gently firm the soil around the stem to ensure good contact.
-
Creating Humidity: Water the soil lightly again. Then, cover the pots with a clear plastic bag or a humidity dome. This traps moisture, which is crucial for cuttings before they develop roots. Make sure the leaves aren’t touching the plastic if possible.
-
Placement: Place the pots in a bright, indirect light location. Avoid direct sun, as this can scorch the delicate cuttings.
The “Secret Sauce” (Pro Tips)
Over the years, I’ve found a couple of little tricks that really make a difference:
- Bottom Heat is Your Friend: Honestly, providing a little warmth from underneath can significantly speed up root development. A heated propagation mat set to around 70-75°F (21-24°C) is perfect. It encourages root cells to wake up and multiply.
- Air Circulation is Key (Once Roots Form): While you want to keep that humidity high initially, once you see signs of new growth, it’s a good idea to gradually introduce more air circulation. You can start by peeking under the bag for a few minutes each day, then increasing the duration. This helps prevent fungal issues.
- Don’t Be Afraid to “Sacrifice” a Leaf: If a cutting has large leaves at the top, and you’re worried about water loss, I’ll often nip off the tip of those leaves. It’s not about removing them entirely, but taking off a tiny bit of the surface area can help the cutting conserve energy and water while it’s trying to root.
Aftercare & Troubleshooting
Once new growth appears (tiny leaves or shoots), that’s a good sign that roots are forming! At this point, you can gradually acclimate your new Stoeberia arborea to normal room humidity by slowly removing the plastic bag or dome over a week or two. Continue to keep the soil consistently moist but not waterlogged.
The most common sign of failure is rot. If your cuttings look yellow, mushy, or have black stems, that’s usually a sign of too much moisture and not enough air circulation. If you catch it early, you might be able to save it by removing the affected parts and improving conditions. Don’t despair if some don’t make it; it happens to all of us!
A Gentle Encouraging Closing
Propagating plants is an act of faith and patience. You’re nurturing a tiny spark of life, and it takes time. Don’t get discouraged if your first attempt isn’t a hundred percent successful. Each time you try, you learn a little more. So go ahead, grab those pruners, embrace the process, and enjoy the wonderful journey of multiplying your beautiful Stoeberia arborea. Happy propagating!
Resource:
https://identify.plantnet.org/k-world-flora/species/Stoeberia%20arborea%20van%20Jaarsv./data