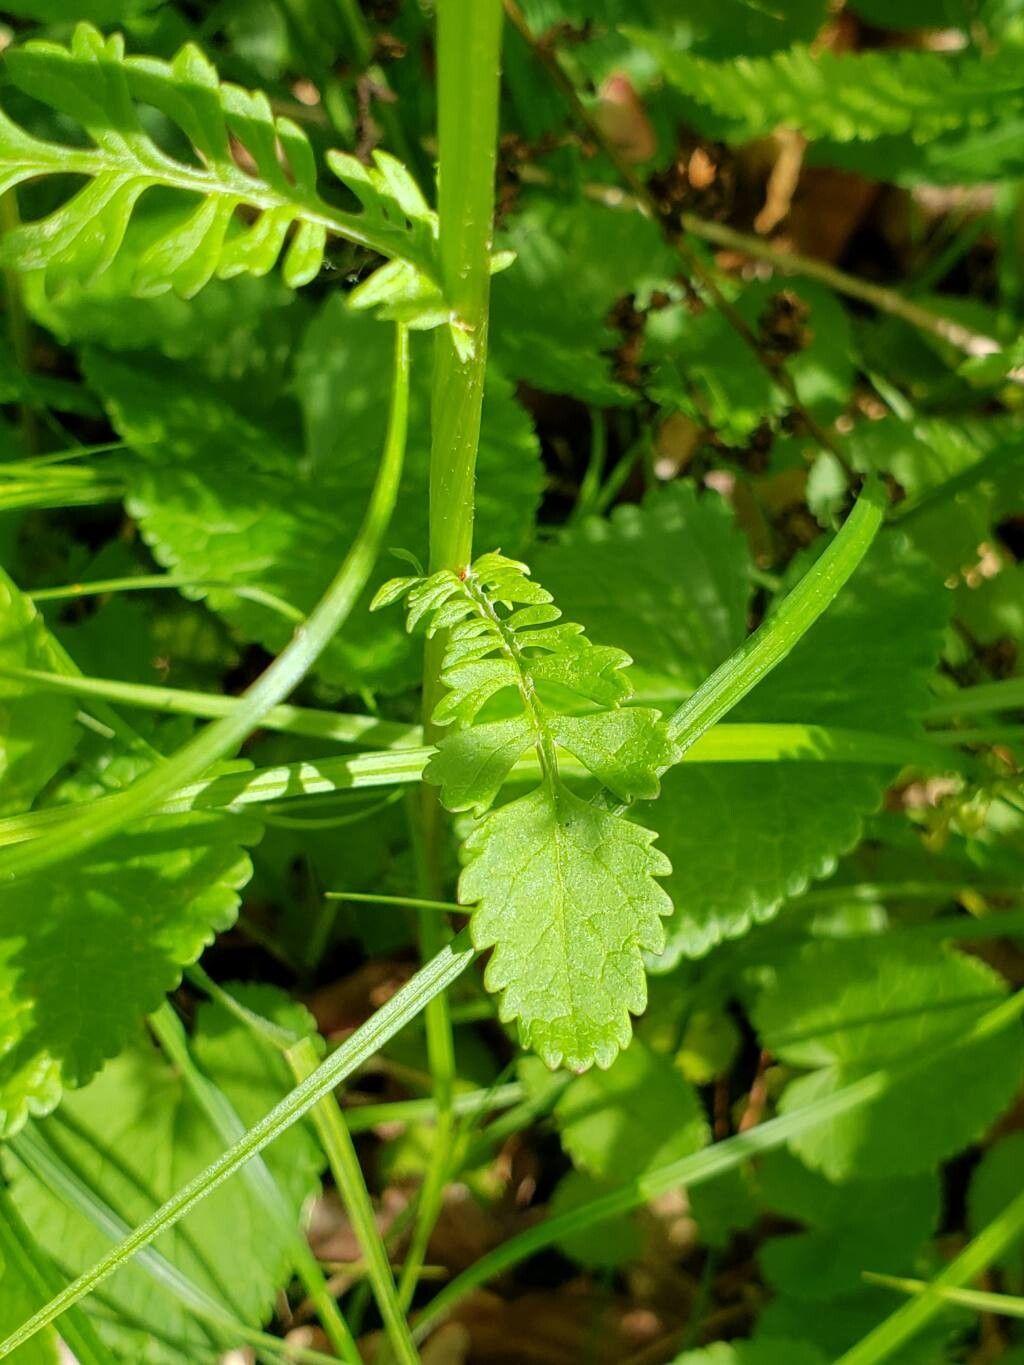
Oh, hello there! Grab a mug, and let’s chat about a truly wonderful native plant. I’m talking about Packera aurea, also known as Golden Ragwort. If you’ve ever seen its cheerful, bright yellow daisy-like flowers carpeting a shady spot in late spring or early summer, you know what a joy it is. It’s resilient, native to North America, and adds such a vibrant splash of color when many other plants are still waking up.
And the best part? Propagating it is surprisingly easy and immensely rewarding. If you’ve just dipped your toes into the world of gardening, Packera aurea is a fantastic plant to start with. You’ll be sharing these cheerful blooms with friends in no time!
The Best Time to Start
For Packera aurea, the sweet spot for propagation is usually spring, as the plant is actively growing. You can also have good success in early fall, giving your new propagations time to establish before winter sets in. Essentially, anytime the plant is putting on new growth is a good time to try.
Supplies You’ll Need
You won’t need a whole greenhouse full of fancy gadgets for this. Here’s what I keep handy:
- Sharp pruning shears or a clean knife: For making clean cuts.
- Well-draining potting mix: A mix designed for perennials or a blend of peat moss, perlite, and compost works beautifully. Avoid heavy garden soil.
- Small pots or trays: Recycled yogurt cups with drainage holes poked in the bottom are perfect!
- Labels: So you don’t forget what you planted where.
- Watering can or mister: For gentle watering.
- Optional: Rooting hormone: While not strictly necessary for Packera aurea, it can give an extra boost.
Propagation Methods
Packera aurea is a generous plant, and there are a couple of straightforward ways to get more of it.
Division (My Favorite!)
This is how I get most of my Packera aurea going. It’s simple and efficient.
- Dig it up: Gently excavate a clump of your established Packera aurea. You want to get a good portion of the root ball.
- Identify divisions: Look for natural breaks in the root system. Often, you’ll see smaller crowns or shoots ready to become their own plant. They should have both roots and some leafy growth.
- Separate carefully: Using your hands or a clean spade, gently pull or tease apart the clump into smaller sections. If the roots are tangled, you might need a bit of help from your shears to cut through them cleanly. Make sure each division has at least a few leaves and some healthy roots.
- Replant: Pot up your divisions into pots filled with your well-draining mix or plant them directly into their new garden homes. For new garden beds, enrich the soil with some compost first.
- Water well: Give your newly divided plants a good drink.
Stem Cuttings
This method works well for encouraging new root growth from stem pieces.
- Take cuttings: In spring or early summer, select healthy, non-flowering stems. Using your sharp shears, cut stems that are about 4-6 inches long. Make your cut just below a leaf node (where a leaf attaches to the stem).
- Prepare the cuttings: Remove the lower leaves from the stem, leaving just a couple of leaves at the top. This prevents them from rotting in the soil. If you’re using rooting hormone, dip the cut end of the stem into it now.
- Plant the cuttings: Fill your small pots with the well-draining potting mix. Gently push the cut end of the stem into the soil, ensuring it’s firm.
- Water and cover: Water the soil lightly. To create a humid environment that encourages rooting, cover the pots with a clear plastic bag or a clear plastic dome. Make sure the leaves don’t touch the plastic if possible.
- Find a good spot: Place the pots in a bright location, but out of direct, hot sun.
The “Secret Sauce” (Pro Tips)
Here are a couple of things I’ve learned over the years that make a difference:
- Don’t let the leaves touch the water (for stem cuttings): If you’re doing stem cuttings and the lower leaves are in contact with soil that’s too wet, they’re much more prone to rotting before they have a chance to root. Pinch them off cleanly.
- Bottom heat for cuttings: While not essential, placing your pots of cuttings on a gentle seedling heat mat can significantly speed up root development, especially for stem cuttings. You don’t want it blazing hot, just a cozy warmth.
Aftercare & Troubleshooting
Once you see signs of new growth or roots poking out of the bottom of the pot, your new Packera aurea is ready to graduate!
- Transplanting: If you potted your propagations in small pots, wait until they have a good root system before transplanting them into larger containers or their permanent garden beds. Gradually acclimate them to outdoor conditions for a week or so if they’ve been indoors or under cover.
- Watering: Keep the soil consistently moist but not waterlogged. They prefer good drainage.
- Sunlight: Packera aurea generally thrives in part shade to full shade, though it can tolerate a bit more sun if the soil stays moist.
Now, what if things go wrong? The most common issue you’ll face is rot. This usually happens when the soil is too wet and there’s not enough air circulation. If you see stems turning mushy and black, or cuttings just collapsing, it’s usually a sign of overwatering or poor drainage. Don’t be discouraged! Sometimes a whole batch can go south. Just clean out your pots thoroughly and try again, perhaps with a slightly drier mix or more airflow.
A Little Encouragement
Propagating plants is a journey of patience and observation. Every gardener has lost a cutting or two, so don’t let that get you down. Enjoy the process of nurturing these little bits of green into new life. Seeing Packera aurea flourish from a small cutting you started is a truly satisfying experience. Happy propagating!
Resource: