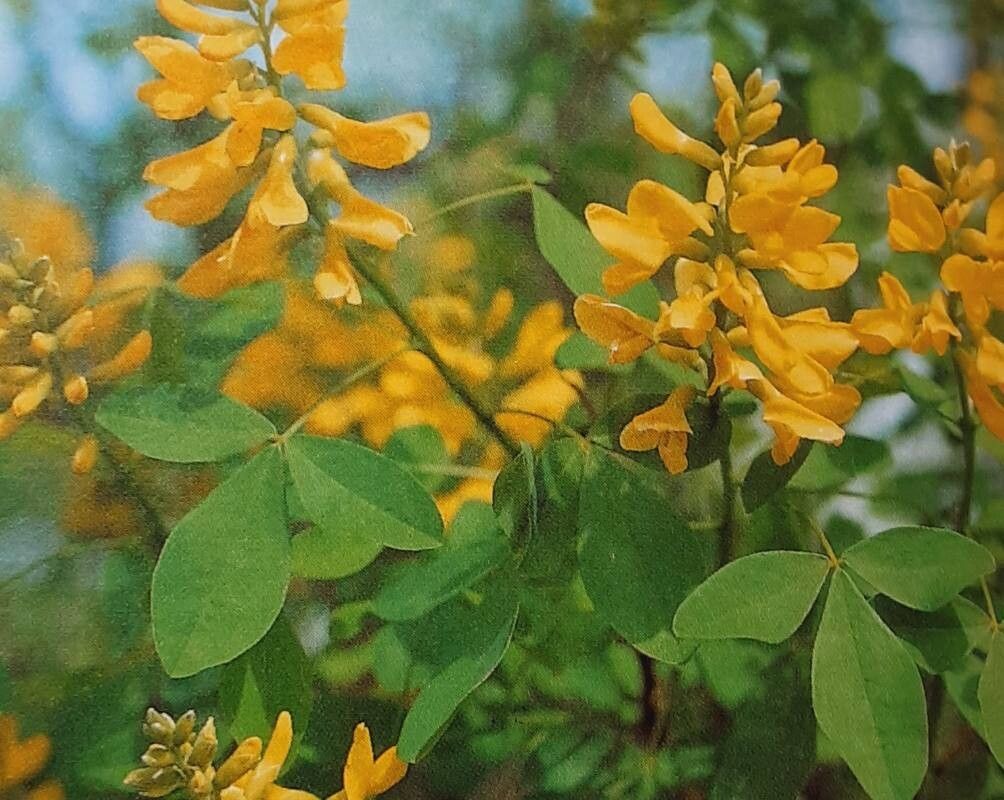
Oh, hello there! Come on in, grab a mug of something warm. Today, we’re going to talk about a plant that truly deserves a spot in your garden – Petteria ramentacea. You know, the one with those delightful pea-like flowers that cascade down in the spring? It’s a real beauty, and honestly, coaxing new life from an existing plant is one of the most satisfying things a gardener can do. You’ll be expanding your collection, or sharing these beauties with friends, in no time.
Now, Petteria ramentacea, sometimes called the white broom or dwarf broom, isn’t the most common plant you’ll find at your local nursery, which makes propagating it all the more special. Is it for absolute beginners? Well, it’s not exactly a set-it-and-forget-it kind of plant right off the bat, but with a little attention and a dash of patience, you absolutely can be successful. Think of it as a fun project that will yield rewarding results.
The Best Time to Start
For Petteria ramentacea, the sweet spot for propagation is late spring to early summer. This is when the plant is actively growing, and the stems have reached a stage where they are semi-hardwood. You want stems that are no longer floppy and soft, but not yet fully woody and rigid. Think of snapping a pencil – if it snaps cleanly with a little resistance, it’s likely just right. This stage offers the best chance for successful rooting.
Supplies You’ll Need
Here’s what you’ll want to have on hand before we get our hands dirty:
- Sharp, clean pruning shears or a sharp knife: Crucial for making clean cuts, which helps prevent disease.
- Rooting hormone powder or gel: This isn’t strictly essential, but it can significantly boost your success rate by encouraging root development.
- A well-draining potting mix: I like a blend of equal parts perlite and peat moss or coco coir. Some people add a little horticultural grit too. The goal is to keep things airy and prevent soggy roots.
- Small pots or trays: Clean, with drainage holes, of course!
- A clear plastic bag or a propagator lid: This creates a mini greenhouse effect to keep humidity high around your cuttings.
- A spray bottle filled with water: For misting.
- Optional: Bottom heat mat: This can speed up the rooting process, especially if your propagation area is on the cooler side.
Propagation Methods
The most reliable way to propagate Petteria ramentacea is through stem cuttings. It’s straightforward and yields a good number of new plants.
- Take Your Cuttings: Using your clean shears, select several healthy, semi-hardwood stems from a mature, vigorous plant. Aim for cuttings that are about 4-6 inches long. Make your cut just below a leaf node (where a leaf joins the stem). Remove the lower leaves, leaving just a few at the top.
- Apply Rooting Hormone: Dip the cut end of each stem into your rooting hormone, ensuring it’s coated about an inch up from the bottom. Tap off any excess.
- Pot Them Up: Fill your small pots with your prepared potting mix. Make a little hole in the center of the mix with your finger or a pencil. Gently insert the coated end of your cutting into the hole, firming the soil around it. You can usually fit 2-3 cuttings per pot, spaced a couple of inches apart.
- Water and Cover: Water the pots thoroughly until you see water draining from the bottom. Then, cover the pots with a clear plastic bag or place them under a propagator lid to maintain high humidity. You can prop up the bag with a few sticks so it doesn’t touch the leaves.
- Find a Welcoming Spot: Place your pots in a bright location but out of direct, harsh sunlight. A spot on a windowsill that gets bright, indirect light is usually perfect. If you’re using a bottom heat mat, place the pots on top of it.
The “Secret Sauce” (Pro Tips)
Here’s a little something extra to help you along:
- Hygiene is paramount! I can’t stress this enough. Always use clean tools, clean pots, and even clean your hands. Fungus and rot are the enemies of cuttings, and a clean start is your best defense.
- Don’t let those precious leaves touch the soil surface. After you’ve potted up your cuttings, ensure the remaining leaves are held above the soil line. If leaves sit in damp soil, they’ll rot quickly, taking the whole cutting down with them.
- Think “warm feet, cool head.” If you’re using that bottom heat mat, it’s wonderful for encouraging roots to form. However, you still want the leaves to be in a cooler environment. This temperature difference encourages the plant to send energy downwards to root, rather than focusing solely on leaf growth.
Aftercare & Troubleshooting
Once your cuttings have rooted – and this can take anywhere from 4 to 8 weeks, sometimes longer – you’ll start to see signs of new growth. You might notice tiny new leaves emerging from the top. You can gently tug on a cutting; if there’s resistance, you’ve got roots!
Once roots have formed, you can gradually acclimate your new plants to slightly lower humidity. Start by lifting the plastic bag for a few hours each day, then remove it entirely. Water them when the top inch of soil feels dry. They’re still delicate, so treat them with gentle care.
What if things go wrong? The most common problem is rot. If your cuttings turn mushy and black, or their leaves shrivel and die without any sign of rooting, that’s usually a sign of too much moisture or a lack of air circulation. If you see mold on the soil surface, remove the affected cuttings and try again, ensuring better drainage and less water. Don’t be discouraged if a few don’t make it; it’s all part of the learning process.
A Little Encouragement
Propagating Petteria ramentacea is a journey, and like any good garden project, it requires a bit of patience and observation. Celebrate the small victories – the first tiny root, the unfurling of a new leaf. Don’t be afraid to experiment, and most importantly, enjoy the process of nurturing new life. Happy gardening!
Resource:
https://identify.plantnet.org/k-world-flora/species/Petteria%20ramentacea%20(Sieber)%20C.Presl/data