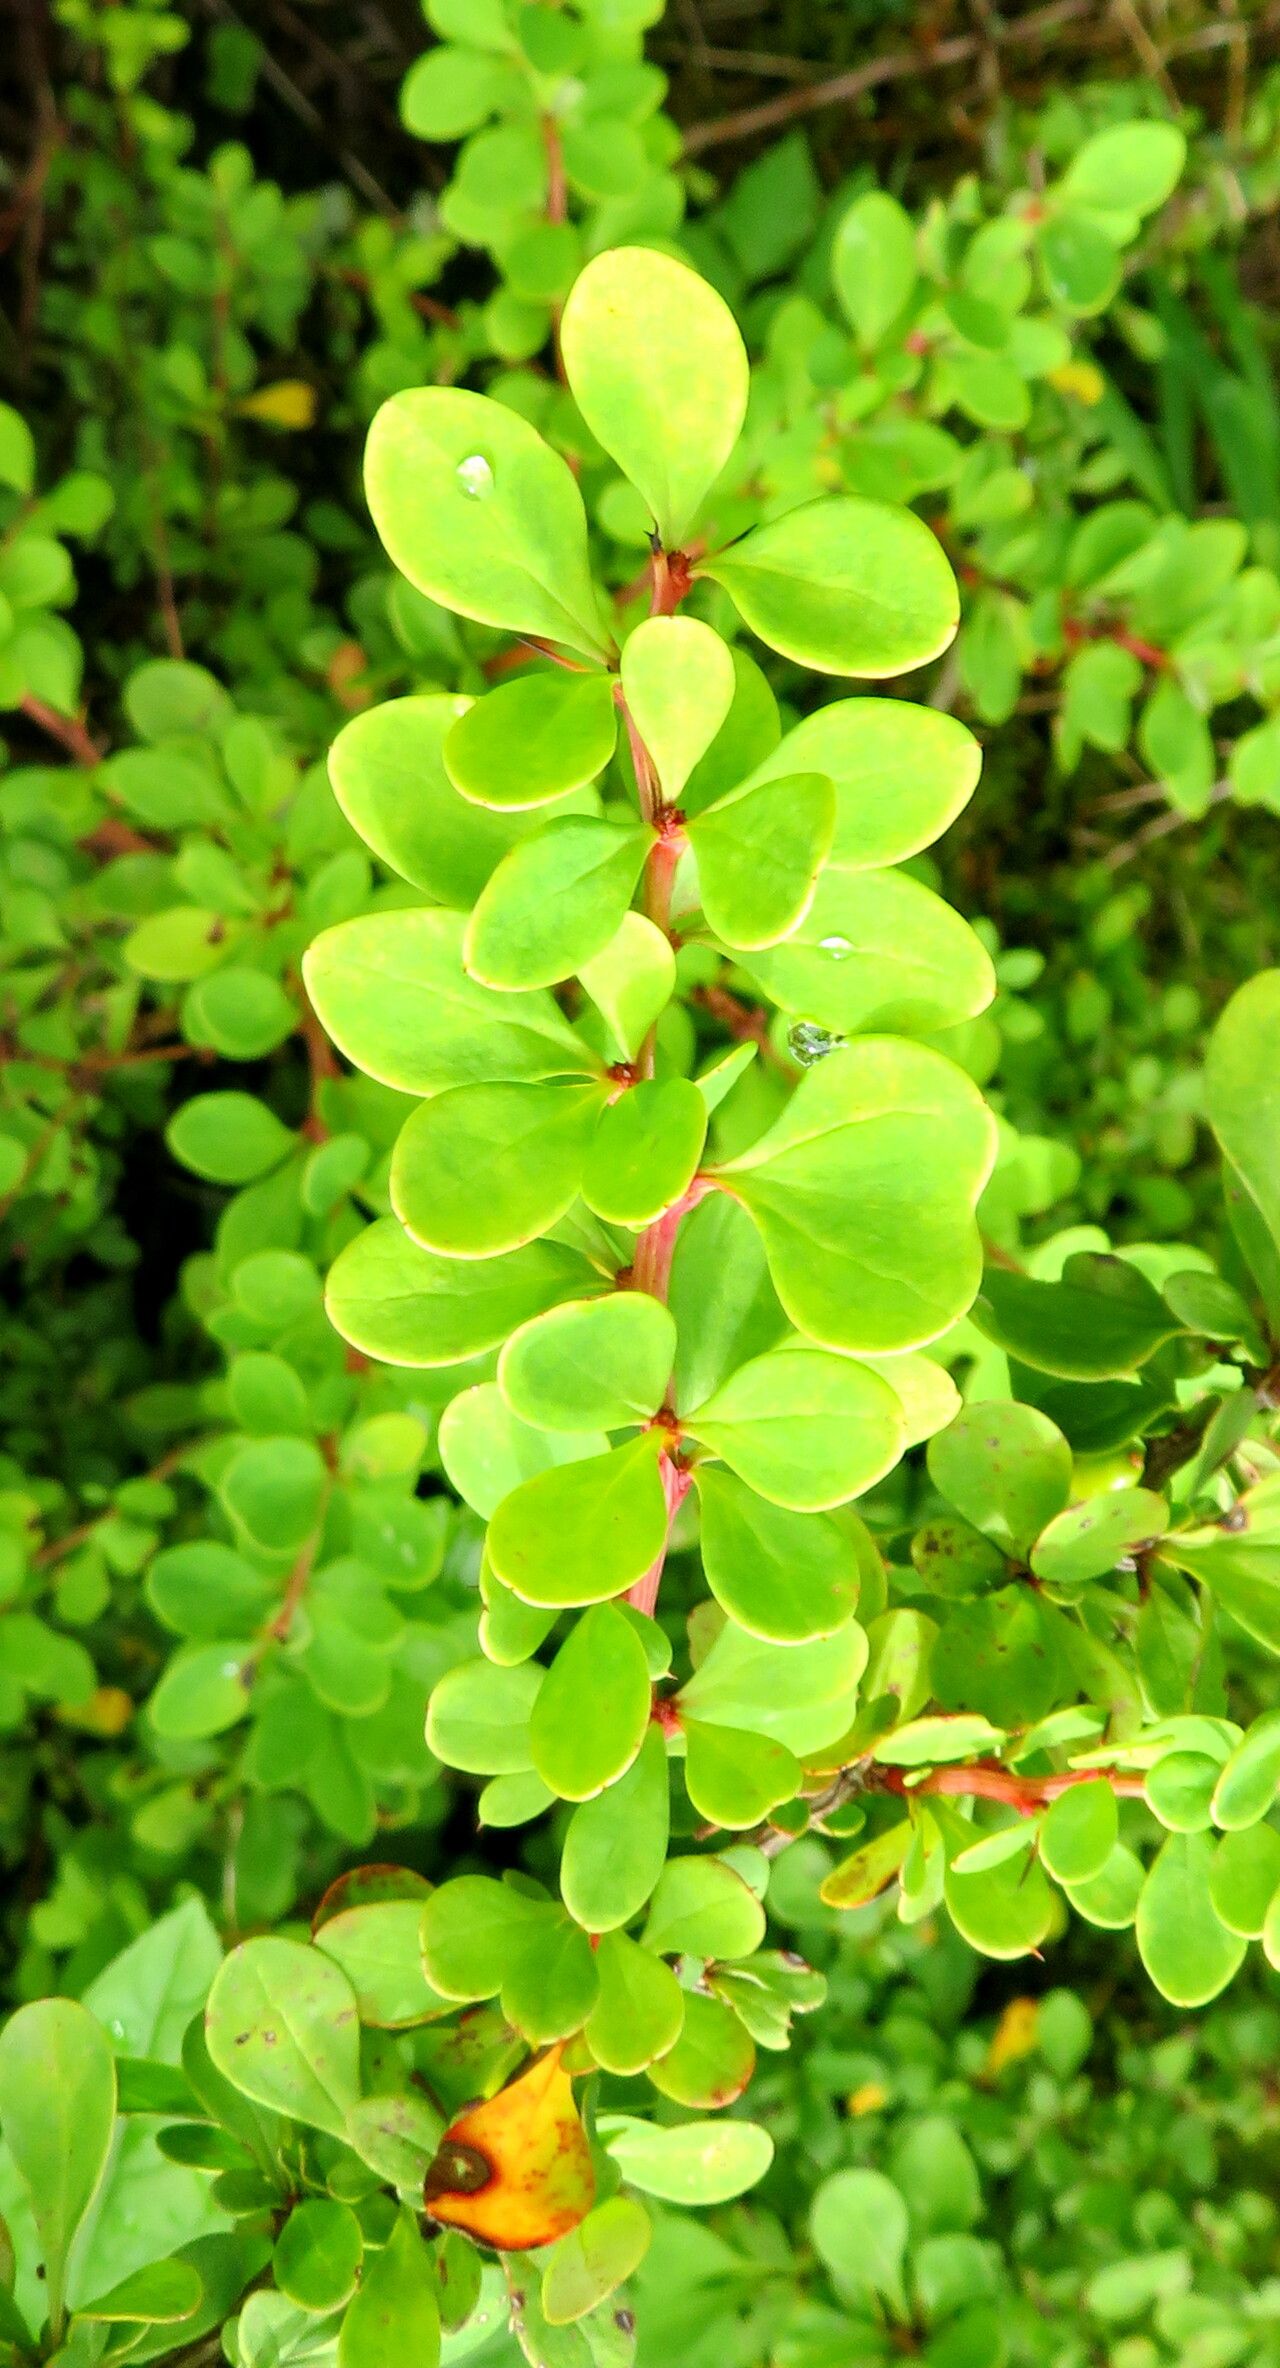
Oh, hello there! Come on in, settle down with your tea. Today, we’re going to talk about a real gem for the garden: Berberis dictyophylla, or the Dictyophyllum Barberry. If you haven’t met this beauty yet, you’re in for a treat. It offers delicate, often silvery-blue foliage, especially in the spring, and those gorgeous coral-red berries in the fall that our feathered friends adore. And the best part? Propagating your own is surprisingly achievable and quite satisfying. It’s not one of those finicky plants that demands a PhD in horticulture; it’s quite beginner-friendly, which is always a win in my book!
When Your Garden Whispers “Now!”
For Berberis dictyophylla, timing is everything. The absolute best time to take cuttings is in mid-summer, usually around July or August. You’re looking for what we call “semi-hardwood” cuttings. These are stems that have started to harden up from their initial spring growth but are still somewhat flexible. Think of it like a sturdy pencil that can still be bent a little. Taking them any earlier, and you might have too much soft, easily rotting material. Later, and the wood will be too hard to root easily.
Gather Your Garden Toolkit
Don’t worry, you likely have most of these things already!
- Sharp Pruning Shears or a Craft Knife: Clean cuts are essential for good rooting.
- Rooting Hormone Powder or Gel: This really gives your cuttings a helping hand.
- Well-Draining Potting Mix: A mix of peat moss or coco coir, perlite, and a bit of sand works wonders. You want something that doesn’t hold too much moisture.
- Small Pots or Seed Trays: Clean pots are a must to prevent disease.
- Plastic Bags or a Propagator Lid: To create a humid environment.
- Labels and a Marker: So you don’t forget what you planted where!
- A Watering Can or Spray Bottle: For gentle watering.
Getting Those Cuttings Rooted
We’ll focus on the most reliable method for Berberis dictyophylla: stem cuttings.
- Select Your Cuttings: Head out to your Berberis dictyophylla and look for those semi-hardwood stems we talked about. Choose healthy, vigorous shoots. You’re aiming for cuttings that are about 4 to 6 inches long.
- Make the Cut: Using your clean shears or knife, make a clean cut just below a leaf node. A leaf node is where a leaf attaches to the stem; this is where the magic happens for root formation. A slanting cut is good too, it gives you more surface area.
- Prepare the Cutting: Gently remove the leaves from the lower half of the cutting. If the remaining leaves are very large, consider cutting them in half horizontally. This reduces water loss while still allowing for photosynthesis. You should have at least two or three leaf nodes left on the cutting.
- Dip in Rooting Hormone: Now, dip the cut end into your rooting hormone. Swirl it around so it’s evenly coated on the wounded part of the stem. Tap off any excess.
- Planting Time: Fill your pots or trays with your prepared potting mix. Make a hole with a pencil or your finger in the soil, making sure it’s deep enough for the leaf nodes you removed. Gently insert the cutting into the hole, and firm the soil around it so the cutting stands upright.
- Water and Cover: Water the soil gently until it’s evenly moist but not waterlogged. Then, cover the pot or tray with a plastic bag or a propagator lid. Poke a few small holes in the bag for a little ventilation. This creates that all-important humid environment.
- Find a Good Spot: Place your cuttings in a bright location out of direct sunlight. A greenhouse or a sunny windowsill is perfect.
My Little Secrets for Success
Over the years, I’ve learned a few tricks that really seem to make a difference.
- Bottom Heat is Best: If you have the option, place your pots on a heated propagator mat. This warmth from below really encourages root development. It’s like a little spa day for your cuttings!
- The “Don’t Drown” Rule: When watering, err on the side of less is more. The soil should feel consistently moist, like a wrung-out sponge, not soggy. If you see water pooling, you know you’ve overdone it. Too much moisture is the quickest route to rot.
- Airflow is Crucial: Even though we want humidity, occasional ventilation is key. Open the propagator lid or the plastic bag for an hour or so every couple of days. This helps prevent fungal diseases from getting a foothold.
Nurturing Your New Sprouts
The patience game begins here! It can take anywhere from 4 to 8 weeks, sometimes even longer, for your Berberis dictyophylla cuttings to develop roots. You’ll know they’re ready when you see new leaf growth at the top, or if you gently tug on the cutting and feel resistance – meaning roots are anchoring it.
Once roots have formed, it’s time for a little acclimatization. Gradually remove the plastic cover over a week, increasing the duration each day. Then, transplant your new barberry into its own small pot with a good quality potting mix. Keep it watered and in a bright spot.
Be on the lookout for signs of trouble, like mushy, blackened stems at the soil line. This is almost always rot, usually caused by overwatering or poor drainage. If you see this, sadly, that cutting is likely lost. But don’t get discouraged! There’s always next time.
There you have it! Propagating Berberis dictyophylla is a wonderful way to expand your garden or share these beauties with friends. It’s a journey of gentle care and observation. Be patient with yourself and your little cuttings, and enjoy the magic of life unfolding. Happy gardening!
Resource:
https://identify.plantnet.org/k-world-flora/species/Berberis%20dictyophylla%20Franch./data