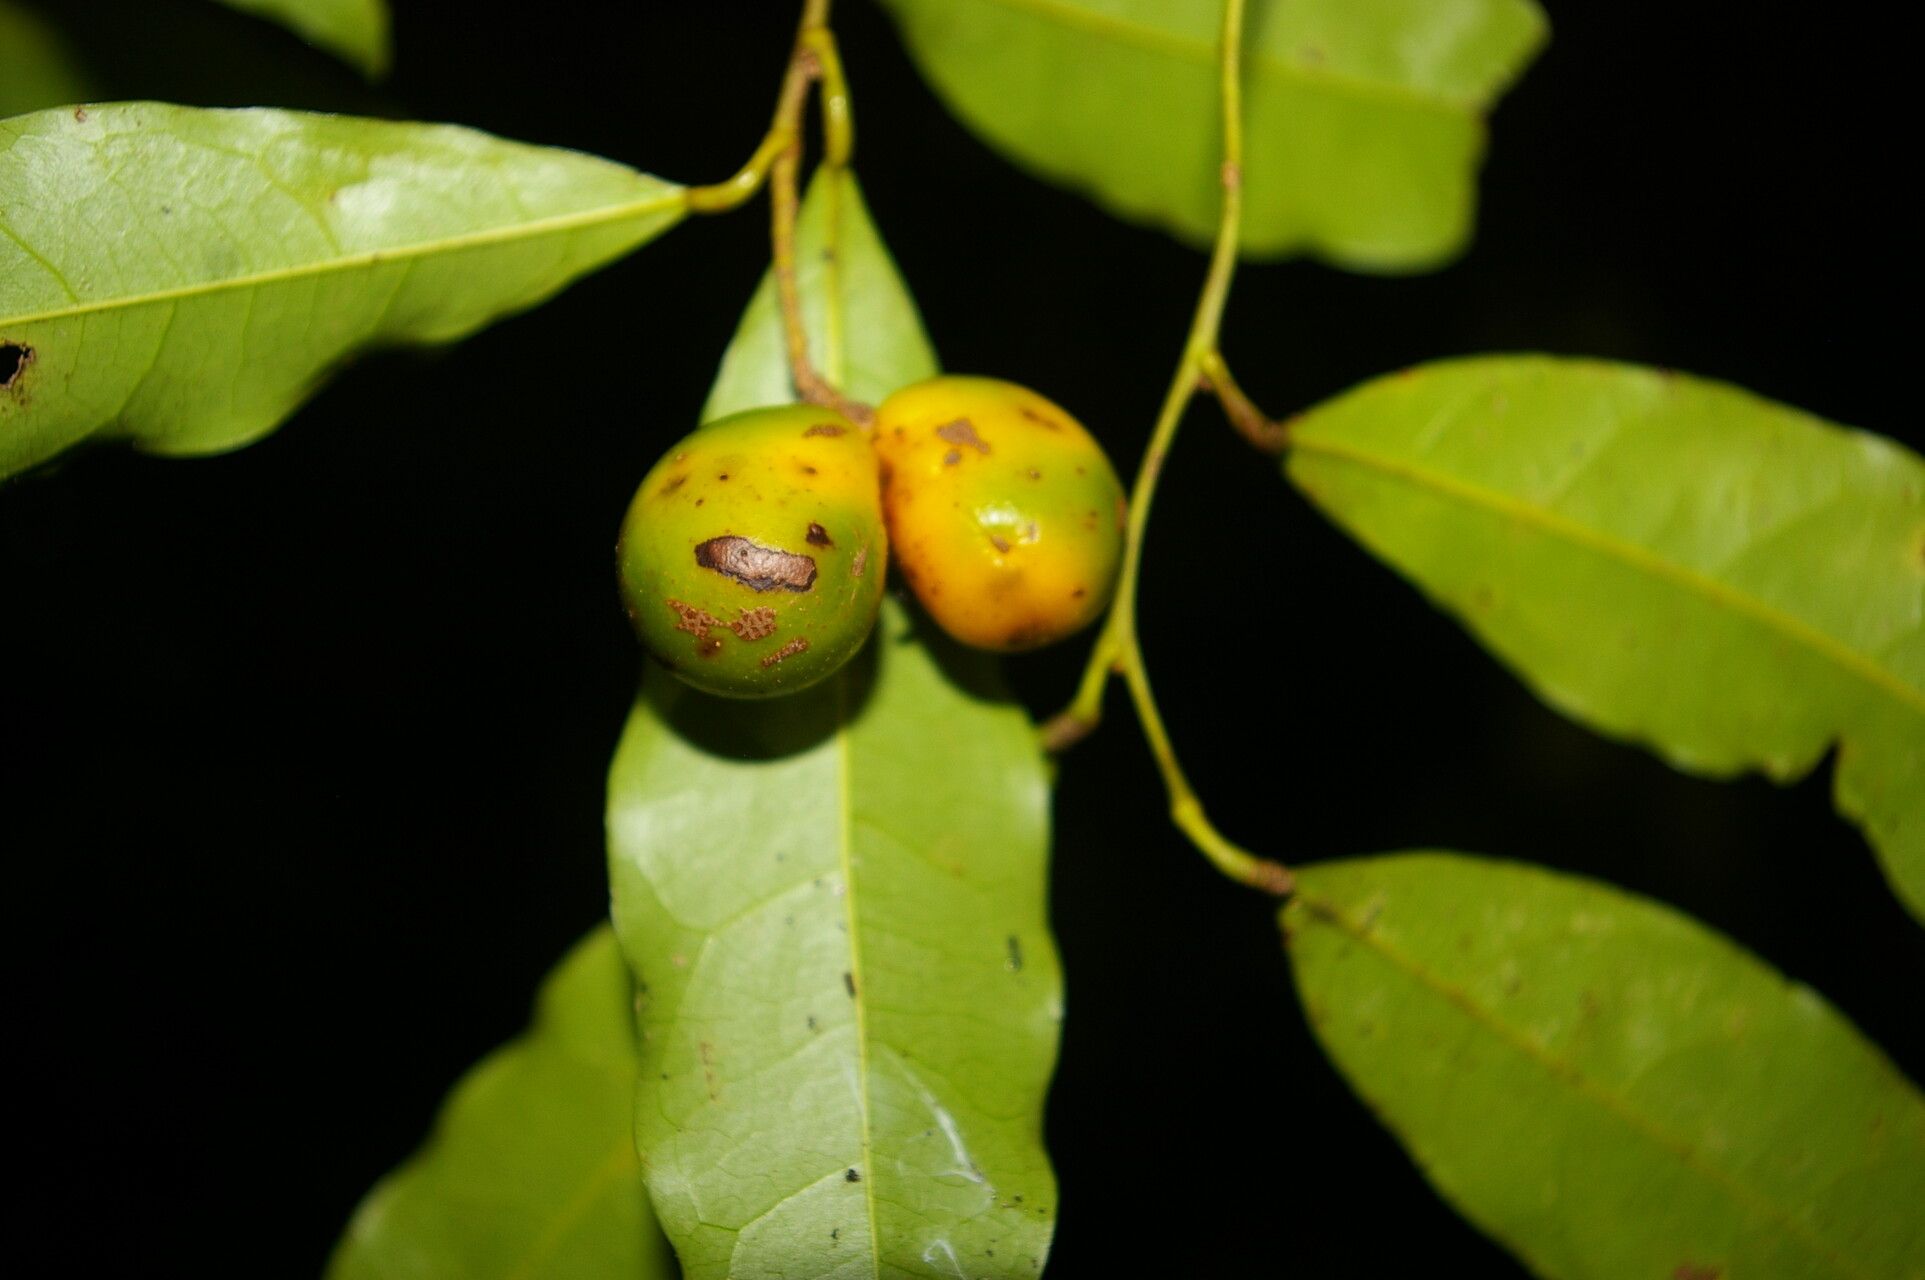
Oh, hello there! Pull up a chair and let’s chat about a truly delightful plant that’s been capturing my heart for years: Hyperbaena eladioana. If you’re looking for a plant that brings a touch of the tropics with its lush, often vibrantly colored foliage and sweet, delicate blooms, you’re in for a treat. Propagating Hyperbaena eladioana is one of those gardening joys that feels truly rewarding. It’s not too tricky, actually, making it a wonderful project for even those just starting their green-thumb journey.
The Best Time to Start
For the highest success rate with Hyperbaena eladioana, I always recommend heading into late spring or early summer. This is when the plant is in its active growth phase. You’ll have plenty of healthy, new stems to work with, and the warmer temperatures provide that gentle warmth that encourages roots to form.
Supplies You’ll Need
Gathering your supplies before you begin makes the whole process much smoother. Here’s what you’ll want to have on hand:
- Sharp pruning shears or a clean knife: For making clean cuts.
- Rooting hormone (optional but recommended): This really gives your cuttings a boost.
- Well-draining potting mix: A good general potting mix amended with perlite or coarse sand works beautifully. You can also buy specific seed starting or cutting mixes.
- Small pots or propagation trays: Clean containers are key to preventing disease.
- Watering can with a fine rose: To water gently without disturbing your cuttings.
- Plastic bag or propagation dome: To create a humid environment.
- Labeling sticks and a pen: You’ll want to remember what you planted and when!
Propagation Methods
Let’s dive into how we can get more of these beauties.
Stem Cuttings
This is my go-to method for Hyperbaena eladioana.
- Select your cuttings: Look for healthy, non-flowering stems. Aim for pieces that are about 4-6 inches long.
- Make your cut: Using your sharp shears or knife, cut just below a leaf node. A leaf node is where a leaf joins the stem. This is where the magic happens for root formation.
- Remove lower leaves: Gently strip off the leaves from the bottom half of the cutting. This prevents them from rotting in the soil. You can leave 2-3 leaves at the top.
- Apply rooting hormone: If you’re using it, dip the cut end of the stem into the rooting hormone powder, tapping off any excess.
- Plant your cuttings: Gently insert the prepared cuttings into your potting mix. Make sure the leaf nodes are buried in the soil. I like to gently firm the soil around them.
- Water gently: Give them a good watering with your fine-rose watering can until the soil is evenly moist.
- Create humidity: Cover the pots loosely with a plastic bag or place them under a propagation dome. This traps moisture and keeps the humidity high, which is vital for cuttings.
- Find a good spot: Place the pots in a warm location with bright, indirect light. Avoid direct sun, which can scorch the delicate cuttings.
Water Propagation
While stem cuttings in soil are my preference, I’ve had some success with water propagation for Hyperbaena eladioana too.
- Prepare cuttings: Follow steps 1-3 from the stem cutting method above.
- Place in water: Put the cuttings in a clear glass or jar filled with clean water.
- Change water regularly: This is crucial! Change the water every few days to keep it fresh and prevent algae growth.
- Monitor for roots: You should start to see tiny white roots forming within a few weeks.
- Transplant when ready: Once the roots are about an inch long, you can carefully transplant them into well-draining potting mix. Be very gentle with those new roots!
The “Secret Sauce” (Pro Tips)
Here are a few things I’ve learned over the years that really make a difference:
- Don’t let the leaves touch the water: If you’re water propagating, this is a big one. Any leaves submerged will rot and can take your cutting with them. Trim them off if they’re too low.
- Bottom heat is your friend: While not strictly necessary, placing your pots on a heated propagation mat can significantly speed up root development. It mimics that lovely warmth of spring soil.
- Patience is a virtue (and a must!): Hyperbaena eladioana can sometimes be a bit slow to root. Don’t be discouraged if you don’t see signs of life immediately. Give them time.
Aftercare & Troubleshooting
Once you see tiny roots peeking out, or new leaf growth appearing, you know your cuttings have taken!
- Gradually acclimate: If you were using a plastic bag or dome, start by opening it for a few hours each day to let the cuttings get used to lower humidity.
- Continue gentle watering: Keep the soil consistently moist but not soggy.
- Watch for rot: The most common sign of trouble is mushy, black stems, often accompanied by a foul smell. This usually means too much moisture and not enough air circulation. If you see this, it’s usually best to discard the affected cutting to prevent it from spreading.
- New growth is the best sign: Keep an eye out for tiny new leaves. This is the surest sign that your cutting has successfully rooted and is on its way!
A Little Encouragement
Propagating plants is a wonderful way to share your love of gardening and build your plant collection. Don’t be afraid to try! Even if not every single cutting makes it, you’ll learn something new with each attempt. Just be patient, enjoy the process of nurturing those tiny new life forms, and soon you’ll be surrounded by even more beautiful Hyperbaena eladioana. Happy propagating!
Resource:
https://identify.plantnet.org/k-world-flora/species/Hyperbaena%20eladioana%20Q.Jiménez/data