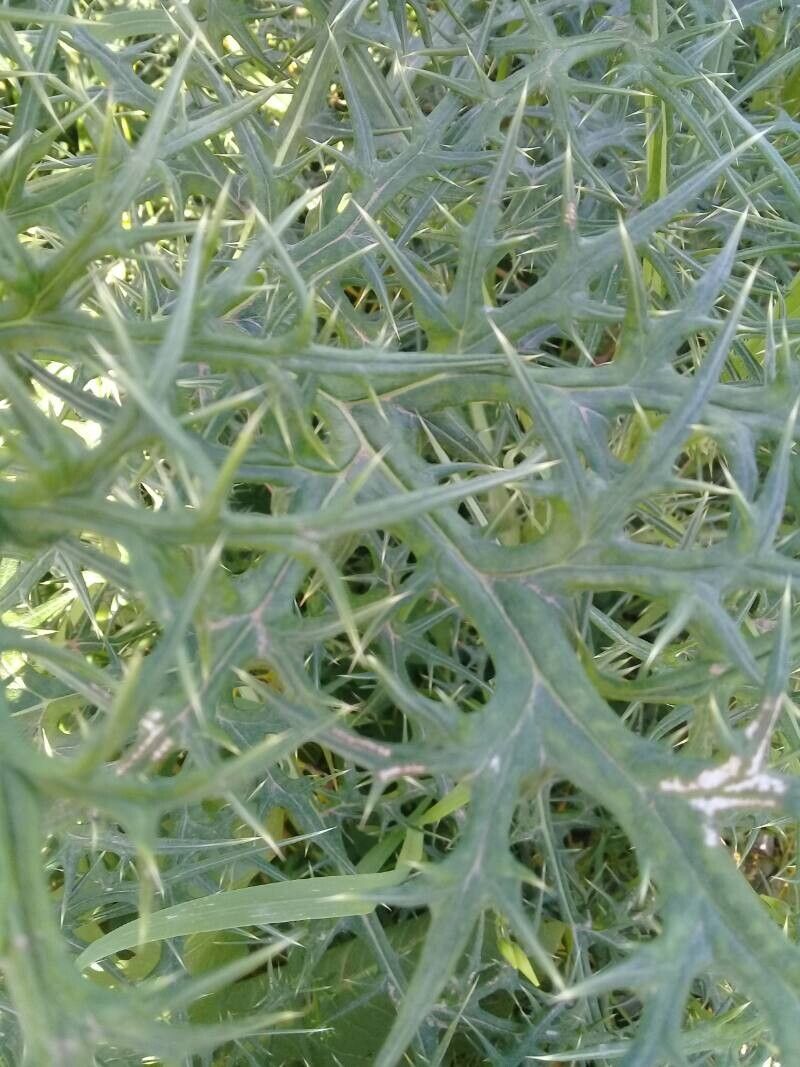
Oh, Echinops bovei! Isn’t it just a marvel? Those spiky, globe-shaped blooms are like little sapphire fireworks popping up in the garden. They add such a unique texture and a pop of cool-toned color, don’t they? And the pollinators just adore them; you’ll practically hear a hum of contented bees and butterflies when they’re in full swing. Propagating them yourself is a wonderfully rewarding endeavor. You get more of these beauties for free, and it’s a fantastic way to share them with fellow garden enthusiasts. Now, for the good news: Echinops bovei is generally quite forgiving, making it a lovely plant for even those just dipping their toes into propagation.
The Best Time to Start
When it comes to Echinops bovei, the sweet spot for propagation is generally late spring to early summer. This is when the plant is actively growing, and the stems have a good amount of energy to put into rooting. You’re looking for stems that are semi-hardwood – they’re not floppy and green, but they also aren’t completely woody and mature. Think of a pencil that’s just started to firm up. Taking cuttings at this stage gives them the best chance to establish quickly.
Supplies You’ll Need
Before we dive in, let’s gather our tools. A well-prepared station makes all the difference.
- Sharp Pruning Shears or a Craft Knife: Clean cuts heal better.
- Rooting Hormone (Optional but Recommended): Especially for those trickier cuttings, it gives them a helpful boost.
- Seed Starting Mix or a Well-Draining Potting Mix: I like to use a mix of peat moss, perlite, and a little bit of coarse sand. It needs to drain like a sieve!
- Small Pots or Trays: Clean containers are essential.
- Clear Plastic Bags or a Propagator Lid: To create a humid environment.
- A Dibber or a Pencil: For making planting holes.
- Watering Can with a Fine Rose: Gentle watering is key.
Propagation Methods
For Echinops bovei, stem cuttings are usually my go-to. It’s straightforward and typically yields excellent results.
- Take Your Cuttings: Head out to your Echinops bovei plant. Select healthy, non-flowering stems. You’ll want to take cuttings that are about 4-6 inches long. Make a clean cut just below a leaf node (where a leaf attaches to the stem). This is where the magic happens, where rooting hormones are concentrated.
- Prepare the Cuttings: Gently remove the lower leaves, leaving about two to three sets of leaves at the top. If the remaining leaves are large, you can even cut them in half to reduce water loss.
- Apply Rooting Hormone: Dip the cut end of the stem into your rooting hormone powder, tap off any excess.
- Plant the Cuttings: Fill your small pots with your prepared, moistened potting mix. Use your dibber or pencil to make a hole in the center of the soil. Carefully insert the cutting into the hole, ensuring the rooted end is in contact with the soil. Gently firm the soil around the stem.
- Create a Humid Environment: Water the soil gently. Then, cover the pot with a clear plastic bag, securing it around the rim with a rubber band, or place it inside a propagator with a lid. This humidity is crucial to prevent the cuttings from drying out before they can root.
The “Secret Sauce” (Pro Tips)
Over the years, I’ve picked up a few tricks that seem to make a real difference.
- Avoid Waterlogged Soil: This is probably the biggest culprit for failure. Echinops bovei roots, like many plants, absolutely hate sitting in soggy soil. That’s why a super well-draining mix is non-negotiable. If you’re unsure, err on the side of too dry rather than too wet.
- The Power of Bottom Heat (If Possible): While not strictly necessary, placing your pots on a gentle heat mat can significantly speed up the rooting process. It mimics the warmth of spring soil and gives those roots a real “wake-up call.” Just a few degrees difference can make a noticeable impact.
- Don’t Be Afraid to Experiment with Cuttings: Sometimes, a stem that looks “less ideal” might surprise you with its rooting ability. And if your first attempt doesn’t work, don’t despair! Just try again with different stems or at a slightly different growth stage.
Aftercare & Troubleshooting
Once your cuttings have started to root – you’ll usually see new leaf growth appearing within a few weeks – it’s time to adjust their care.
- Acclimate Gradually: Once roots have formed, start gradually introducing your new plants to drier air. This means opening the plastic bag a little each day, or lifting the propagator lid for increasing periods. This process, called hardening off, helps them adjust to their new environment.
- Watering: Continue to water them moderately, allowing the soil to dry slightly between waterings. You should feel confident they have enough roots to support themselves before watering freely.
- Troubleshooting: The most common issue you’ll encounter is rot. This is a clear sign of overwatering and poor drainage. If you see a cutting turning mushy or black at the base, it’s likely lost. If the leaves are clearly wilting and not perking up after watering, and the soil feels perpetually damp, that’s another red flag. Sadly, if rot sets in, that particular cutting is usually a goner. The best approach is to learn from it and adjust your watering and drainage for the next batch.
So there you have it! Propagating Echinops bovei is a delightful journey. Be patient with your little ones; nature works on its own timeline. Enjoy the process, celebrate each new rooting, and soon you’ll have a garden bursting with those stunning blue spheres. Happy gardening!
Resource:
https://identify.plantnet.org/k-world-flora/species/Echinops%20bovei%20Boiss./data