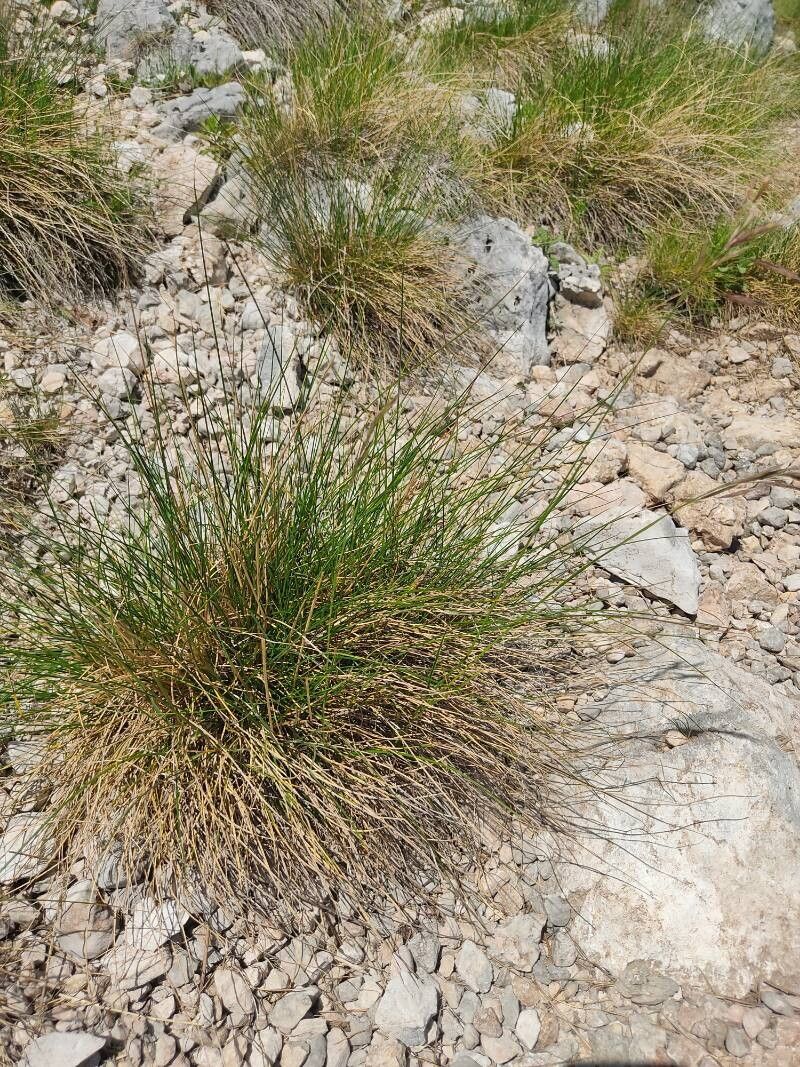
Oh, Festuca bosniaca! That beautiful, silvery-blue fescue is such a stunner in the garden. Its architectural form and cool-toned foliage bring a lovely texture and contrast to almost any planting. And the best part? Propagating it yourself is incredibly satisfying. You get to fill your garden with more of that gorgeousness, or even share it with fellow plant enthusiasts! For many gardeners, including those just starting out, I find Festuca bosniaca to be a pretty straightforward plant to propagate, which is always a welcome bonus.
The Best Time to Start
Generally, you’ll find the most success when you propagate your Festuca bosniaca in late spring or early summer. This is when the plant is actively growing and has plenty of energy to put into developing new roots. Aim for a time after the initial flush of spring growth has occurred, so you’re working with healthy, vigorous material.
Supplies You’ll Need
Before we dive in, let’s gather our tools. Here’s what I always have on hand:
- Sharp pruning shears or a clean knife: For making precise cuts.
- A good quality potting mix: I like a well-draining blend. A mix specifically for succulents or cacti often works beautifully, or you can amend a standard potting mix with perlite or coarse sand.
- Small pots or seed trays with drainage holes: Enough to house your new cuttings.
- Rooting hormone (optional but recommended): Especially helpful for encouraging faster root development.
- A spray bottle: For misting.
- Labels and a marker: To keep track of what you’ve planted and when.
- A warm location: For ideal root development.
Propagation Methods
While you can sometimes find information on seed propagation, I find division to be the most reliable and rewarding way to multiply Festuca bosniaca. It’s like getting multiple plants for the price of one!
Division:
- Prepare your plant: First, water your mature Festuca bosniaca a day or two before you plan to divide it. This helps prevent stress.
- Gently remove from the pot: Carefully tip the pot and ease the plant out. If it’s in the ground, dig around it carefully to loosen the root ball.
- Assess the clump: You’ll see that the clump often naturally wants to separate into sections. Look for areas where the root system is already divided.
- Make the cut: Using your hands, or a clean, sharp knife or spade if the clump is very dense, gently pull or cut the plant apart into smaller sections. Each section should have a good portion of roots and some healthy foliage. Don’t worry if you break a few roots; the plant is resilient!
- Pot up your divisions: Immediately plant each division into its own pot filled with your well-draining potting mix. You want the crown of the plant (where the leaves emerge from the roots) to be at soil level.
- Water gently: Water thoroughly after planting to settle the soil around the roots.
The “Secret Sauce” (Pro Tips)
Now for a couple of little tricks I’ve learned over the years:
- Don’t bury the crown too deep: This is crucial! If the crown sits too low in the pot, it can be prone to rot, especially in humid conditions. Keep it right at the soil surface. I’ve seen so many beginners struggle with this, and it’s such a simple fix.
- Provide a slight breeze, but no harsh sun: Once potted, your divisions will appreciate a bright spot, but avoid direct, intense sunlight for the first few weeks. This can scorch the new foliage and dry out delicate new roots. If you can place them in a greenhouse or a bright, indirect light window, that’s perfect. A gentle air circulation can also help prevent fungal issues.
Aftercare & Troubleshooting
Once your divisions are potted, keep the soil consistently moist but not waterlogged. You can mist the foliage occasionally, especially if the air is dry. Check for signs of new growth from the crown – a sure sign that roots are forming.
The most common issue you might face is rot, which usually indicates too much moisture. If you see yellowing, mushy foliage or the plant just looks sad and is collapsing, it’s likely getting too much water or not enough drainage. In this case, you might need to carefully pull the division out, trim away any rotted parts, and repot it in fresh, dry, well-draining soil. Be patient! It can take several weeks for new roots to really establish themselves.
A Encouraging Closing
Propagating Festuca bosniaca is a wonderful way to expand your garden and deepen your connection with your plants. Don’t be discouraged if your first attempt isn’t perfect; gardening is all about learning and adapting. Enjoy the process, celebrate every new sprout, and before you know it, you’ll have a whole meadow of that gorgeous blue-green foliage! Happy gardening!
Resource:
https://identify.plantnet.org/k-world-flora/species/Festuca%20bosniaca%20Kumm.%20&%20Sendtn./data