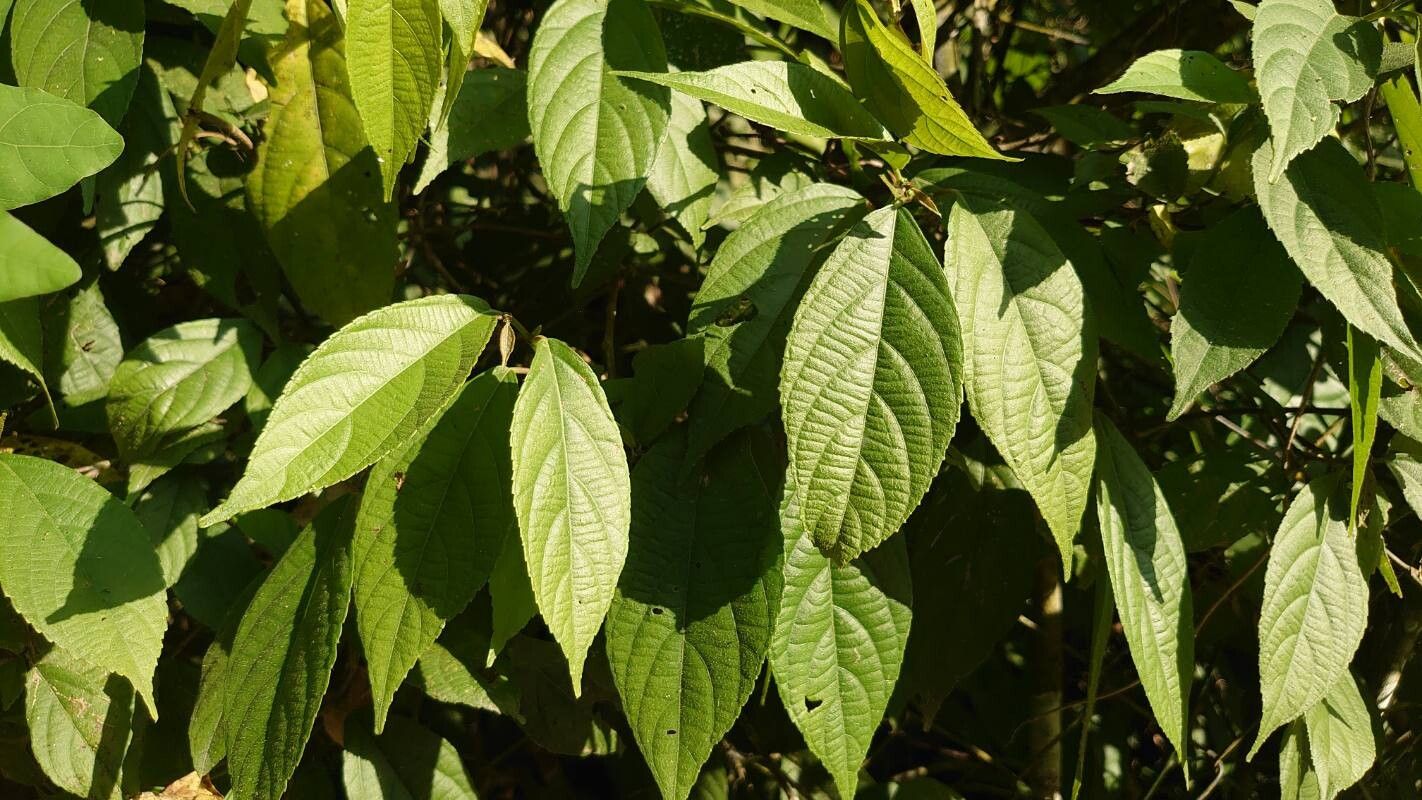
Oh, hello there, fellow garden enthusiast! I’m so glad you’ve stopped by. Today, we’re diving into the wonderful world of Acalypha diversifolia, also known affectionately as “Firetail” or “Jacob’s Coat” for those stunning, often multi-colored leaves and those dramatic, fuzzy flower spikes that really do look like fiery tails. If you’ve ever admired this lush, tropical beauty in someone’s garden or in a conservatory, you might be wondering if you can bring a piece of that magic home. And the answer is a resounding YES! Propagating Acalypha diversifolia is a truly rewarding experience, a chance to share the joy of this plant by creating more of it yourself. For those just starting out on their propagation journey, I’d say Acalypha diversifolia is pleasantly workable. With a little attention and these tips, you’ll be well on your way to success.
The Best Time to Start
Timing is everything in the garden, isn’t it? For Acalypha diversifolia, the absolute sweet spot for propagation is during the active growing season. Think late spring through mid-summer. This is when the plant has plenty of energy reserves to put into developing new roots. Starting cuttings when the plant is actively pushing out new growth means they’re more vigorous and have a better chance of striking.
Supplies You’ll Need
Gathering your tools beforehand makes the whole process much smoother. Here’s what you’ll want to have on hand:
- Sharp, clean pruning shears or a sharp knife: Cleanliness is crucial to prevent disease.
- A rooting hormone powder or gel: While not strictly essential for all plants, it significantly boosts success rates and speeds up root development for Acalypha.
- A well-draining potting mix: I like a blend of perlite, peat moss, and a little bit of compost. You can also buy a good quality seedling starting mix.
- Small pots or propagation trays: Clean, empty containers are perfect.
- A plastic bag or propagation dome: This will create a humid environment, which Acalypha loves.
- Watering can or spray bottle: For gentle watering.
- Labels: To keep track of what you’ve planted!
Propagation Methods
Acalypha diversifolia is wonderfully generous and can be propagated in a couple of very effective ways.
Stem Cuttings (My Favorite!)
This is my go-to method for Acalypha. It’s straightforward and gives you plenty of little baby plants to share or fill in your own garden.
- Take your cuttings: Using your sharp, clean shears, take healthy stem cuttings that are about 4-6 inches long. Look for stems that are not too woody but also not overly soft and new. A slight “bend” in the stem is often a good indicator of ideal material. You can take these from mid-spring to mid-summer. Remember to make your cut just below a leaf node (where a leaf attaches to the stem).
- Prepare the cuttings: Gently remove the lower leaves from the cutting, leaving just a couple of leaves at the very top. This reduces water loss and prevents leaves from rotting in the soil. If the remaining leaves are very large, you can cut them in half to further minimize water loss.
- Dip in rooting hormone: Dip the cut end of the stem into your rooting hormone powder or gel. Tap off any excess.
- Plant your cuttings: Fill your small pots or trays with your prepared potting mix. Make a small pilot hole with your finger or a pencil. Insert the treated end of the cutting into the hole and gently firm the soil around it.
- Water gently: Water the soil thoroughly but gently. You don’t want to wash your cuttings out.
- Create a humid environment: Cover the pots with a clear plastic bag, securing it around the rim with a rubber band, or place them under a propagation dome. This traps moisture.
- Place them in bright, indirect light: Find a warm spot with good light but no direct sun, which can scorch young cuttings.
Water Propagation (A Visual Treat!)
This method is fantastic because you can actually see the roots forming!
- Take cuttings: Follow step 1 from the stem cutting method.
- Prepare cuttings: Similar to stem cuttings, remove the lower leaves.
- Place in water: Pop your prepared cuttings into a clean jar or glass of room-temperature water. Ensure that the leaf nodes (where you removed the leaves) are submerged, as this is where roots will emerge.
- Change the water regularly: Aim to change the water every 2-3 days to keep it fresh and prevent bacterial growth.
- Location, location, location: Place the jar in a bright spot with indirect light.
- Patience is key: You should start seeing tiny white root nubs forming within a few weeks.
The “Secret Sauce” (Pro Tips)
Here are a couple of things I’ve learned over the years that really make a difference with Acalypha:
- Don’t let the leaves touch the water (for water propagation): This is crucial! If any leaves are submerged in the water, they’ll turn mushy and rot very quickly, which can then affect the entire cutting. Pinch them off or trim the cutting so that only the stem is in the water.
- Bottom heat is your friend: If you have a heat mat designed for seedlings, placing your pots of cuttings on it can significantly speed up root formation. Acalypha is a tropical plant, and a little warmth from below encourages those roots to get going. The soil temperature should ideally be around 70-75°F (21-24°C).
- Monitor humidity carefully: That plastic bag or dome is your best friend for keeping things humid. If you notice condensation is too heavy, open it up for an hour or so each day to allow for some air exchange. Too much moisture without airflow can lead to fungal issues.
Aftercare & Troubleshooting
Once you start seeing new leaf growth or feel a gentle tug when you lightly pull on a cutting, rejoice! Roots have formed.
- For cuttings in soil: Continue to keep the soil consistently moist but not waterlogged. Gradually acclimate them to less humidity by opening the plastic bag or dome for longer periods over a week or two. Once they are clearly established and growing, you can remove the cover entirely. Pot them up into larger individual pots when they have a good root system.
- For cuttings in water: Once the roots are about an inch long, gently transplant them into pots filled with your well-draining potting mix. Water them well. The transition from water to soil can be a little stressful, so keep the soil moist for the first couple of weeks.
- Common signs of failure: The most common culprits are rot (mushy, brown stems, sometimes with a foul smell) and wilting that doesn’t recover. Rot usually happens from overwatering, poor drainage, or leaves sitting in water. If a cutting rots, it’s usually best to discard it and start again. Wilting can sometimes be lack of humidity or heat, or simply that the cutting hasn’t struck yet and is using up its stored energy.
And there you have it! Propagating Acalypha diversifolia is a journey, and like all good gardening adventures, it requires a little patience, a keen eye, and a whole lot of love. Don’t be discouraged if not every cutting makes it – that’s a natural part of the process. Celebrate the successes, learn from the challenges, and most importantly, enjoy the magic of creating new life in your garden. Happy propagating!
Resource:
https://identify.plantnet.org/k-world-flora/species/Acalypha%20diversifolia%20Jacq./data