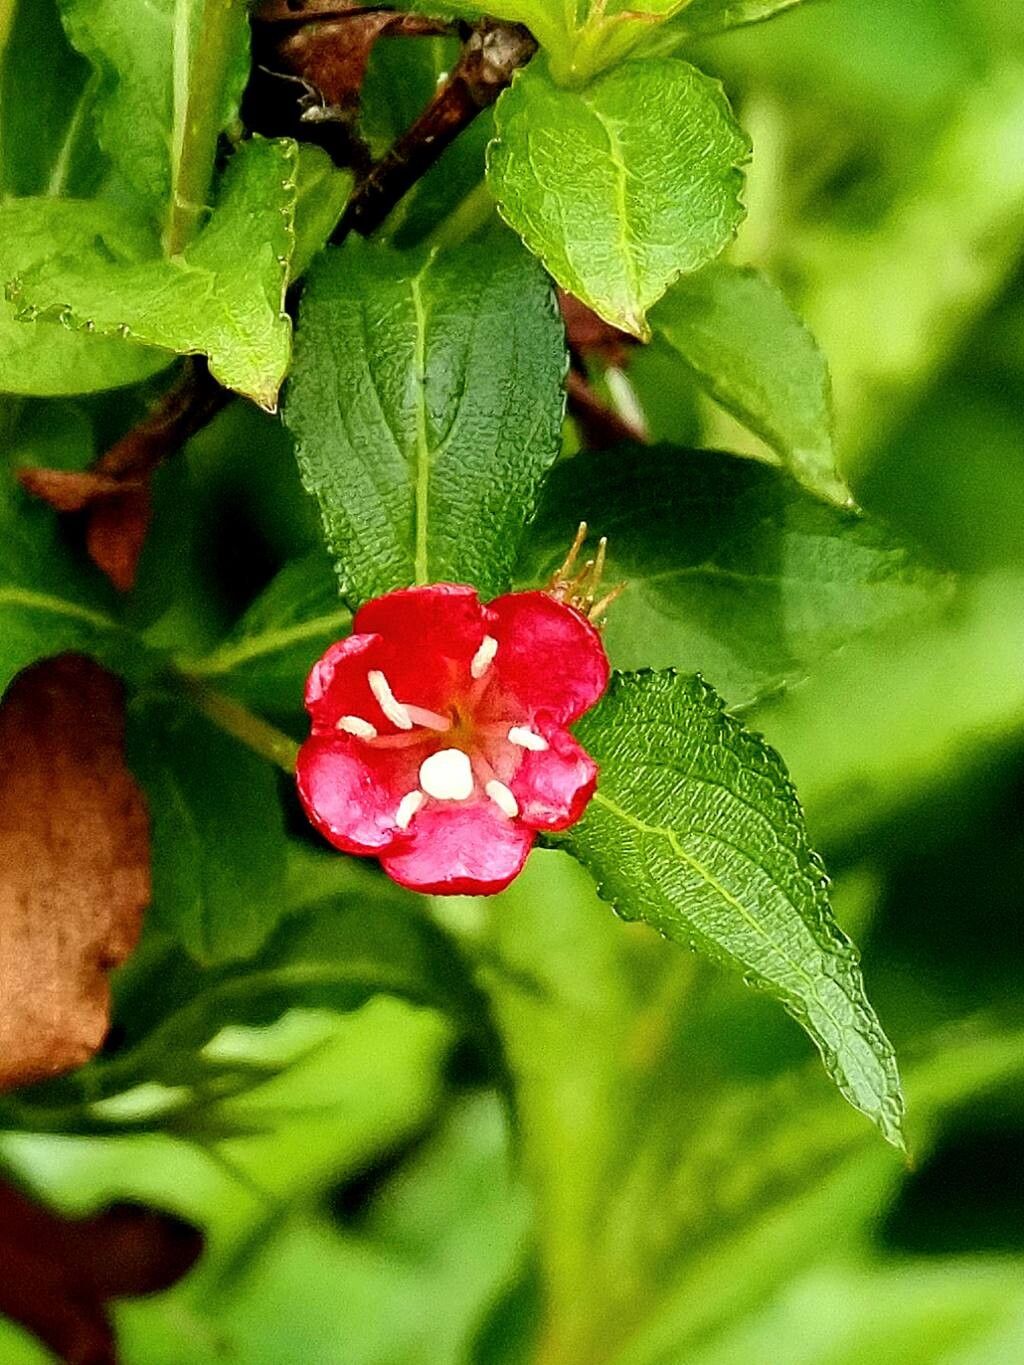
Hello fellow plant lovers! Today, we’re diving into the wonderful world of Weigela hortensis. If you’ve ever admired those gorgeous, trumpet-shaped blooms splashed across the landscape in spring and early summer, you know how charming these shrubs can be. They offer such a vibrant burst of color, attracting buzzing bees and flitting butterflies to your garden.
What’s even better? You can easily grow your own! Propagating Weigela is a truly rewarding experience. You get to watch tiny cuttings transform into established plants, expanding your garden or sharing these beauties with friends. For beginners, I’m happy to say that Weigela is quite forgiving. You’ll likely find success with a little patience and these tips.
The Best Time to Start
For the highest chance of success, I always recommend taking cuttings in late spring to early summer. This is when the plant has finished its main flush of spring growth. You’re looking for what we horticulturists call “semi-hardwood” cuttings. The stems should be flexible enough to bend without snapping, but not so soft that they easily wilt. Think of it like a firm but supple pencil.
Supplies You’ll Need
Gathering your supplies ahead of time makes the whole process smoother. Here’s what you’ll want on hand:
- Sharp Pruning Shears or a Craft Knife: For clean cuts.
- Rooting Hormone: A powder or gel that encourages root development, making a big difference.
- Small Pots or Seedling Trays: With drainage holes, of course!
- Potting Mix: A good quality, well-draining mix. I often use a blend of peat moss or coco coir mixed with perlite or coarse sand for excellent aeration.
- Clear Plastic Bags or a Propagator Lid: To create a humid environment.
- Water: For misting and hydrating.
- Labels: To keep track of what you’ve planted!
Propagation Methods
Weigela is wonderfully responsive to stem cuttings. It’s my go-to method.
- Take Your Cuttings: Using your sharp shears, select healthy stems from your mature Weigela. Aim for pieces that are about 4-6 inches long. Make your cut just below a leaf node (where the leaves attach to the stem). This is where root-forming cells are most active.
- Prepare the Cuttings: Gently remove the lower leaves from the cutting, leaving only the top two or three leaves. If the remaining leaves are quite large, you can trim them in half to reduce water loss.
- Apply Rooting Hormone: Dip the cut end of each stem into your rooting hormone, tapping off any excess.
- Plant Your Cuttings: Fill your pots with the prepared potting mix. Make a hole with a pencil or your fingertip before inserting the cutting to avoid rubbing off the rooting hormone. Gently push the cutting into the soil, ensuring at least one leaf node is buried beneath the surface.
- Water and Cover: Water the soil gently to settle it around the cuttings. Then, cover the pots with a clear plastic bag or a propagator lid to create a mini-greenhouse. This is crucial for maintaining humidity.
The “Secret Sauce” (Pro Tips)
Here are a few little tricks I’ve learned over the years that can really boost your success rate:
- Bottom Heat is Your Friend: If you have a heat mat designed for seedlings, place your pots on it. A consistent, gentle warmth from below can significantly speed up root development. It’s particularly helpful if you’re propagating a bit earlier or later than the absolute ideal window.
- Don’t Let the Leaves Touch the Water (If Water Propagating – though cuttings are better for Weigela): While I champion stem cuttings in soil for Weigela, if you ever dabble in water propagation for other plants, remember this: submerged leaves will rot, inviting disease and hindering root growth. Always keep leaves above the water line.
- Mist Regularly, But Avoid Soggy Soil: Check your cuttings daily. The soil should be consistently moist but never waterlogged. A light misting of the leaves and the inside of the plastic cover can help maintain that humid environment.
Aftercare & Troubleshooting
Once your cuttings are rooted, you’ll start to see new leaf growth – a sure sign of success!
When you see resistance when you gently tug on a cutting, or new shoots appearing, it’s time to introduce them to the outside world gradually. Slowly increase ventilation by opening the propagator lid or removing the plastic bag for longer periods each day over a week.
Once they are acclimatized, you can transplant them into slightly larger pots. Continue to keep the soil consistently moist.
The most common issue you might encounter is rot. If your cuttings turn mushy, brown, and fall apart, it’s usually a sign of too much moisture and not enough air circulation. Ensure your soil is well-draining and that you’re not overwatering. Another sign of trouble is wilting that doesn’t perk up after misting – this could indicate the cutting didn’t take. Don’t be discouraged if some don’t make it; it’s part of the learning process!
A Encouraging Closing
Propagating Weigela is a wonderful way to connect with your plants and expand your garden. Be patient with the process. It might take a few weeks, or even a couple of months, to see those first signs of roots. Enjoy watching each little step of development. Happy planting!
Resource: