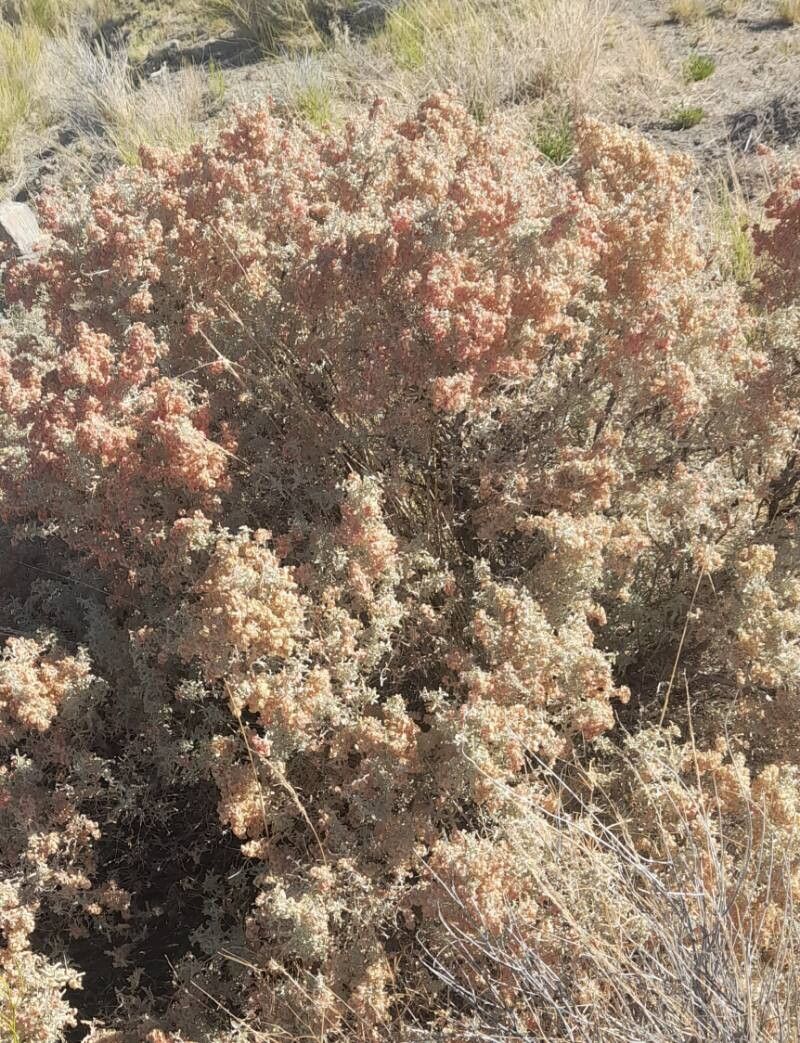
Hello there, fellow garden enthusiasts! Today, we’re diving into the wonderful world of propagating Atriplex lampa, often known as Saltbush. This Australian native is a real gem in the garden. Its silvery-grey foliage adds a touch of elegance, and it’s incredibly tough once established, handling dry spells and salty conditions like a champ. If you’re looking to expand your collection or share this beauty with friends, propagating your own Atriplex lampa is a deeply satisfying endeavor. And the good news? It’s generally quite forgiving, making it a lovely plant for even newer gardeners to try their hand at.
The Best Time to Start
For the highest success rate with Atriplex lampa, I always recommend starting in late spring to early summer. This is when the plant is actively growing and has plenty of energy to put into developing new roots. You’ll be looking for stems that are firm but not yet woody. Think of them as being in that sweet spot – past the soft, floppy new growth, but not quite as tough as a mature branch.
Supplies You’ll Need
Before we get our hands dirty, let’s gather our tools. Having everything ready makes the process so much smoother:
- Sharp pruning shears or a clean knife: For taking precise cuttings.
- Rooting hormone (optional, but recommended): A powder or gel that encourages root development.
- A well-draining potting mix: I like a blend of perlite, vermiculite, and a good quality seed-starting mix.
- Small pots or trays: Clean, with drainage holes.
- Watering can or spray bottle: For gentle watering.
- A plastic bag or propagator lid: To create a humid environment.
- Gravel or small stones (for water propagation): To anchor cuttings.
Propagation Methods
I find stem cuttings to be the most reliable way to propagate Atriplex lampa. It’s straightforward and usually yields great results.
Stem Cuttings
- Select and cut: Choose a healthy, non-flowering shoot that’s about 10-15 cm long. Make a clean cut just below a leaf node (where a leaf attaches to the stem). This is where the magic happens for root formation.
- Prepare the cuttings: Gently remove the lower leaves from your cuttings. You want to expose at least two leaf nodes. If the remaining leaves are very large, you can carefully cut them in half to reduce water loss through transpiration.
- Apply rooting hormone (optional): Dip the cut end of each stem into your rooting hormone, tapping off any excess. This gives your cuttings a little boost.
- Pot them up: Fill your clean pots with your well-draining potting mix. Make small holes with a pencil or your finger, then insert the cuttings. Gently firm the soil around the base of each stem to ensure good contact.
- Water and cover: Water the mix lightly until it’s evenly moist but not waterlogged. Then, place a clear plastic bag over the pot or cover it with a propagator lid. This traps humidity, which is crucial for cuttings.
The “Secret Sauce” (Pro Tips)
Here are a couple of tricks I’ve learned over the years that really make a difference:
- Avoid leaf rot: When watering, be super careful not to let the lower leaves sit in soggy soil or water. This is a surefire way to invite rot. If using misting, ensure it’s light and doesn’t saturate the leaves.
- Consider warmth: While not strictly essential, placing your pots on a heat mat designed for propagation can significantly speed up root development. It mimics the warmth of the soil in the spring and encourages quicker root growth.
Aftercare & Troubleshooting
Once your cuttings are potted, the waiting game begins! Keep them in a bright spot but out of direct, harsh sunlight. Check the soil moisture regularly by touching the surface; it should feel lightly moist. You can also gently tug on a cutting after a few weeks. If you feel resistance, that’s a good sign roots are forming!
The biggest challenge you might face is rot. If you see a cutting turning black and mushy, it’s likely succumbed to rot. This is often due to overwatering or poor drainage. Don’t be disheartened; just remove the affected cutting, ensure the remaining ones have good air circulation, and adjust your watering.
A Encouraging Closing
Propagating plants is a journey of patience and observation. Don’t get discouraged if every cutting doesn’t make it. Celebrate the successes, learn from the failures, and most importantly, enjoy the process of growing new life. Happy gardening!
Resource: