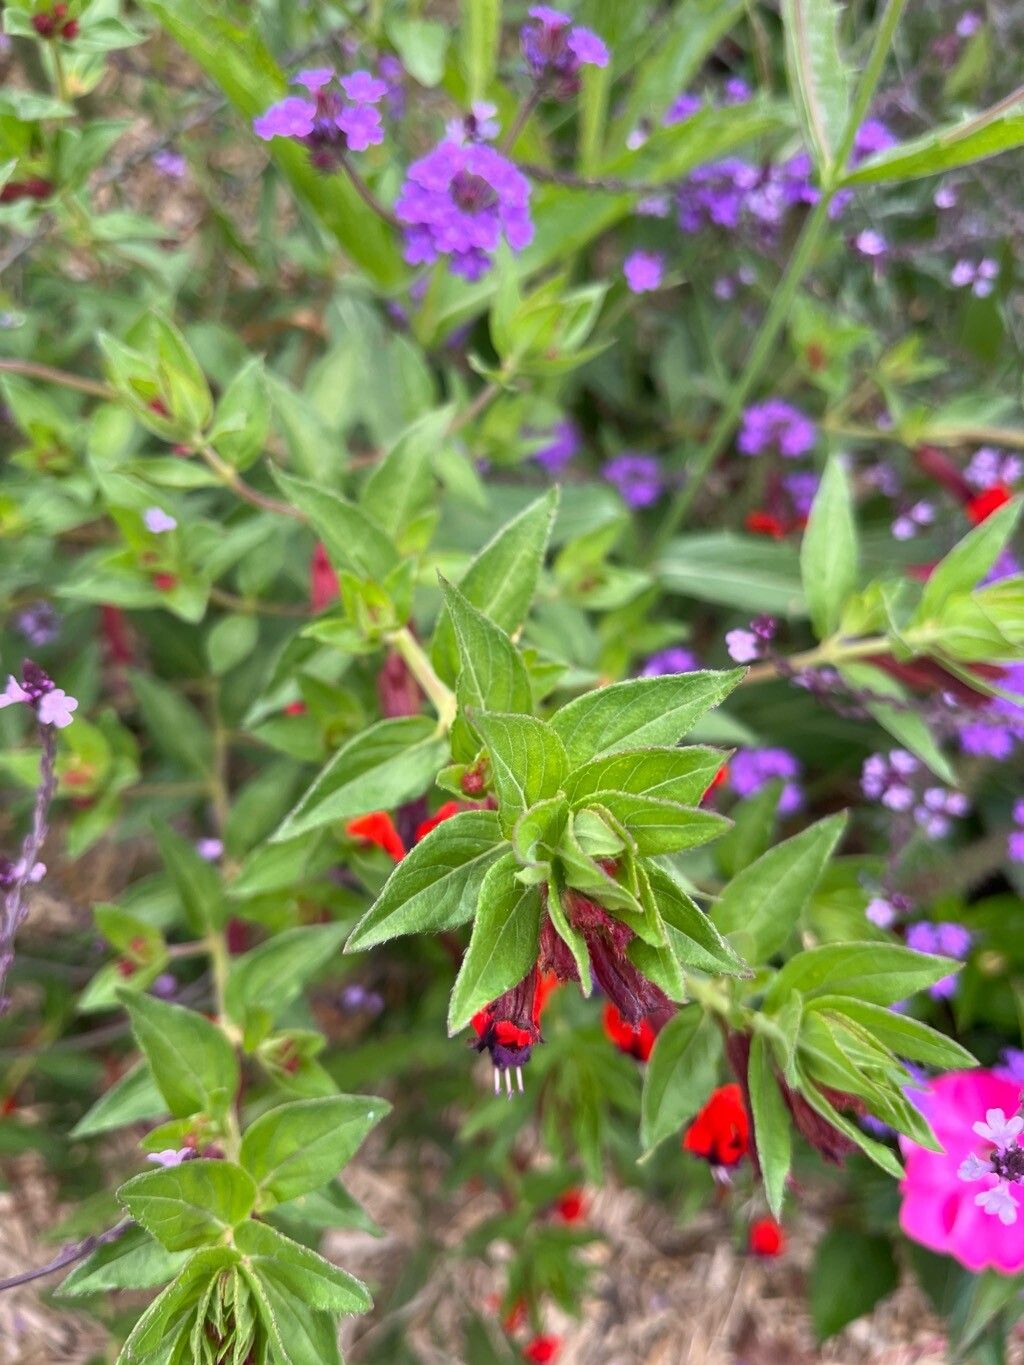
Oh, Cuphea llavea! Also known as the Bat Face Cuphea or Tuxedo Plant, that little charmer with its quirky, almost whimsical blooms. I’ve always had a soft spot for them in my garden. Those deep red, almost velvety petals peeking out from a contrasting purple tube really do look like tiny little bats taking flight, don’t they? And the best part? They bloom their hearts out for ages, from spring right through to fall.
Thinking about propagating your own Bat Face Cuphea is a fantastic idea. It’s not just about getting more plants; it’s about understanding a little bit more about how these beauties grow. And for beginners? I’d say Cuphea llavea is pleasantly easy to propagate. It’s quite forgiving, which is always a win in my book!
The Best Time to Start
For the highest success rate with Cuphea llavea, you really want to aim for the late spring or early summer. This is when the plant is actively growing, putting out fresh, tender shoots that are perfect for taking cuttings. You’ll have plenty of healthy stems to choose from, and the warm temperatures will encourage quick root development.
Supplies You’ll Need
Here’s what you’ll want to have on hand:
- Sharp pruning shears or a clean knife: For making clean cuts.
- Rooting hormone (optional but recommended): A powder or liquid to help stimulate root growth.
- Pots or seed trays: Clean containers with drainage holes.
- Well-draining potting mix: I like a blend of soilless seed-starting mix with a good amount of perlite or coarse sand. You want it airy!
- Clear plastic bags or a propagator: To create a humid environment.
- Watering can or spray bottle: For gentle watering.
Propagation Methods
Let’s get our hands dirty! We’ll focus on the easiest and most reliable method: stem cuttings.
- Select Your Cuttings: Look for healthy, non-flowering stems that are at least 4-6 inches long. You want stems that are green and flexible, not woody. Gently snap or cut a stem right below a leaf node (where the leaves attach to the stem). The ideal cuttings will have at least two or three sets of leaves.
- Prepare the Cuttings: Gently remove the lower leaves from the cutting, leaving just a couple of sets at the top. This prevents the buried leaves from rotting.
- Apply Rooting Hormone (If Using): Dip the cut end of the stem into your rooting hormone, tapping off any excess. This step really does give your cuttings a boost!
- Plant Your Cuttings: Fill your pots or trays with the well-draining potting mix. Make a small hole with your finger or a pencil and insert the cut end of the Cuphea cutting. Gently firm the soil around it. Aim for about half of the cutting to be buried.
- Water Gently: Water the potting mix thoroughly but gently. You don’t want to dislodge your cuttings. A spray bottle is great for this initial watering.
- Create Humidity: Cover the pot or tray with a clear plastic bag or place it inside a propagator. This is crucial for keeping the cuttings from drying out while they develop roots. Make sure the plastic tent doesn’t touch the leaves!
- Provide Warmth and Light: Place your cuttings in a warm spot with bright, but indirect sunlight. Direct sun will scorch those delicate cuttings.
The “Secret Sauce” (Pro Tips)
Here are a couple of things I’ve learned over the years that make a real difference:
- Don’t be afraid to take more than you think you need. Not every cutting will make it, and that’s perfectly normal. Taking a few extra means you’re more likely to end up with a good batch of new plants.
- Bottom heat is your friend! If you have a heat mat designed for seed starting, place your pots on top of it. This little bit of warmth from below will dramatically speed up root formation. It’s like giving your cuttings a cozy foot spa!
Aftercare & Troubleshooting
Once your cuttings are planted, keep the soil consistently moist, but never soggy. You should see signs of new growth within 3-6 weeks. This is your signal that roots are forming!
You can gently tug on a cutting to see if there’s resistance, indicating root development. Once they’ve established a good root system, you can remove the plastic cover gradually over a few days to acclimate them to normal humidity. Then, it’s time to transplant them into their own little pots.
The most common issue you might encounter is rot. This usually happens if the soil is too wet or the humidity is too high without enough air circulation. If you see the stem turning mushy and black at the soil line, that cutting is likely lost. Don’t get discouraged; just remove it and focus on the healthy ones.
A Encouraging Closing
See? Not so daunting, is it? Propagating Cuphea llavea is a wonderfully rewarding process. Be patient with your little green babies, offer them consistent care, and you’ll soon be rewarded with a whole new crew of these delightful, bat-faced beauties. Enjoy the journey, and happy planting!
Resource:
https://identify.plantnet.org/k-world-flora/species/Cuphea%20llavea%20Lex./data