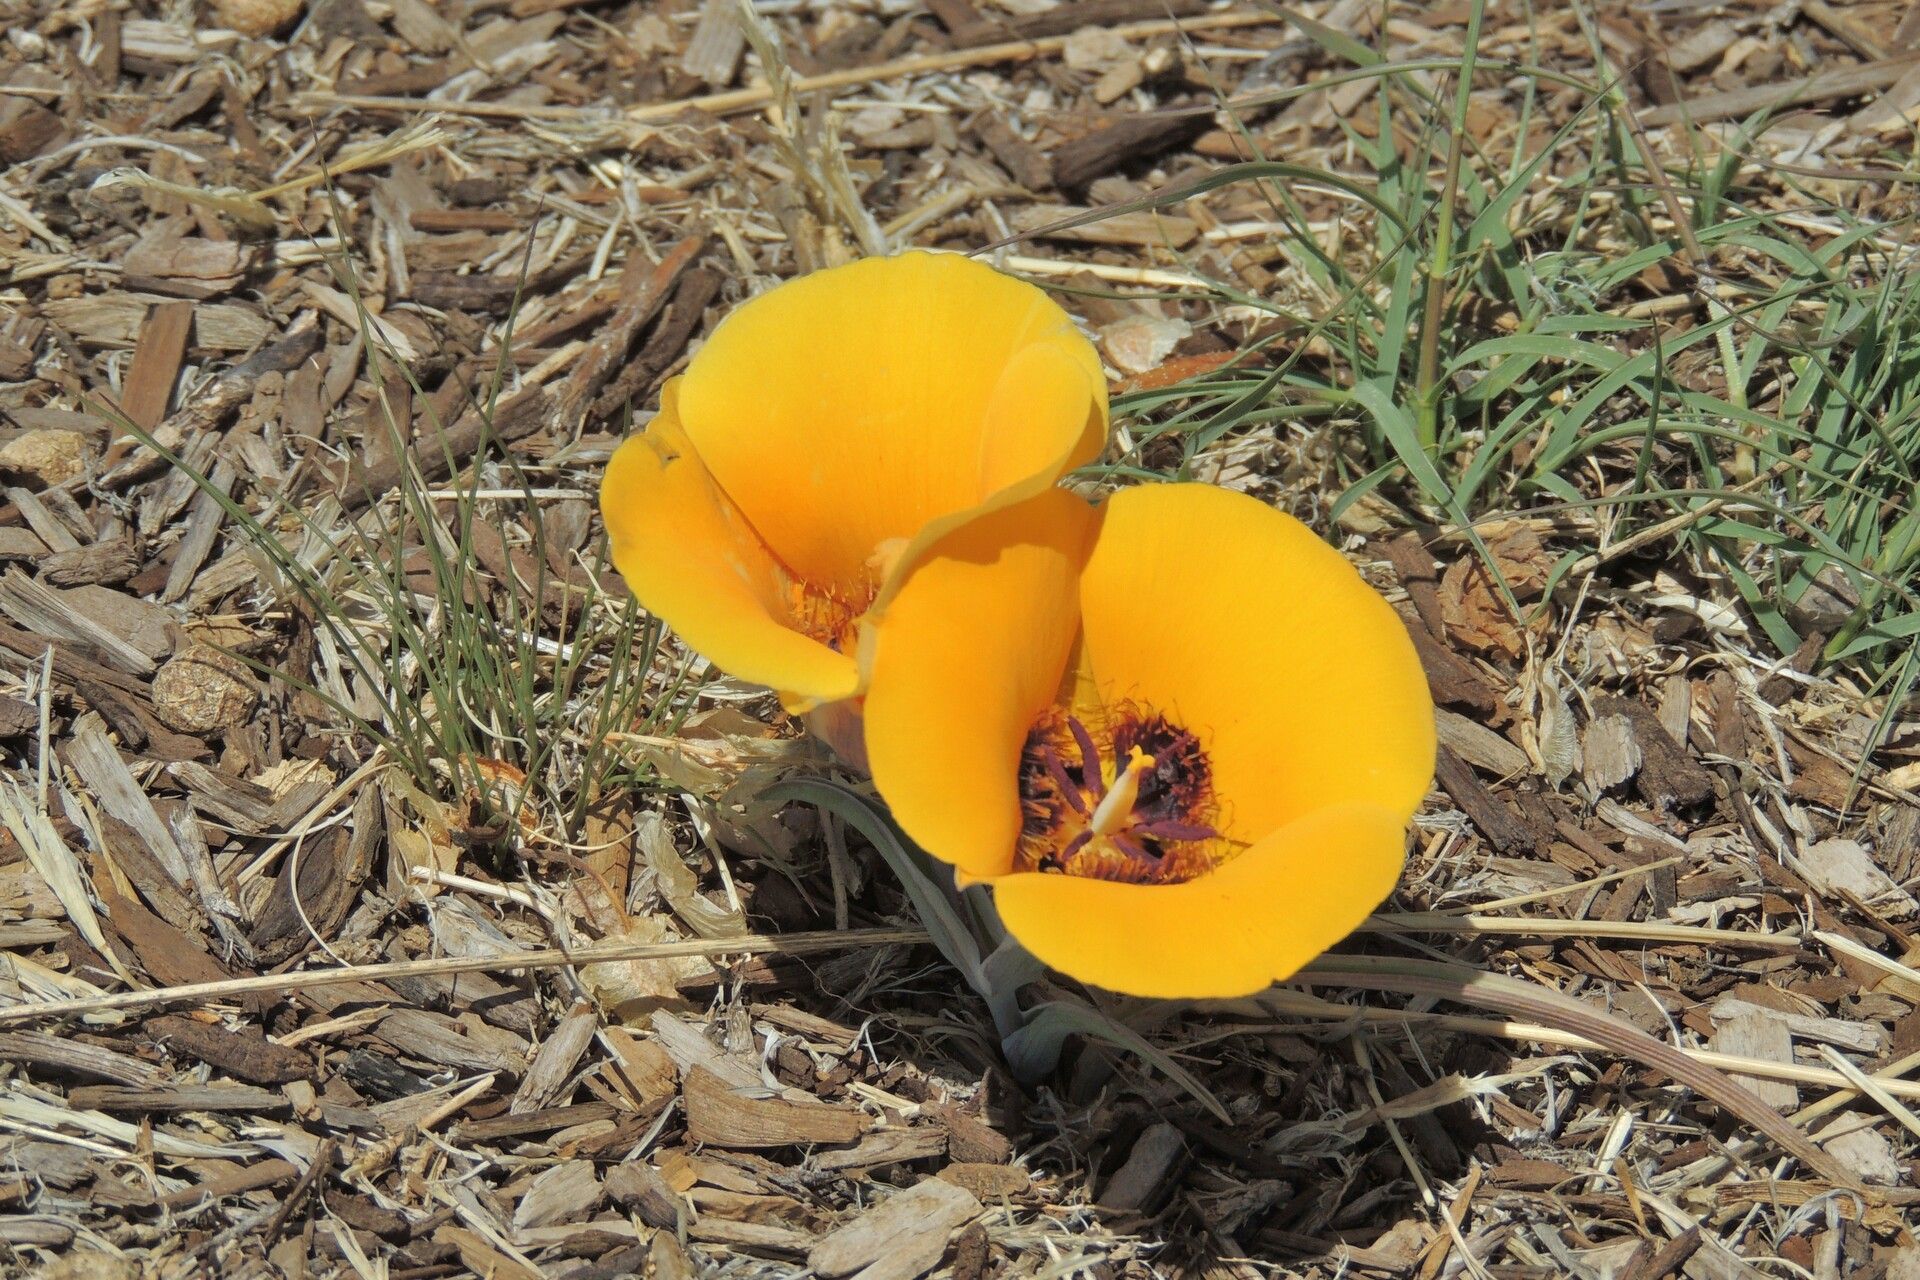
Oh, hello there! Come on in, grab a mug of your favorite brew. Today, we’re diving into the wonderful world of Calochortus kennedyi, also known as the Desert Mariposa Lily. If you’ve ever seen these beauties gracing our dry landscapes, you know their charm. They’re like little jewels, with delicate petals in vibrant hues, often found peeking out from rocky slopes. Propagating them is such a rewarding endeavor, and while they can be a tad particular, I promise it’s not an insurmountable challenge. It just requires a bit of understanding and a good dose of patience.
The Best Time to Start
When it comes to Calochortus, timing is everything. The absolute best time to think about propagation is in the late fall or early winter, after they’ve gone dormant. This is when the bulbs are nice and plump, and they’re gearing up for their spring show. Trying to propagate them when they’re actively growing or flowering can be a recipe for disappointment. We want them to have all their energy focused on making new life, not putting on a spectacular display.
Supplies You’ll Need
Here’s what you’ll want to have on hand before we get our hands dirty:
- Well-draining potting mix: This is non-negotiable! Think a mix heavy on horticultural grit, perlite, and a little bit of compost. Avoid anything that holds too much moisture.
- Sharp, clean pruning shears or a sharp knife: For making clean cuts. We don’t want to tear anything!
- Tiny pots or seed trays: Small is good when they’re young.
- Rooting hormone (optional but helpful): A powder or gel can give your cuttings a nice boost.
- Calochortus bulbs (for division): If you’re lucky enough to have a good size clump already.
- A shady spot: For those newly propagated little ones.
Propagation Methods
Let’s get to the fun part! For Calochortus kennedyi, we’ll focus on the most reliable methods:
1. Bulb Division: This is often the easiest way to start if you have existing bulbs.
- First, gently lift your Calochortus bulbs from their pots or garden beds in late fall, after the foliage has completely died back.
- Carefully examine the bulb. You’re looking for small offsets or baby bulbs attached to the main bulb.
- Using your clean knife or shears, carefully separate these offsets. Make sure each offset has at least a tiny bit of a root system attached, if possible.
- Allow the cut surfaces to callous over for a day or two in a dry, airy spot. This helps prevent rot.
- Plant each division in its own small pot filled with your well-draining mix. Plant them at about the same depth they were growing before.
- Water them in very lightly, just to settle the soil.
2. Seed Propagation (A Bit More Patience Required): While division is quicker, growing from seed offers its own rewards.
- Collect seeds from your Calochortus plants in late summer or early fall, once the seed pods have dried.
- Many Calochortus seeds require a period of cold stratification to germinate properly. This mimics winter.
- To stratify, mix your seeds with a little moist (not wet!) sand or vermiculite in a plastic baggie.
- Store this baggie in the refrigerator for about 6-8 weeks. Check occasionally to make sure the mix stays slightly moist.
- After stratification, sow the seeds on the surface of your well-draining potting mix in a tray or shallow pot. You can lightly cover them with a fine layer of grit.
- Keep the soil consistently slightly moist – never soggy. A light misting is usually best.
- Patience is key! Germination can be slow and sporadic, often taking several months. They might even wait until the following spring.
The “Secret Sauce” (Pro Tips)
Now, a couple of little secrets I’ve picked up over the years:
- Embrace Dryness: Calochortus are desert dwellers. They hate wet feet, especially when they’re dormant or young. Err on the side of underwatering rather than overwatering. If you’re unsure, wait another day.
- Bottom Heat (for seedlings): If you’re propagating from seed and want to give those little sprouts a little encouragement, a gentle heat mat placed underneath your seed trays can make a world of difference. Just keep it on a low setting.
Aftercare & Troubleshooting
Once your little Calochortus babies have started to show signs of life – be it new growth from a division or a tiny sprout from a seed – it’s time for careful aftercare.
- Watering: Water sparingly and only when the top inch of soil feels dry. Overwatering is still your biggest enemy and can lead to bulb rot. You’ll see the leaves turn yellow and mushy before the whole plant succumbs.
- Light: Keep them in a spot with bright, indirect light. Direct, hot sun can be too much for tender new growth.
- Ongoing Dormancy: Remember that even after they sprout, they still have a natural dormancy period. Don’t panic if the foliage dies back in summer; this is normal!
A Little Something to Grow On
Propagating Calochortus kennedyi might take a bit of finesse, and you might have a few setbacks along the way. That’s part of the gardening journey! Don’t get discouraged. Each little bulb or seedling you nurture into a healthy plant is a victory. Be patient, observe them closely, and most importantly, enjoy the process. Happy gardening!
Resource:
https://identify.plantnet.org/k-world-flora/species/Calochortus%20kennedyi%20Porter/data