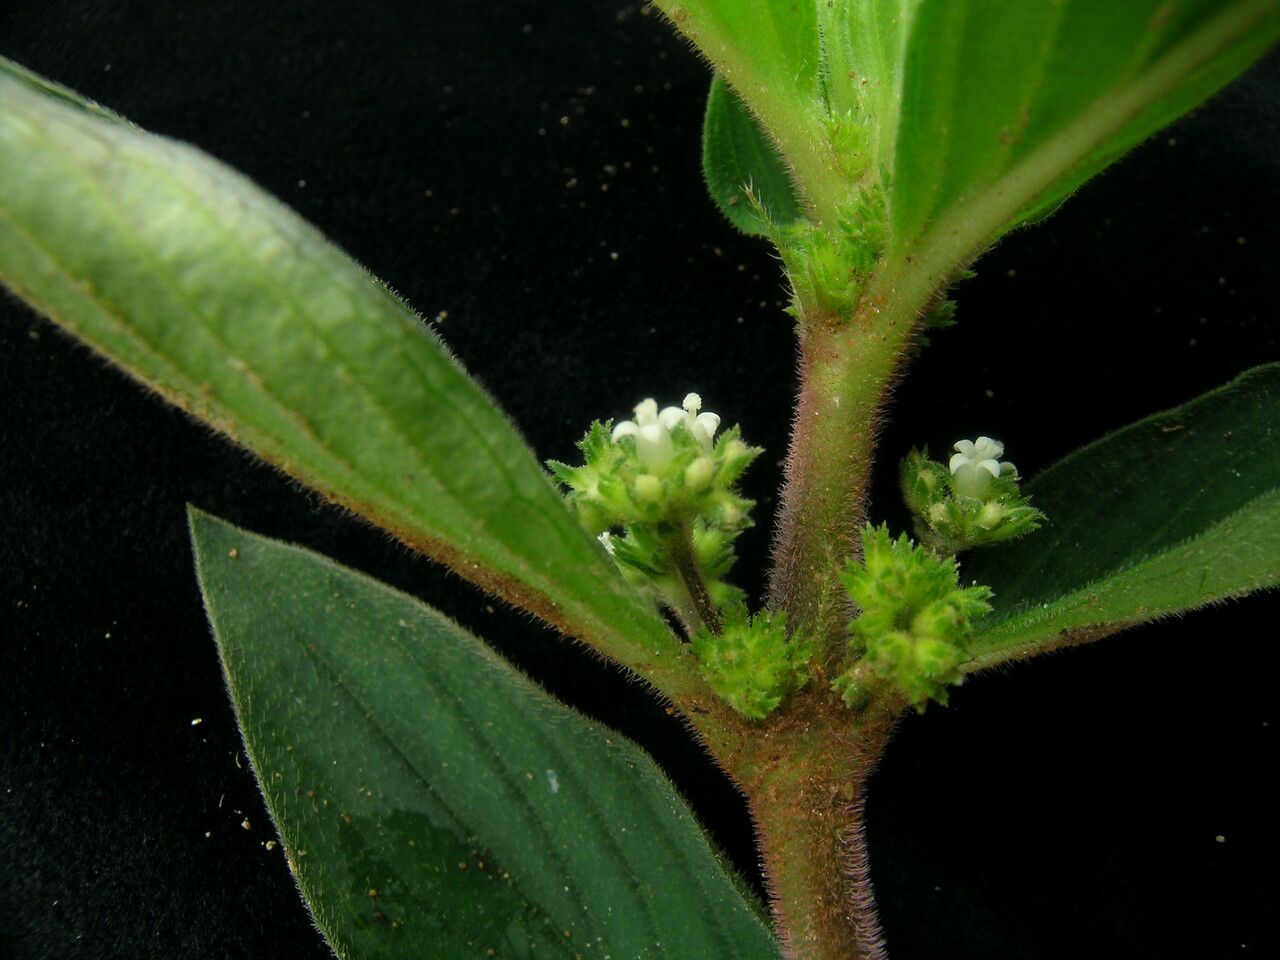
Ah, Neanotis wightiana! It’s a real charmer, isn’t it? Those delicate, star-shaped flowers and lush foliage bring such a vibrant touch to any garden or indoor space. And the sheer joy of watching a tiny snippet transform into a beautiful, thriving plant? That’s gardener’s gold, I tell you. If you’re thinking about propagating this lovely specimen, you’re in for a rewarding experience. For those new to the plant parent game, I’d say Neanotis wightiana is moderately easy to propagate, especially with a few good tips under your belt. It’s not quite as forgiving as a pothos, but with a little care, you’ll have success.
The Best Time to Start
When it comes to getting the best bang for your propagation buck, late spring through early summer is your sweet spot. The plant is in its active growing phase, meaning it’s full of vigor and readily producing new shoots. This makes cuttings taken during this time more likely to root quickly. You can also try in early autumn, but your success rate might be a little lower as growth slows down.
Supplies You’ll Need
Here’s what you’ll want to gather before you get started:
- Sharp Pruning Shears or a Clean Knife: For making clean cuts.
- Rooting Hormone Powder or Gel: Not strictly essential for Neanotis wightiana, but it can give your cuttings a helpful boost.
- Well-Draining Potting Mix: I like a blend of equal parts seed starting mix, perlite, and coco coir. This ensures good aeration and prevents soggy roots.
- Small Pots or Seedling Trays: Clean pots are a must! Sterilize them if you’re reusing old ones.
- Watering Can or Spray Bottle: For gentle watering.
- Plastic Bag or Clear Dome: To create a humid environment.
- Labels and a Pen: To keep track of your babies.
Propagation Methods: Let’s Get Our Hands Dirty!
Neanotis wightiana is wonderfully responsive to stem cuttings. This is usually my go-to method for this plant.
Stem Cuttings: Your Path to New Plants
- Select Your Parent Plant: Choose a healthy, vigorous Neanotis wightiana. Look for stems that are actively growing but not flowering right now.
- Take the Cuttings: Using your sharp pruning shears or knife, take a cutting from a healthy stem, about 4-6 inches long. Make the cut just below a leaf node (that’s where the leaves grow from the stem).
- Prepare the Cuttings: Gently remove the lower leaves from the cutting, leaving just a couple of leaves at the top. This prevents them from rotting once planted.
- Apply Rooting Hormone (Optional but Recommended): Dip the cut end of the stem into your rooting hormone powder or gel. Tap off any excess.
- Plant Your Cuttings: Fill your small pots or seedling trays with your well-draining potting mix. Make a small hole in the center with your finger or a pencil and insert the cut end of the Neanotis cutting. Gently firm the soil around it.
- Water Lightly: Give the soil a gentle watering from a watering can or mist it with your spray bottle. You want the soil to be moist but not waterlogged.
- Create a Humid Environment: Place the pots inside a clear plastic bag, sealing it loosely, or cover them with a clear dome. This creates a mini-greenhouse effect and keeps the humidity high, which is crucial for cuttings to root.
- Find a Bright Spot: Place your cuttings in a location that gets bright, indirect light. Avoid direct sunlight, which can scorch the tender new growth.
The “Secret Sauce” (Pro Tips)
Now, for a couple of things I’ve learned over the years that often make a big difference:
- Don’t Let Those Leaves Touch the Water (If Water Propagating): While stem cuttings in soil are my preferred method for Neanotis, if you do decide to try water propagation, make sure absolutely no leaves are submerged. Any leaves in the water will rot, which can then poison the developing roots before they even form.
- Bottom Heat is Your Friend: If you have a seedling mat or can place your pots on top of a gently warm appliance (like a gently running refrigerator), a little bottom heat can significantly speed up root formation. It mimics the warmth of summer soil and gives those roots a tingle.
- Gently Tug Test: After about 4-6 weeks, you can give your cuttings a very gentle tug. If you feel resistance, it means roots have formed! If it comes out easily, no roots yet. Be patient; some take longer than others.
Aftercare & Troubleshooting
Once you see those little roots peeking out or feel that gentle resistance, it’s time for a change in care.
- Gradual Acclimation: Slowly start introducing your new plant to less humid conditions. Open up the plastic bag a little more each day, or lift the dome for increasing periods.
- Watering: Continue to keep the soil consistently moist but not soggy. As the plant grows, you can gradually transition to your normal watering routine for adult Neanotis.
- Fertilizing: Once your baby plant has established a good root system and you see new leaf growth, you can start feeding it with a diluted liquid fertilizer every few weeks.
- Common Woes:
- Wilting: This is often a sign of not enough humidity or underwatering. Make sure that plastic bag or dome is still doing its job.
- Rotting Stems: This usually points to too much moisture and poor air circulation. Ensure your soil is well-draining and don’t overwater. If you see mushy, black stems, unfortunately, that cutting is likely a goner. It’s always best to take a few extra cuttings than you think you’ll need, just in case!
- No Growth: Be patient! Some cuttings just take their sweet time. Ensure it’s getting enough bright, indirect light.
A Little Encouragement
Propagating plants is a journey, and sometimes it’s a slow one. Don’t get discouraged if every single cutting doesn’t make it. Think of it like learning to bake a new recipe; sometimes you have to adjust the oven temperature or the baking time. Enjoy the process, celebrate each tiny root that appears, and be proud of yourself for creating new life! Happy gardening!
Resource: