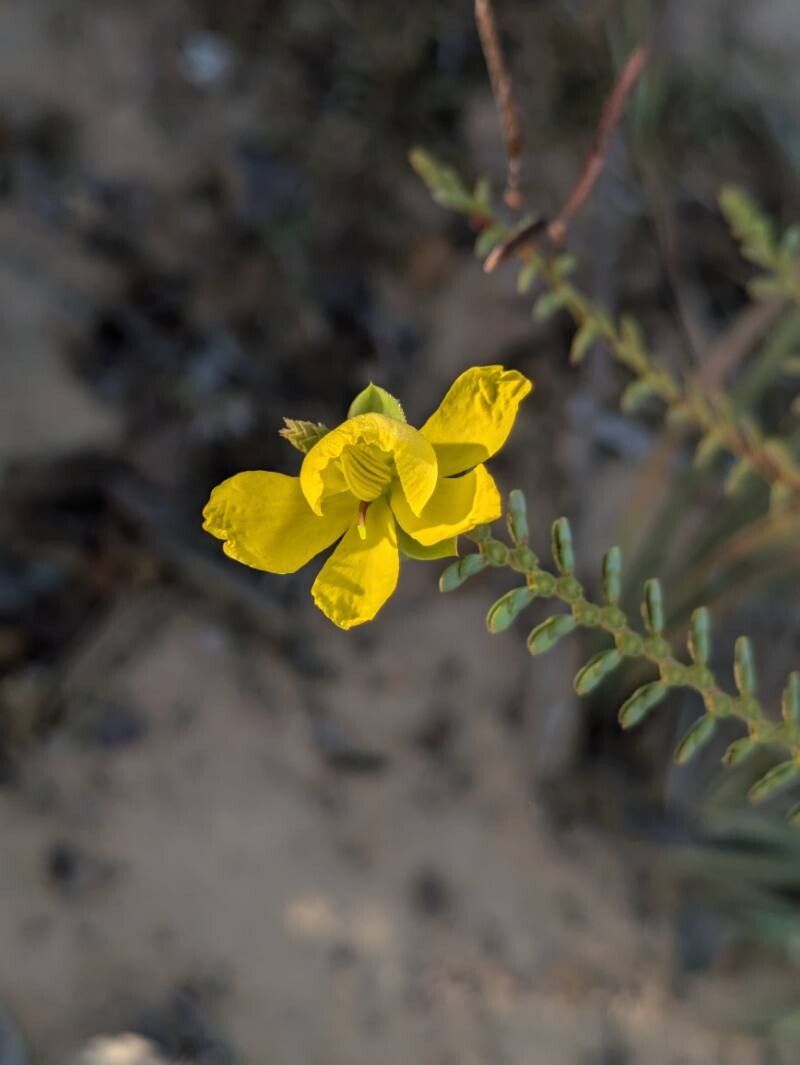
Oh, hello there! Come on in and grab a mug. Today, we’re diving into the wonderfully rewarding world of propagating Chamaecrista ramosa. If you’ve seen this beauty gracing a garden, you know its appeal. Its delicate, mimosa-like foliage and cheerful, butterfly-attracting blooms are just pure joy. And the best part? You can easily bring that joy into your own space by propagating it! Let me tell you, sharing a piece of your garden with yourself or a friend is one of the most satisfying feelings.
Now, for those wondering if this is a beginner-friendly plant to propagate, I’d say it’s generally quite amenable. With a little care and knowing the right steps, you’ll be well on your way to success.
The Best Time to Start
My favorite time to get my hands dirty with Chamaecrista ramosa propagation is late spring to early summer. This is when the plant is actively growing and has plenty of healthy, new stems. Starting during this vigorous growth period gives your cuttings the best chance to establish roots quickly before the heat of high summer or the chill of autumn.
Supplies You’ll Need
Gathering your supplies before you begin makes the whole process smoother. Here’s what I always have on hand:
- Sharp pruning shears or a clean knife: For making clean cuts.
- Potting mix: A well-draining mix is crucial. I like to blend about two parts peat moss or coco coir with one part perlite or coarse sand. This ensures good aeration and prevents waterlogging.
- Small pots or propagation trays: Clean pots are essential to prevent disease.
- Rooting hormone powder or gel (optional but recommended): This really helps give your cuttings a boost.
- Plastic bags or a clear propagation dome: To create a humid environment.
- Watering can with a fine rose: For gentle watering.
- Labeling sticks or tags: To keep track of what you’ve propagated.
Propagation Methods
For Chamaecrista ramosa, stem cuttings are by far the most successful and straightforward method I’ve found.
- Take Cuttings: Choose a healthy, non-flowering stem. Look for stems that are about 4-6 inches long and have developed a bit of woody growth at the base but are still somewhat flexible. Using your sharp shears or knife, make a clean cut just below a leaf node (where a leaf attaches to the stem). Remove any lower leaves, leaving just a few at the top.
- Prepare the Cuttings: If you’re using rooting hormone, dip the cut end of the stem into the powder or gel, tapping off any excess. This step isn’t always necessary, but it can significantly increase your success rate.
- Plant the Cuttings: Fill your small pots or trays with your prepared, damp potting mix. Make a small hole in the center of the soil with your finger or a pencil. Gently insert the prepared cutting into the hole, ensuring the leaf nodes where you removed leaves are below the soil surface. Press the soil gently around the stem to ensure good contact.
- Create Humidity: Water the soil lightly, enough to moisten it thoroughly but not to make it soggy. Then, cover the pot or tray with a clear plastic bag or place it under a propagation dome. This traps moisture and creates the humid environment these cuttings crave to prevent drying out.
The “Secret Sauce” (Pro Tips)
There are always a few little tricks I’ve picked up that make a big difference.
- Bottom Heat is Your Friend: While not strictly essential, placing your pots on a heated propagation mat can speed up root development considerably. It mimics the warmth of spring soil and encourages those roots to form with more vigor.
- Don’t Overwater: This is probably the most common mistake. While cuttings need moisture, soggy soil leads to rot. Check the soil moisture by gently poking your finger about an inch deep. Only water when the top layer feels dry to the touch.
- Ventilate Regularly: Even though you want humidity, you also need fresh air circulation. Remove the plastic bag or dome for at least 15-30 minutes each day to prevent fungal diseases and allow the foliage to breathe.
Aftercare & Troubleshooting
Once your cuttings have been planted, the waiting game begins! Keep them in a bright, indirect light location. Avoid direct sunlight, as this can scorch the delicate leaves. Mist the foliage lightly every few days if you notice it looking a little dry, but remember to maintain that humidity dome.
The first sign that your cuttings are taking is when you see new leaf growth appearing at the top. This can take anywhere from 4-8 weeks, so be patient! You can also gently tug on the cutting; if there’s resistance, it means roots are forming.
The most common problem you’ll encounter is rot. If a cutting turns black and mushy, it’s likely too wet or has developed a fungal infection. Sadly, these are usually unsalvageable. The best way to prevent this is by ensuring excellent drainage and avoiding overwatering from day one.
A Encouraging Closing
Propagating plants is a journey, and Chamaecrista ramosa is a wonderful companion on that path. Don’t be discouraged if your first attempt isn’t perfect. Observe, learn, and try again. The magic of seeing new life sprout from a simple stem is truly something special. Enjoy the process, and happy propagating!
Resource: