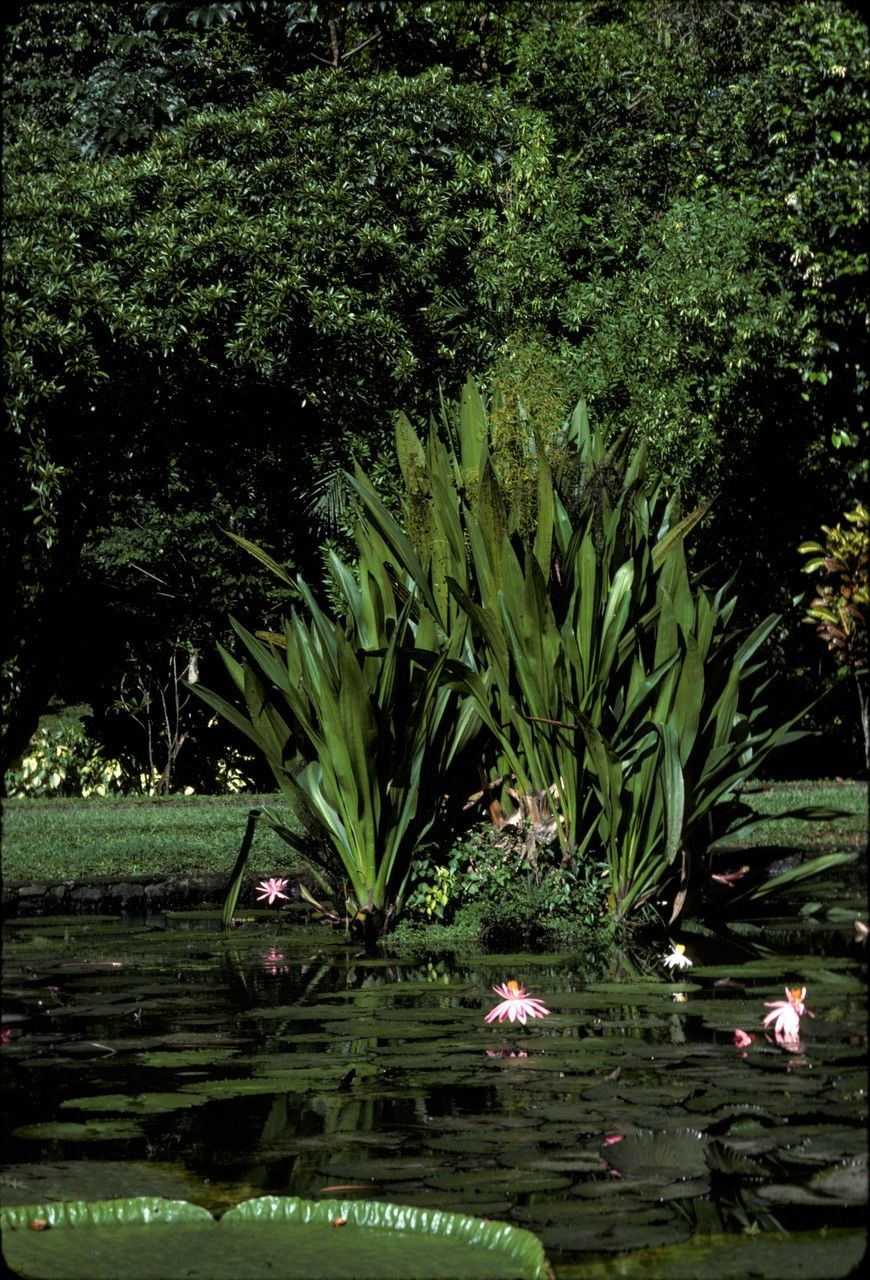
Oh, hello there, fellow plant lover! It’s so wonderful to have you drop by my little corner of the internet. Today, we’re diving into the fascinating world of Hanguana malayana. If you haven’t met this beauty yet, imagine a plant with elegant, arching leaves that bring a touch of the tropics right into your home or garden. It’s got this wonderful, almost architectural presence that I just adore.
Propagating Hanguana malayana feels like unlocking a secret, and it’s incredibly rewarding to watch a tiny piece of your existing plant grow into something magnificent. For beginners, I’d say it’s moderately easy. It requires a little attention to detail, but nothing a keen gardener can’t handle with a bit of guidance. Think of it as a fun new challenge!
The Best Time to Start
When it comes to getting the best results, spring and early summer are your absolute best friends for propagating Hanguana malayana. This is when the plant is actively growing, full of vigor, and has the energy to put into developing new roots. You’ll notice new shoots emerging, which are perfect candidates for propagation. Trying in the depths of winter will likely lead to disappointment, as the plant is resting.
Supplies You’ll Need
Here’s what you’ll want to have on hand before you begin:
- Sharp, clean pruning shears or a sharp knife: Essential for making clean cuts.
- Well-draining potting mix: I like a blend of peat moss, perlite, and a bit of compost. You can also find specialized aroid mixes.
- Small pots or propagation trays: About 3-4 inches in size are usually perfect.
- Rooting hormone (optional but recommended): This helps speed up root development. Look for one with an IBA base.
- Plastic bags or a propagation dome: To maintain humidity.
- Watering can or spray bottle: For gentle watering.
- Marker and plant tags: To keep track of what you’re doing.
Propagation Methods
Hanguana malayana is most commonly propagated through division or by taking stem cuttings. Division is usually the most straightforward, especially for those new to this plant.
Propagation by Division
This is my favorite method for Hanguana malayana because it’s less prone to failure.
- Gently remove the plant from its pot. Tip the pot sideways and support the base of the plant as you ease it out. If it’s stuck, you may need to gently run a knife around the edge.
- Examine the root ball. You’ll see where new shoots are emerging from the base, often with their own developing root systems.
- Carefully separate the divisions. You can use your fingers to gently tease apart sections. If they are really tangled, a clean, sharp knife or trowel can be used to cut through the root ball, ensuring each division has at least one healthy shoot and some roots.
- Repot the new divisions. Plant each division into its own pot filled with your well-draining potting mix. Ensure the crown of the plant (where the leaves emerge) is at soil level.
- Water gently. Give each new pot a good, but not soaking, watering.
Propagation by Stem Cuttings
This method is a bit more hands-on but can yield multiple new plants.
- Select a healthy stem. Look for a mature stem with at least two to three nodes (the small bumps where leaves emerge).
- Make a clean cut. Use your sharp shears or knife to cut the stem about an inch below a node.
- Prepare the cutting. Remove any lower leaves, leaving only one or two at the top. This prevents rot and conserves energy.
- Apply rooting hormone (optional). Dip the cut end into rooting hormone, tapping off any excess.
- Plant the cutting. Stick the cut end about an inch deep into your prepared potting mix. Ensure the nodes are below the soil surface, as this is where roots will form.
- Water lightly. Settle the soil around the cutting.
The “Secret Sauce” (Pro Tips)
Here are a couple of things I’ve learned over the years that really make a difference:
- Humidity is King: Hanguana malayana loves a humid environment, especially when it’s trying to root. After planting your division or cutting, cover the pot loosely with a plastic bag or place it under a propagation dome. This creates a mini-greenhouse and dramatically increases your chances of success. Just be sure to open it for a few minutes every day to let in fresh air and prevent fungal issues.
- Bottom Heat is Your Friend: If you have a heat mat designed for propagation, placing your pots on it can really speed things up. This gentle warmth mimics the natural conditions Hanguana malayana thrives in and signals to the plant that it’s time to get growing roots. You don’t need it scorching hot, just nicely toasty.
Aftercare & Troubleshooting
Once your new divisions or cuttings have established themselves, they’ll need a little special attention. Keep them in bright, indirect light. Avoid direct sun, which can scorch delicate new leaves. Water when the top inch of soil feels dry. Never let them sit in soggy soil; this is the fastest way to invite root rot. You’ll know your cuttings have rooted when you see new leaf growth. For divisions, they should perk up and start showing new shoots within a few weeks.
The most common enemy here is rot. If your cutting starts to look mushy or slimy, or if the leaves suddenly turn yellow and drop, it’s likely a sign of overwatering or poor drainage. Don’t despair! If it’s a cutting, you might be able to salvage a healthy part and try again. For divisions, ensure the soil is draining well and adjust your watering schedule.
A Encouraging Closing
Growing new plants is a journey, and each step is a learning experience. Be patient with your Hanguana malayana propagations – sometimes they take a little longer than we expect. But the joy you’ll feel when you see that first tiny root or new leaf unfurl? Pure magic. Enjoy the process, and happy growing!
Resource:
https://identify.plantnet.org/k-world-flora/species/Hanguana%20malayana%20(Jack)%20Merr./data