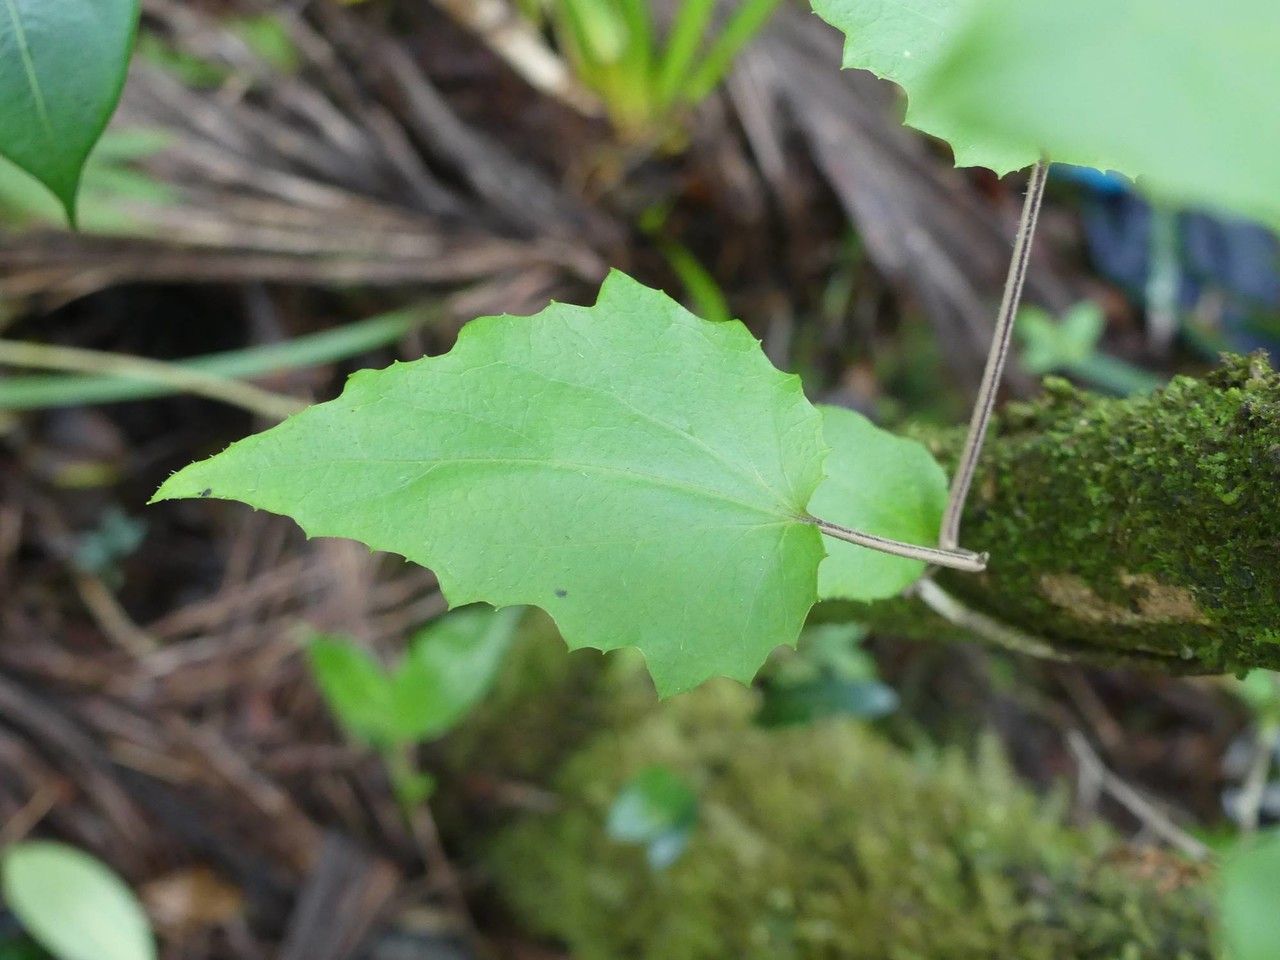
Oh, hello there! Come on in, grab a mug. I’m so glad you’re interested in propagating Humbertacalia tomentosa. It’s a truly delightful plant, isn’t it? Those fuzzy leaves have such a unique texture, and when it blooms, it’s just… well, it’s something to behold. I find bringing a new plant to life from a tiny piece of an existing one incredibly rewarding. It’s like a little bit of magic, right in your hands. For Humbertacalia tomentosa, I’d say it’s a moderately easy plant to propagate. A little patience goes a long way, but it’s certainly doable for many home gardeners.
The Best Time to Start
Generally, the late spring or early summer, right after the plant has finished its most vigorous growth spurt of the season, is your sweet spot. You want actively growing material, not something the plant is conserving energy for. Look for healthy, new stems that are still somewhat flexible but not so soft they flop over immediately.
Supplies You’ll Need
Here’s what I usually have on hand:
- Sharp pruning shears or a clean craft knife: For making clean cuts.
- Rooting hormone: A powdered or gel form can really give your cuttings a boost.
- Potting mix: I like a well-draining mix, often a blend of regular potting soil with added perlite or coarse sand. For Humbertacalia, something a bit lighter tends to be best.
- Small pots or propagation trays: Make sure they have drainage holes!
- Clear plastic bags or a propagation dome: To create a humid environment.
- Watering can with a fine rose or a spray bottle: For gentle watering.
- Labels: Don’t forget to label your projects!
Propagation Methods
Let’s talk about how we can get more Humbertacalia beauties.
Stem Cuttings
This is my go-to method for Humbertacalia.
- Take the Cuttings: Using your sharp shears or knife, select a healthy stem. Cut a piece about 4-6 inches long.
- Prepare the Cuttings: Remove the lower leaves, leaving just a few at the top. This helps prevent them from rotting in the soil. If the leaves are quite large, you can even cut them in half to reduce moisture loss.
- Apply Rooting Hormone: Dip the cut end of the stem into your rooting hormone. Tap off any excess.
- Plant the Cuttings: Make a small hole in your prepared potting mix with a pencil or your finger. Gently insert the cutting into the hole, ensuring the nodes (where the leaves were) are below the surface. Firm the soil around the stem.
- Water Gently: Give the soil a light watering to settle it around the cutting.
- Create Humidity: Cover the pot with a clear plastic bag or a propagation dome. Pop the pot in a bright spot with indirect sunlight.
Water Propagation (With a Caveat)
While you can try water propagation, I find it a bit trickier for Humbertacalia tomentosa as the fuzzy stems can be more prone to rot if they sit in water too long. If you do try it:
- Take Cuttings: Similar to stem cuttings, take healthy 4-6 inch pieces.
- Remove Lower Leaves: Just like before, get rid of the leaves that would be submerged.
- Place in Water: Put the cuttings in a clean jar with fresh water. Make sure only the stem is in the water, and no leaves are touching the surface.
- Change Water Regularly: Change the water every few days to keep it fresh and oxygenated.
- Provide Bright, Indirect Light: Place the jar in a well-lit spot away from direct sun.
- Watch for Roots: Once you see roots forming, carefully transplant them into potting soil as soon as possible.
The “Secret Sauce” (Pro Tips)
Here are a few things I’ve learned over the years that seem to make a difference:
- Sterilize Everything: Before you start, make sure your pruning shears or knife are clean. A quick wipe with rubbing alcohol can save you a lot of heartache from potential infections.
- Bottom Heat is Your Friend: If you have access to a heat mat designed for propagation, placing your pots on it can significantly speed up root formation. It mimics the warmth of spring soil. Don’t go too hot – just a gentle warmth is perfect.
- Don’t Rush to Uncover: Once you’ve covered your cuttings, resist the urge to take off the plastic bag too frequently. Let them get used to the environment. Only fully remove it once you see significant new growth, and then gradually acclimate them to drier air over a few days.
Aftercare & Troubleshooting
Once you see those first tiny white roots peeking out of the drainage holes or new leaf growth appearing, it’s a sign of success!
- Acclimate Gently: Start by removing the plastic covering for a few hours each day, gradually increasing the time until it’s off completely.
- Water Appropriately: Continue to water when the top inch of soil feels dry. Avoid overwatering.
- Potting Up: You can pot up your new plants into slightly larger pots when they have a good root system and are showing consistent growth.
Now, what if things don’t go as planned? The most common issue you’ll face is rot. If the stem of your cutting turns mushy and black, it’s usually a sign of too much moisture and not enough airflow, or it was introduced to bacteria. If you see signs of rot, it’s best to discard the affected cutting to prevent it from spreading to others. Wilting can happen as the cutting tries to establish itself, but if it’s combined with mushy stems, it’s likely rot.
A Little Encouragement
Remember, gardening is a journey, and not every propagation attempt will be a runaway success. That’s okay! Each little bit of experience teaches you something new. Be patient with your cuttings, enjoy the process of watching them grow, and celebrate those beautiful new Humbertacalia tomentosa plants that you’ve brought into the world. Happy propagating!
Resource: