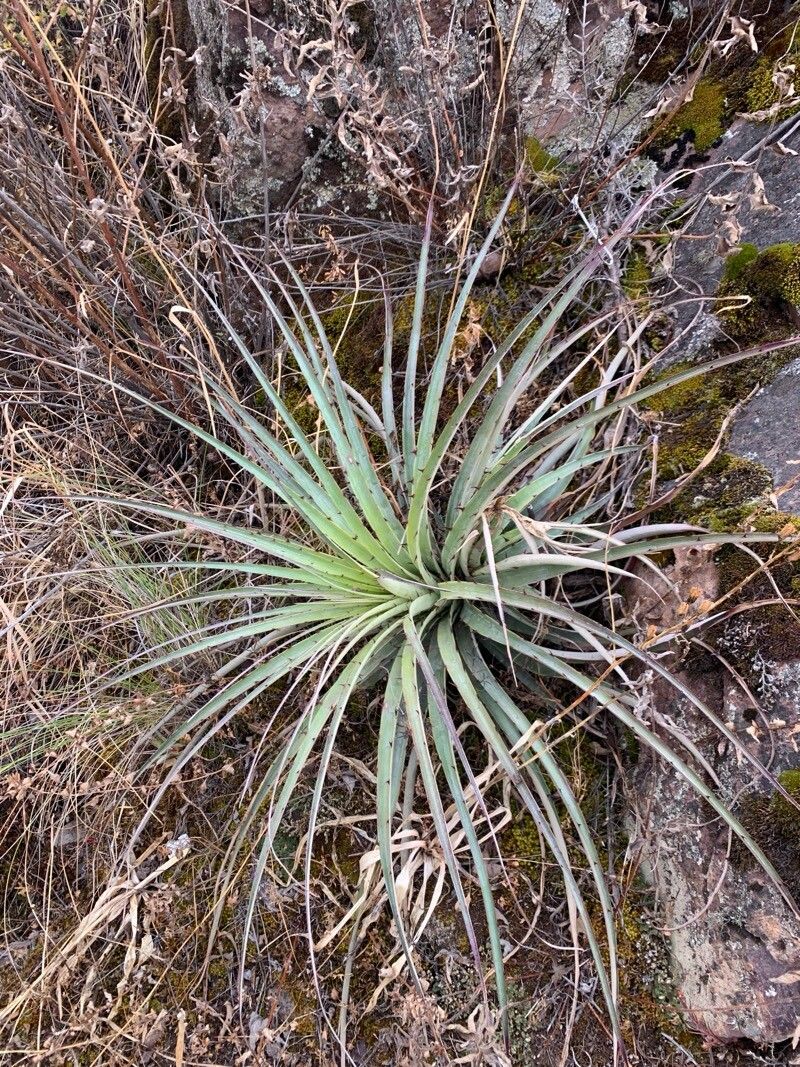
Hello, fellow plant lovers! It’s so wonderful to have you join me today. We’re diving into the fascinating world of Hechtia glomerata, a plant that’s really captured my heart over the years. You know, the ones with those spiky, architectural leaves that just bring a touch of the desert right into our homes. Growing them from scratch is such a joy, and honestly, it makes me feel like a bit of a plant wizard.
Now, if you’re new to the plant propagation game, Hechtia glomerata might be a little bit of a challenge. It’s not as straightforward as a pothos, but don’t let that deter you! With a little patience and the right approach, you’ll be amazed at what you can achieve. The satisfaction of watching a tiny pup grow into a magnificent specimen is truly unmatched, and it’s a fantastic way to build up your collection without breaking the bank.
The Best Time to Start
For me, the absolute best time to think about propagating Hechtia glomerata is in late spring or early summer. This is when the plant is really in its active growing phase. Think of it like this: the warmer weather and longer daylight hours give those new cuttings or divisions the energy they need to establish themselves quickly. Trying to do it when the plant is dormant in winter is just asking for disappointment! You want that vigorous energy to fuel root growth.
Supplies You’ll Need
Before we get our hands dirty, let’s gather our tools. Having everything ready will make the process so much smoother.
- Sharp, clean pruning shears or a knife: Essential for making clean cuts. Always sterilize them with rubbing alcohol before and after use.
- Well-draining potting mix: I like to use a cactus and succulent blend, or I mix my own with equal parts potting soil, perlite, and coarse sand.
- Small pots or trays: Make sure they have drainage holes! Tiny terracotta pots are lovely for small pups.
- Rooting hormone (optional but recommended): Powder or gel form will work. It really gives those roots a boost.
- Spray bottle: For gentle misting.
- Labels: So you don’t forget what you’ve planted where!
Propagation Methods
Hechtia glomerata typically propagates through division, especially when the plant starts producing offsets, often called “pups.” These little gems sprout from the base of the mother plant.
Division Method:
- Assess your plant: Look closely at your mature Hechtia glomerata. You’ll often see small, baby plants forming around the base, nestled amongst the soil. These are your pups!
- Gently unpot: Carefully remove the mother plant from its pot. It’s easier to see and access the pups this way.
- Locate the connection: Examine where the pup connects to the mother plant. Sometimes they’ll have their own tiny roots already, which is excellent.
- Make the cut: Using your sterilized pruning shears or knife, carefully cut the pup away from the mother plant. Try to get as much of the pup’s base, and any nascent roots, as possible. If there are no obvious roots, don’t worry too much. The goal is a clean separation.
- Let it callous: This is a crucial step! Leave the separated pup in a dry, airy spot for 2-3 days, or even up to a week. You want the cut surface to dry out and form a callus. This prevents rot.
- Potting up: Once calloused, you can pot your pup. Use your well-draining mix in a small pot. Plant the pup so the base is just covered, with the leaves pointing upwards.
- Initial watering: Water very sparingly after planting. Just a light mist or a tiny amount around the base is enough. The goal is to encourage rooting, not to let it sit in soggy soil.
The “Secret Sauce” (Pro Tips)
Here are a couple of things I’ve learned over the years that really make a difference:
- Air circulation is king: Once your pups are potted and “settled,” ensure they have good air circulation around them. This could mean placing them in a bright spot with a gentle fan nearby, or just making sure they aren’t crammed together too tightly. Good airflow is your best defense against rot.
- Don’t rush the roots: Resist the urge to constantly tug on your pup to check for roots. When you finally do see new growth and the plant feels firmly anchored in the soil, then you know it’s happy. Be patient; it can take weeks, or even months, for roots to fully establish.
Aftercare & Troubleshooting
Once your pup looks like it’s settled in, the real fun begins!
- Light: Place your newly potted pup in a spot with bright, indirect light. Direct, harsh sun right away can scorch a new, sensitive plant. As it grows stronger, you can gradually introduce it to more sunlight.
- Watering: Continue with a light hand on watering. Let the soil dry out completely between waterings. It’s always better to underwater than to overwater a Hechtia glomerata.
- Signs of failure: The most common issue you’ll encounter is rot. This usually shows up as a mushy base, yellowing or mushy leaves, or a plant that just collapses. If you see this, it’s often too late. It’s usually a sign of too much moisture and not enough airflow. If you catch it very early, you might be able to cut away the rotten parts and try to re-callous, but prevention is truly key here. Another sign of distress is wilting or dry, crispy leaves, which can indicate it’s too dry or getting too much direct sun too soon.
A Little Encouragement
Propagating plants is a journey, and sometimes there are a few bumps in the road. Don’t be discouraged if your first attempt isn’t a roaring success. Every plant, and every pup, is a learning experience. Observe your plant closely, trust your instincts, and most importantly, enjoy the process! There’s a deep satisfaction in nurturing something new to life. Happy growing!
Resource:
https://identify.plantnet.org/k-world-flora/species/Hechtia%20glomerata%20Zucc./data