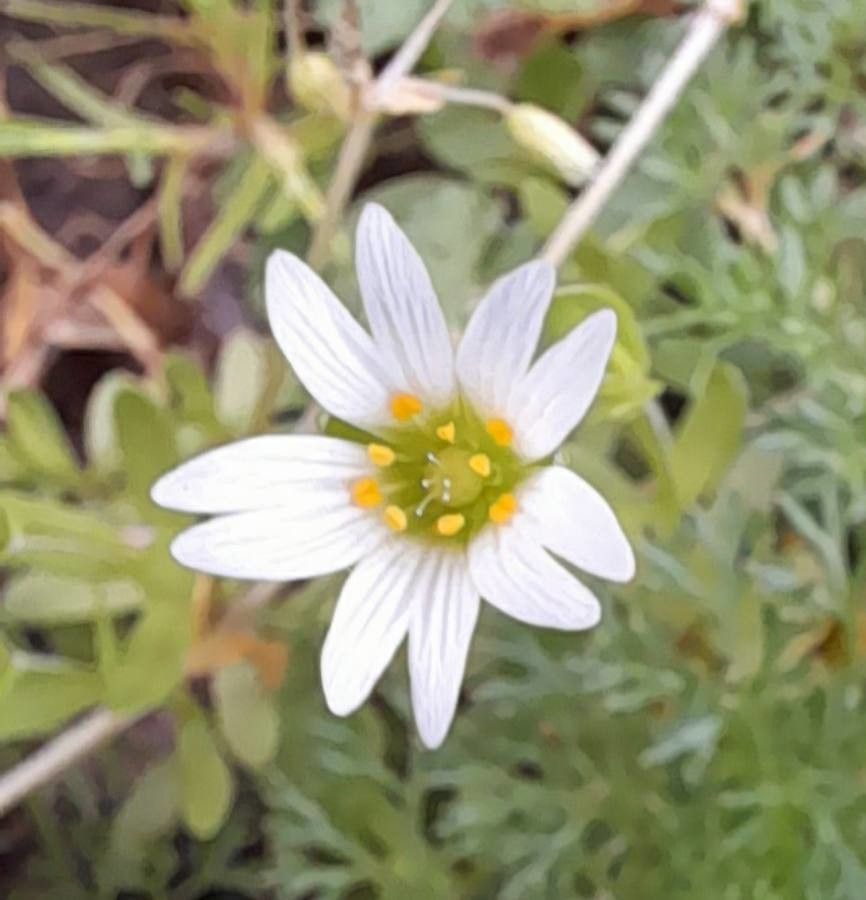
Hello fellow garden enthusiasts! Today, I want to chat about a little gem that brings so much sparkle to the garden: Cerastium humifusum, or as many of us affectionately call it, mouse-ear chickweed. Its tiny, starry white flowers and soft, fuzzy foliage create such a lovely ground cover, especially spilling over rock walls or softening the edges of a path. And guess what? Propagating it is surprisingly straightforward and incredibly rewarding. You’ll be enjoying this charming plant in even more spots in your garden before you know it! For beginners, I’d say this is a pretty forgiving plant to start with.
The Best Time to Start
My favorite time to get propagating? Late spring to early summer is usually my sweet spot. You’re looking for actively growing, non-flowering stems. After a good flush of growth, you’ll find the plant is full of energy and ready to put down some roots. Avoid trying to propagate when the plant is stressed, like during a dry spell or intense heat.
Supplies You’ll Need
Gathering your supplies beforehand makes the whole process so much smoother. Here’s what I usually have on hand:
- Sharp pruning shears or a clean, sharp knife: Essential for taking clean cuts.
- Small pots or seed trays: Clean is key here!
- A good quality potting mix: I like a mix that drains well. A seed starting mix or a blend of peat moss and perlite works wonders.
- Rooting hormone (optional but recommended): This little helper can speed things up.
- A spray bottle: For gentle misting.
- Plastic bags or a propagator lid: To create a humid environment.
- Labels and a marker: Because trust me, you’ll forget what you planted where!
Propagation Methods
Cerastium humifusum is a champion at stem cuttings, and that’s usually my go-to method. It’s fast and reliable.
Stem Cuttings:
- Select Your Cuttings: Look for healthy, non-flowering stems that are about 3-4 inches long. I prefer to take cuttings from the tips of the stems, as they’re often softer and root more readily.
- Make the Cut: Using your sharp pruning shears or knife, make a clean cut just below a leaf node (where a leaf attaches to the stem).
- Prepare the Cuttings: Gently remove the lower leaves, leaving just the top few. This prevents them from rotting in the soil.
- Apply Rooting Hormone (Optional): If you’re using rooting hormone, dip the cut end of the stem into it, tapping off any excess.
- Plant the Cuttings: Fill your small pots or trays with your well-draining potting mix. Make a hole with your finger or a pencil, and insert the cutting so that the leaf nodes you’ve cleared are buried. Gently firm the soil around the base of the cutting.
- Water Gently: Water the soil thoroughly but gently, using your spray bottle or a watering can with a fine rose. You want the soil to be moist, not soggy.
- Create a Humid Environment: Cover the pots with a plastic bag or a propagator lid. This traps moisture and creates the perfect humid nursery for your cuttings. Make sure the leaves aren’t touching the inside of the bag if possible.
The “Secret Sauce” (Pro Tips)
Over the years, I’ve picked up a few tricks that really make a difference:
- Don’t Overcrowd: Give your cuttings a little breathing room. Too many in one pot can lead to disease. Space them out so there’s good air circulation.
- Bottom Heat Works Wonders: If you have it, placing your pots on a seedling heat mat can significantly speed up the rooting process. It mimics the warmth of spring soil and gives those roots a real boost to get started.
- Patience with Watering: Once you’ve watered them in well, resist the urge to water constantly. Only water when the top inch of soil feels dry to the touch. Over-watering is a surefire way to invite rot.
Aftercare & Troubleshooting
Once your cuttings have been planted, place them in a bright spot with indirect light. Avoid harsh, direct sunlight, which can scorch those tender new stems. Mist them occasionally if the humidity seems to be dropping or if the leaves look a bit limp.
The exciting part is checking for roots! After about 3-4 weeks, you can give a very gentle tug. If you feel resistance, you’ve got roots! You’ll also start to see new growth appearing. Once they have a good root system, you can carefully transplant them into their own small pots or directly into your garden if the weather is right.
Now, what if things go wrong? The most common issue I see is rot. If your cuttings look mushy, black, or slimy, it’s usually a sign of too much moisture and not enough airflow. Sadly, these are usually a loss. If you see a cutting shriveling up and drying out, it might be too dry or getting too much direct sun. Don’t give up! Just try again, adjusting your watering or placement.
A Encouraging Closing
Propagating Cerastium humifusum is a wonderfully satisfying way to multiply that charm you love so much. Be patient with your new little plants; they’re working hard to establish themselves. Enjoy the process of nurturing them, and soon you’ll have even more of that delightful ground cover to share and enjoy. Happy growing!
Resource:
https://identify.plantnet.org/k-world-flora/species/Cerastium%20humifusum%20Cambess./data