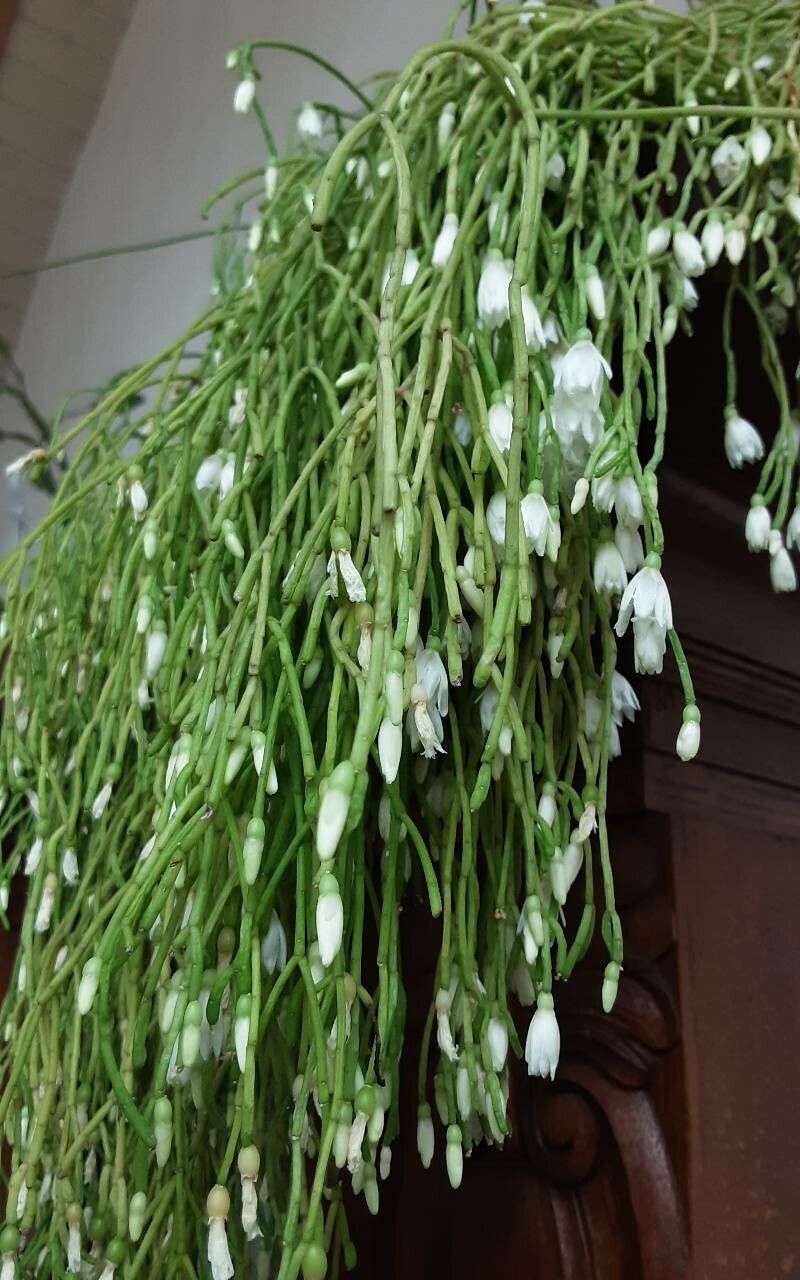
Hello there, fellow plant enthusiasts! Today, we’re diving into the wonderful world of propagating Rhipsalis campos-portoana, often called the “Coral Cactus” or “Pencil Cactus” for its delicate, trailing stems. If you’ve ever admired its ethereal beauty cascading from a pot, you’re in for a treat. Creating new plants from your existing treasures is incredibly rewarding, and with Rhipsalis campos-portoana, it’s a journey that’s quite beginner-friendly! It’s a joy to see a tiny cutting transform into a lush specimen.
The Best Time to Start
The sweet spot for propagating Rhipsalis campos-portoana is during its active growing season, which typically falls in the spring and summer months. This is when the plant has the most energy to put into developing new roots. Trying to propagate in the dead of winter is like asking a hibernating bear to run a marathon – it’s just not their prime time!
Supplies You’ll Need
To get your propagation station set up, here’s what I always have on hand:
- Sharp, clean pruning shears or a sharp knife: For making clean cuts.
- Well-draining potting mix: A cactus/succulent mix is ideal, or you can create your own by blending equal parts potting soil, perlite, and coarse sand.
- Small pots or propagation trays: Terracotta pots are great because they breathe.
- Perlite or coarse sand: For improving drainage and aeration at the base of cuttings.
- Rooting hormone (optional but helpful): A powder or gel to encourage faster root development.
- Watering can or spray bottle: For gentle watering.
- Labels: To keep track of your new babies!
Propagation Methods
Rhipsalis campos-portoana is wonderfully amenable to a couple of simple propagation techniques.
Stem Cuttings: My Go-To Method
This is usually the most straightforward way to go.
- Take Your Cuttings: Using your clean shears or knife, identify a healthy stem. Look for segments that are at least 4-6 inches long. Make a clean cut right above a natural joint or segment node.
- Allow to Callus: This is a crucial step. Place the cuttings in a dry, shaded spot for 2-3 days, or until the cut end develops a dry, scab-like layer called a callus. This prevents rot when you plant them.
- Prepare for Planting: If you’re using rooting hormone, dip the callused end into the powder or gel.
- Planting Time: Fill your small pots with your well-draining potting mix. Make a small hole in the center with your finger or a pencil.
- Insert the Cutting: Gently insert the callused end of the cutting into the hole, about an inch deep. You can pop a little perlite or sand around the base for extra support.
- Water Sparingly: Water the soil very lightly. Think of it as a gentle misting, not a soaking. You want the soil to be slightly moist, not wet.
Water Propagation (Use with Caution!)
While it’s possible, I find stem cuttings in soil offer better long-term success for Rhipsalis. If you do try water:
- Prepare the Cutting: Take a clean cutting as described above, but do not let it callus.
- The Water Bath: Place the cutting in a jar or glass of fresh water.
- The Crucial Detail: Ensure that no leaves or segments are submerged in the water. Only the cut end should be in contact with the water. If the leaves touch the water, they will rot very quickly.
- Change Water Regularly: Change the water every few days to keep it fresh and prevent bacterial growth.
- Patience: Roots will eventually form. Once they are about an inch long, you can carefully transfer the cutting to a pot with your well-draining soil mix.
The “Secret Sauce” (Pro Tips)
Here are a few things I’ve learned over the years that really make a difference:
- Bottom Heat is Your Friend: If you can, especially in cooler spring weather, placing your pots on a gentle heat mat can significantly speed up root formation. It mimics the warmth of summer soil.
- Don’t Overcrowd: When planting cuttings, give them a little breathing room. Packing too many into one pot can lead to moisture issues and potential rot. Less is often more when starting out.
- Think About Humidity, But Not Soaking: While these plants like a bit of humidity, propping open the lids of some propagation setups or simply placing them in a room with decent airflow helps prevent fungal issues on the fresh cuttings.
Aftercare & Troubleshooting
Once you see signs of new growth (a tiny new stem or a slight tug on the cutting indicating roots), congratulations! You’re on your way. Continue to water sparingly, allowing the soil to dry out somewhat between waterings.
Common Pests and Problems:
- Rot: This is the biggest enemy of propagated cuttings. It looks like a mushy, blackening stem. Usually caused by overwatering or insufficient callusing. If you see it, immediately remove the affected cutting to prevent it from spreading.
- Wilting: If a cutting wilts but isn’t mushy, it might be a sign of underwatering or that it simply hasn’t rooted yet. Give it a tiny bit more water and keep it in a bright, indirect light spot.
- No Rooting: Sometimes, cuttings just don’t take. Don’t get discouraged! It’s part of the learning process. Try again with a fresh cutting when the conditions are right.
A Encouraging Closing
Propagating plants is a beautiful way to connect with nature and multiply the beauty in your home. Be patient with your cuttings – they have their own timeline. Enjoy the process of watching them grow, bit by bit. Soon, you’ll have a whole collection of these charming Rhipsalis campos-portoana to share or simply to fill your space with lovely greenery! Happy propagating!
Resource:
https://identify.plantnet.org/k-world-flora/species/Rhipsalis%20campos-portoana%20Loefgr./data