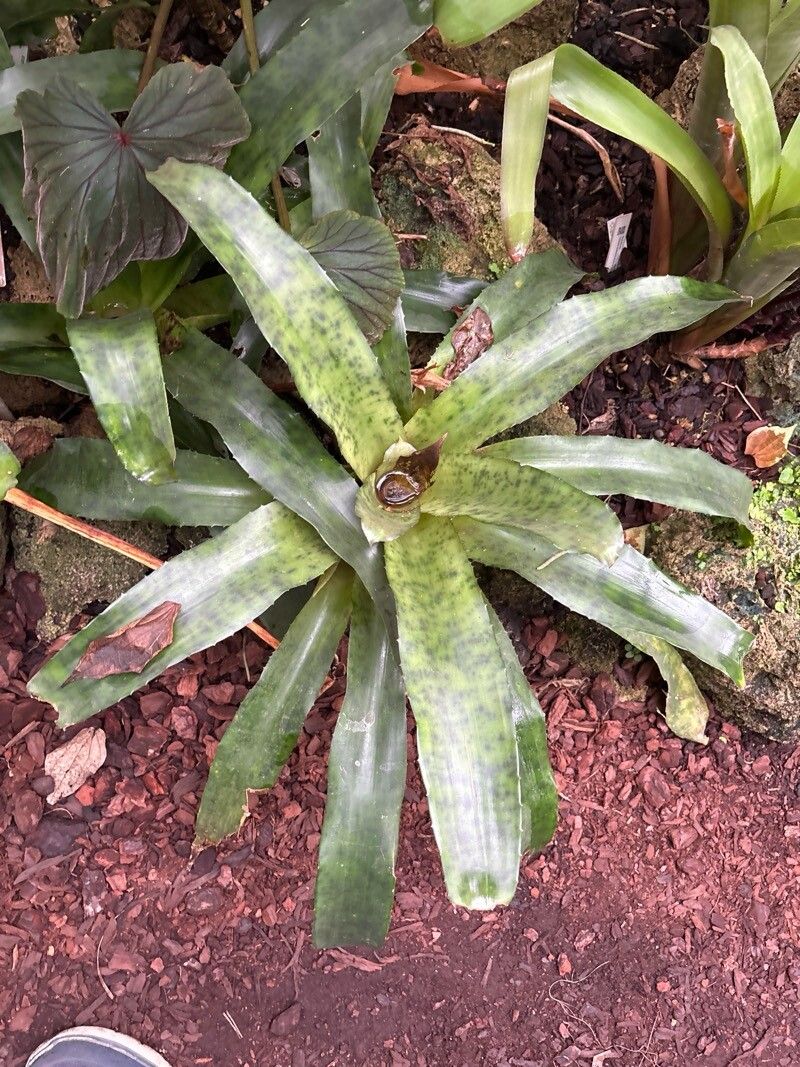
Hello there, fellow plant lovers! I’m so excited to chat with you today about a truly spectacular bromeliad: Hohenbergia augusta. If you’ve ever been captivated by its dramatic, spiky leaves and stunning rosette form, you’re not alone. Growing these beauties is a joy, and propagating them? Even more so! It’s like getting to share a little bit of that garden magic with friends – or just expanding your own collection, which we all know is a perfectly valid reason!
Now, when it comes to propagation, Hohenbergia augusta is generally a pretty forgiving plant. While some bromeliads can be a bit fussy, this one tends to be quite happy to oblige. It’s a fantastic choice for those looking to dip their toes into the world of plant propagation.
The Best Time to Start
For the best chance of success, I like to start propagating Hohenbergia augusta in the late spring or early summer. This is when the plant is actively growing, and the warmth and longer days really encourage new roots to form. You want to catch the plant at a time when it’s feeling robust and ready to put out new life.
Supplies You’ll Need
Before we dive in, let’s gather our tools. Having everything ready makes the process so much smoother!
- Sharp pruning shears or a clean knife: For making neat cuts.
- Well-draining potting mix: I usually go with a mix of peat moss, perlite, and a bit of orchid bark or coir. Think airy and quick-drying.
- Small pots or trays: Whatever will hold your cuttings comfortably.
- Rooting hormone (optional but recommended): A little boost can really help things along.
- Watering can with a fine rose or spray bottle: For gentle watering.
- A warm spot: Like a bright windowsill or a heated propagation mat.
Propagation Methods
Hohenbergia augusta is primarily propagated by offsets, also known as pups. These are the little baby plants that sprout from the base of the mother plant. It’s like they’re saying, “Hey, I’m ready to start my own adventure!”
Here’s how I tackle it:
- Identify the Offsets: Gently inspect the base of your mature Hohenbergia augusta. You’ll see smaller plants emerging from around the main rosette. They should have a few leaves of their own and ideally some root development visible at their base.
- Prepare the Mother Plant: Before you start separating, make sure your mother plant is well-hydrated. This helps reduce stress.
- Careful Separation: Using your clean, sharp tool, make a clean cut as close to the base of the offset as possible, while also trying to keep as many of its own tiny roots intact. If an offset is particularly stubborn, you might need to gently tease it away from the mother plant.
- Allow to Callus: This is a crucial step! Once you’ve removed the offset, let it sit in a dry, airy spot for a day or two. This allows the cut surface to dry out and form a protective callus, which helps prevent rot when you plant it.
- Planting Your Offset: Fill your small pot with your well-draining potting mix. Make a small hole in the center with your finger and gently place the callused offset in. Firm the soil around its base. If you’re using rooting hormone, dip the callused end into it before planting.
- Initial Watering: Water very lightly at first. The key is to keep the soil moist but not soggy.
The “Secret Sauce” (Pro Tips)
Here are a few little tricks I’ve picked up over the years that can make a big difference:
- Don’t Rush the Roots: When you see the offsets, it’s tempting to pull them off development immediately. Wait until they’re a decent size – at least a third of the size of the mother plant, or when they have a few established leaves and some visible roots. Bigger offsets have a much better chance of survival.
- Mimic the Tropics (Slightly): These plants love a bit of humidity. After planting, I like to lightly mist the offset’s leaves daily, particularly if the air in your home is dry. Just a gentle spray is all they need.
- Patience is a Virtue: I know, I know, I said it in the closing too, but it’s worth repeating! Don’t expect miracle growth overnight. Sometimes it takes several weeks or even a couple of months for new roots to really establish themselves and for you to see signs of new leaf growth.
Aftercare & Troubleshooting
Once your offset has established itself – you’ll notice new leaves emerging from the center – you can start treating it more like a mature bromeliad.
- Watering: Water thoroughly when the top inch of soil feels dry. Bromeliads appreciate their central cup (the rosette) having some water, but don’t let them sit in stagnant water for extended periods.
- Light: Provide bright, indirect light.
- Fertilizing: You can start a very diluted fertilizer solution every couple of months during the growing season once you see active growth.
The most common issue you might encounter is rot. This usually happens if the soil stays too wet, or if you plant an offset without letting the cut surface callus properly. You’ll notice the leaves turning mushy and brown, often starting from the base. If this happens, you might need to discard the affected plant and try again, making sure to adjust your watering and callusing steps.
A Little Encouragement to Finish
So there you have it! Propagating Hohenbergia augusta is a truly rewarding endeavor. It’s a chance to connect with your plants on a deeper level and to witness the cycle of life unfold right in your own home. Be patient with your new little ones, enjoy the process, and before you know it, you’ll have a whole tribe of these magnificent bromeliads! Happy propagating!
Resource:
https://identify.plantnet.org/k-world-flora/species/Hohenbergia%20augusta%20(Vell.)%20É.Morren/data