Oh, hello there, fellow plant lover! Pull up a chair and let’s chat about one of my absolute favorites: Hohenbergia augusta.
A Little Bit About This Beauty
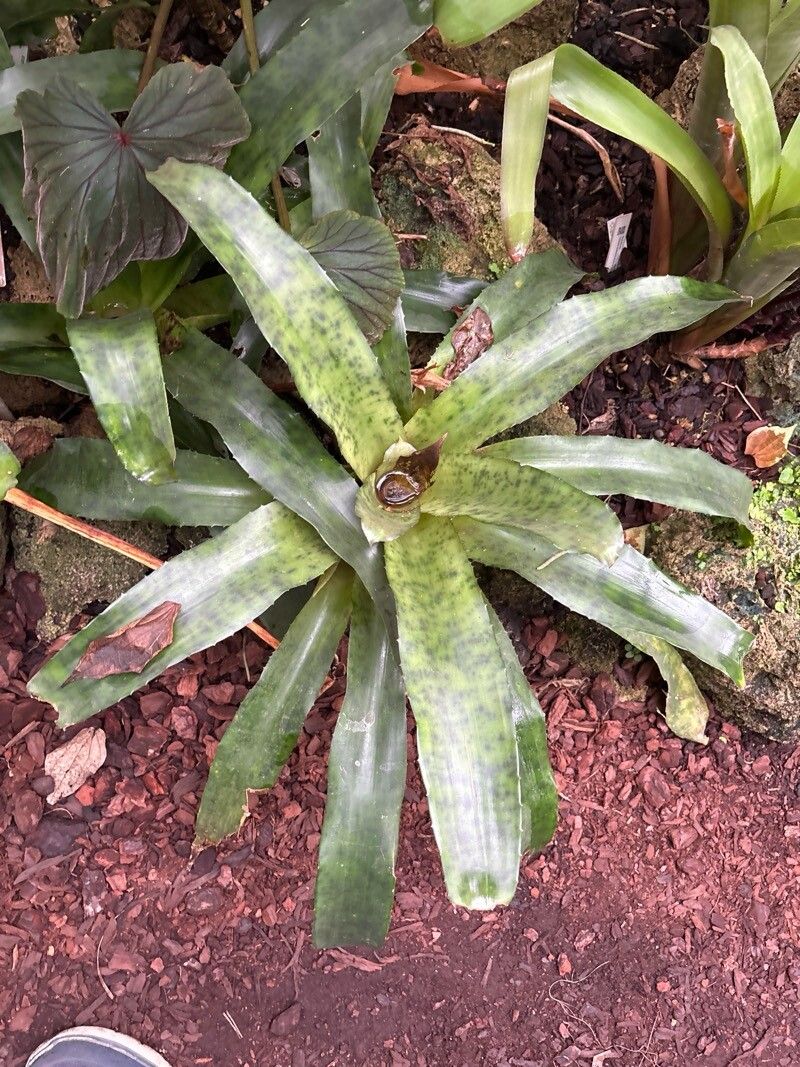
There’s something so commanding yet elegantly architectural about Hohenbergia augusta. With its striking, spiky foliage and often dramatic blooms, it brings a touch of the exotic to any space. And the best part? Bringing new ones into the world from your existing plant is incredibly satisfying.
Now, if you’re just dipping your toes into the gardening world, you might find this a slightly more involved project than, say, a pothos. But don’t let that deter you! With a little patience and these tips, you’ll be well on your way to success.
The Best Time to Start
Timing is everything, isn’t it? For Hohenbergia augusta, the sweet spot for propagation is generally late spring through early summer. This is when the plant is actively growing and has plenty of energy to put into new offsets. You’re looking for those baby plants, or offsets, that have started to form at the base of your mature specimen.
Supplies You’ll Need
Here’s what you’ll want to gather before we get our hands dirty:
- Sharp, clean pruning shears or a knife: For making clean cuts. Sterilize them with rubbing alcohol, please!
- Well-draining potting mix: I love a blend of perlite, orchid bark, and a good quality potting soil. Something that won’t hold too much moisture.
- Small pots or containers: Clean nursery pots or even yogurt containers with drainage holes work beautifully.
- Rooting hormone (optional but recommended): This can give your cuttings a little boost.
- A spray bottle: For misting.
- A small trowel or spoon: For scooping soil.
- Gloves (if you prefer): Those spiky leaves can be a bit pokey!
Propagation Methods: Getting Down to Business
Hohenbergia augusta typically propagates through offsets, also known as pups. These are miniature versions of the parent plant that sprout from the base. It’s the easiest and most common way to multiply your collection.
Step-by-Step Offset Division:
- Assess your plant: Look for healthy offsets that are at least a quarter of the size of the mother plant. They should ideally have their own discernible roots starting to form at the base.
- Gently unpot: Carefully remove the entire Hohenbergia augusta from its pot. You might need to loosen the soil with your fingers.
- Locate the offset: Examine the root ball. You’ll see where the offset is attached to the parent plant.
- Make the cut: Using your sterilized shears or knife, carefully cut the offset away from the mother plant. Try to get as many of the offset’s own roots as possible. If an offset has no visible roots, don’t worry, it can often still root once potted.
- Prepare the offset: If there are any damaged leaves, trim them off. Let the cut end air dry or “cure” for a day or two. This helps prevent rot when you plant it. You can place it in a dry, shaded spot.
- Pot it up: Fill your small pot with your well-draining potting mix. Make a small well in the center.
- Optional rooting hormone: Dip the cut end of the offset into your rooting hormone, tapping off any excess.
- Plant the offset: Place the offset into the well you made in the soil. Gently firm the soil around it, ensuring it’s stable but not buried too deeply. The base of the leaves should be at or just above the soil line.
- Initial watering: Water the soil lightly. Don’t drench it! You want it moist, not soggy.
The “Secret Sauce” (Pro Tips)
Here are a couple of things I’ve learned over the years that really make a difference:
- Don’t rush the cutting: That “curing” step I mentioned? It’s crucial. Allowing the wound to callus over is your best defense against fungal issues and rot. Seriously, don’t skip this part!
- Think humidity, not saturation: New offsets don’t have robust root systems yet. They thrive in humid environments, but they hate sitting in soggy soil. I often place newly potted offsets in a mini greenhouse or cover them loosely with a plastic bag to trap humidity. Just make sure there’s some airflow to prevent mold.
- Bottom heat can be a game-changer: If you’ve got a propagation mat, now’s the time to use it! A little gentle warmth from below can encourage those roots to form much faster.
Aftercare & Troubleshooting
Once your offset is potted, place it in bright, indirect light. Avoid direct sun, which can scorch those delicate new leaves. Mist the leaves occasionally if you’re not using a humidity dome, but always let the soil surface dry slightly between waterings.
Your new Hohenbergia augusta is calling for roots! Be patient. It can take anywhere from a few weeks to a couple of months. You’ll know it’s starting to take hold when you see new leaf growth emerging from the center or feel a gentle resistance when you lightly tug on the plant.
What about problems? The most common foe is root rot. If you see the leaves turning yellow and mushy at the base, or the whole plant looks like it’s melting, that’s a tell-tale sign of overwatering. If you catch it early, you might be able to unpot it, trim away any rotted parts, let it dry out thoroughly, and repot in fresh, dry soil. Sometimes, sadly, it’s too late. Good drainage and careful watering are your best defense!
Keep Growing!
Propagating plants is a journey, and every new little offset is a triumph. Don’t be discouraged if your first attempt isn’t perfect. Nature works on its own schedule, and observing the process is half the fun. Enjoy the satisfaction of nurturing these spiky wonders, and before you know it, you’ll have a whole collection of stunning Hohenbergia augusta. Happy growing!
Resource:
https://identify.plantnet.org/k-world-flora/species/Hohenbergia%20augusta%20(Vell.)%20É.Morren/data