Oh, hello there, fellow plant lover! Grab a mug of your favorite brew, and let’s chat about Kinghamia angustifolia. I’ve spent a good chunk of my gardening life getting to know plants, and this one has a special place in my heart.
Why Propagate Kinghamia Angustifolia?
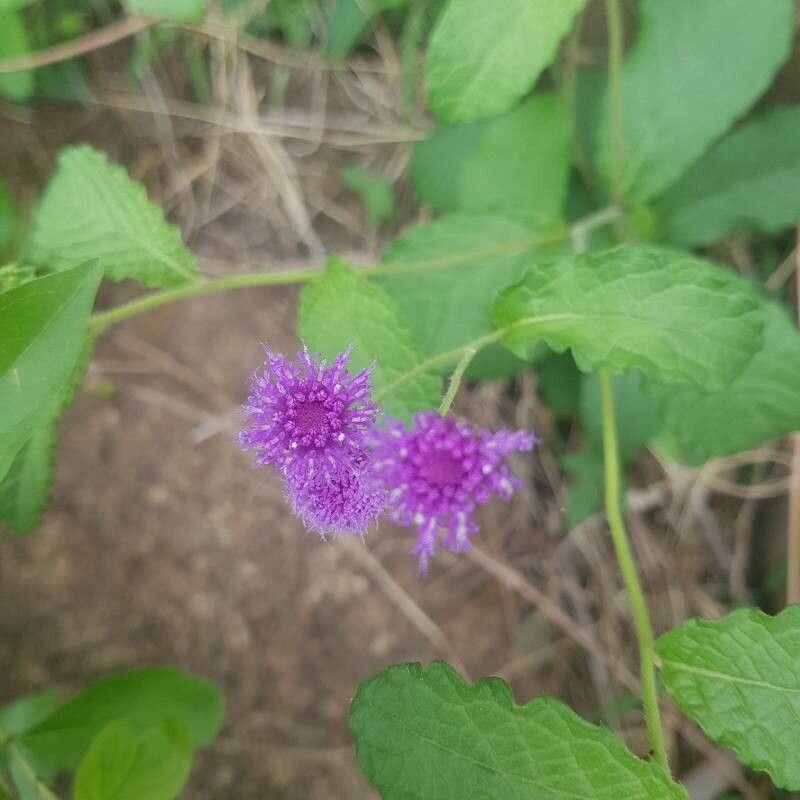
Kinghamia angustifolia, with its delicate, nodding flowers and lovely foliage, really brings a touch of elegance to any garden. It’s the kind of plant that whispers tranquility. And the best part? Successfully propagating it is incredibly rewarding. Seeing a tiny cutting transform into a vibrant new plant is a joy that never gets old. Now, is it a beginner-friendly plant to propagate? I’d say it falls into the moderate category. It’s not fussy, but a little gentle guidance goes a long way.
The Best Time to Start
Timing is everything, as they say! For Kinghamia angustifolia, the sweet spot for propagation is definitely late spring to early summer. This is when the plant is in its most vigorous growth phase. You’re looking for young, healthy stems that aren’t flowering yet. They have the most “oomph” to put into developing roots.
Supplies You’ll Need
Gathering your tools beforehand makes the whole process smoother. Here’s what I always have on hand:
- Sharp Pruning Shears or a Clean Knife: For making clean cuts.
- Rooting Hormone (Optional, but Recommended): I find it really boosts the success rate.
- Well-Draining Potting Mix: A good quality mix specifically for cuttings or a blend of peat moss and perlite works wonderfully.
- Small Pots or Trays: Clean ones, of course!
- Plastic Bags or a Propagation Dome: To create a humid environment.
- Watering Can or Mister: For gentle watering.
Propagation Methods
Let’s get our hands dirty! Here are the methods I find most successful for Kinghamia angustifolia:
Stem Cuttings: My Go-To Method
This is my favorite way to create new Kinghamia plants because it’s so reliable.
- Take the Cutting: Find a healthy stem, about 4-6 inches long. Make a clean cut just below a leaf node. A leaf node is where leaves emerge from the stem. This is where the magic happens for root development.
- Prepare the Cutting: Gently remove the lower leaves, leaving just a few at the top. This prevents them from rotting in the soil.
- Apply Rooting Hormone (Optional): Dip the cut end of the stem into your rooting hormone. Gently tap off any excess.
- Plant the Cutting: Fill your small pot with the well-draining potting mix. Make a small hole in the center with your finger or a pencil. Insert the cut end of the stem into the hole, ensuring the rooting hormone (if used) makes good contact with the soil.
- Press the Soil Firmly: Gently firm the soil around the cutting to ensure it has good contact and stands upright.
- Water Gently: Water the soil lightly. You want it moist, but not waterlogged.
- Create Humidity: This is crucial! Cover the pot with a plastic bag (you can use a chopstick to prop it up so it doesn’t touch the leaves) or place it under a propagation dome. This traps moisture and keeps the cutting from drying out.
- Location, Location, Location: Place the pot in a bright spot with indirect light. Avoid direct sun, which can scorch the delicate cutting.
Division: For Established Plants
If you have a more mature Kinghamia, division is a simple and effective way to gain new plants.
- Gently Excavate: Carefully dig up the entire plant.
- Loosen the Soil: Gently shake off some of the excess soil to get a better look at the root ball.
- Identify Natural Divisions: Look for natural breaks in the root system where you can see distinct clumps or crowns. Use your hands or a clean trowel to gently pull the clumps apart. If a section is really stubborn, a clean knife can help.
- Tidy Up: Trim away any damaged or mushy roots.
- Replant Immediately: Pot up each new division as you would a potted plant, using fresh, well-draining soil. Water them in well.
The “Secret Sauce” (Pro Tips)
Here are a couple of little tricks I’ve picked up over the years that really make a difference:
- Bottom Heat is Your Friend: If you can, place your pots on a gentle heat mat. This encourages the roots to form more quickly and vigorously. It creates that perfect cozy environment for root development.
- Don’t Over-Water: It sounds counterintuitive, but over-watering is one of the biggest killers of cuttings. The goal is consistently moist, not soggy, soil. Check the soil moisture by gently poking your finger in. If the top inch feels dry, it’s time for a light watering.
Aftercare & Troubleshooting
Once roots start to appear (you might see them peeking out of the drainage holes, or the cutting will resist a gentle tug), it’s time to start treating it more like a young plant.
- Gradually Acclimate: Slowly remove the plastic bag or ventilation over a few days to let the new plant get used to normal humidity.
- Continue Bright, Indirect Light: Keep it in its bright,
- Water as Needed: Water when the top inch of soil feels dry.
- Watch for Rot: The most common sign of failure is rot. If your cutting turns black, mushy, or smells bad, it’s likely rotted. This is usually due to too much moisture. If you catch it early, you might be able to salvage a healthy section, but often it’s best to start again.
- Yellowing Leaves: This can sometimes indicate too much water, or not enough light. Observe your little plant carefully.
Keep Growing!
See? It’s not so daunting after all. Propagation is a journey of patience and observation. Don’t be discouraged if your first few attempts aren’t perfect. Every gardener has had their share of “oops!” moments. The most important thing is to enjoy the process, learn from each experience, and celebrate every tiny new sprout! Happy propagating!
Resource: