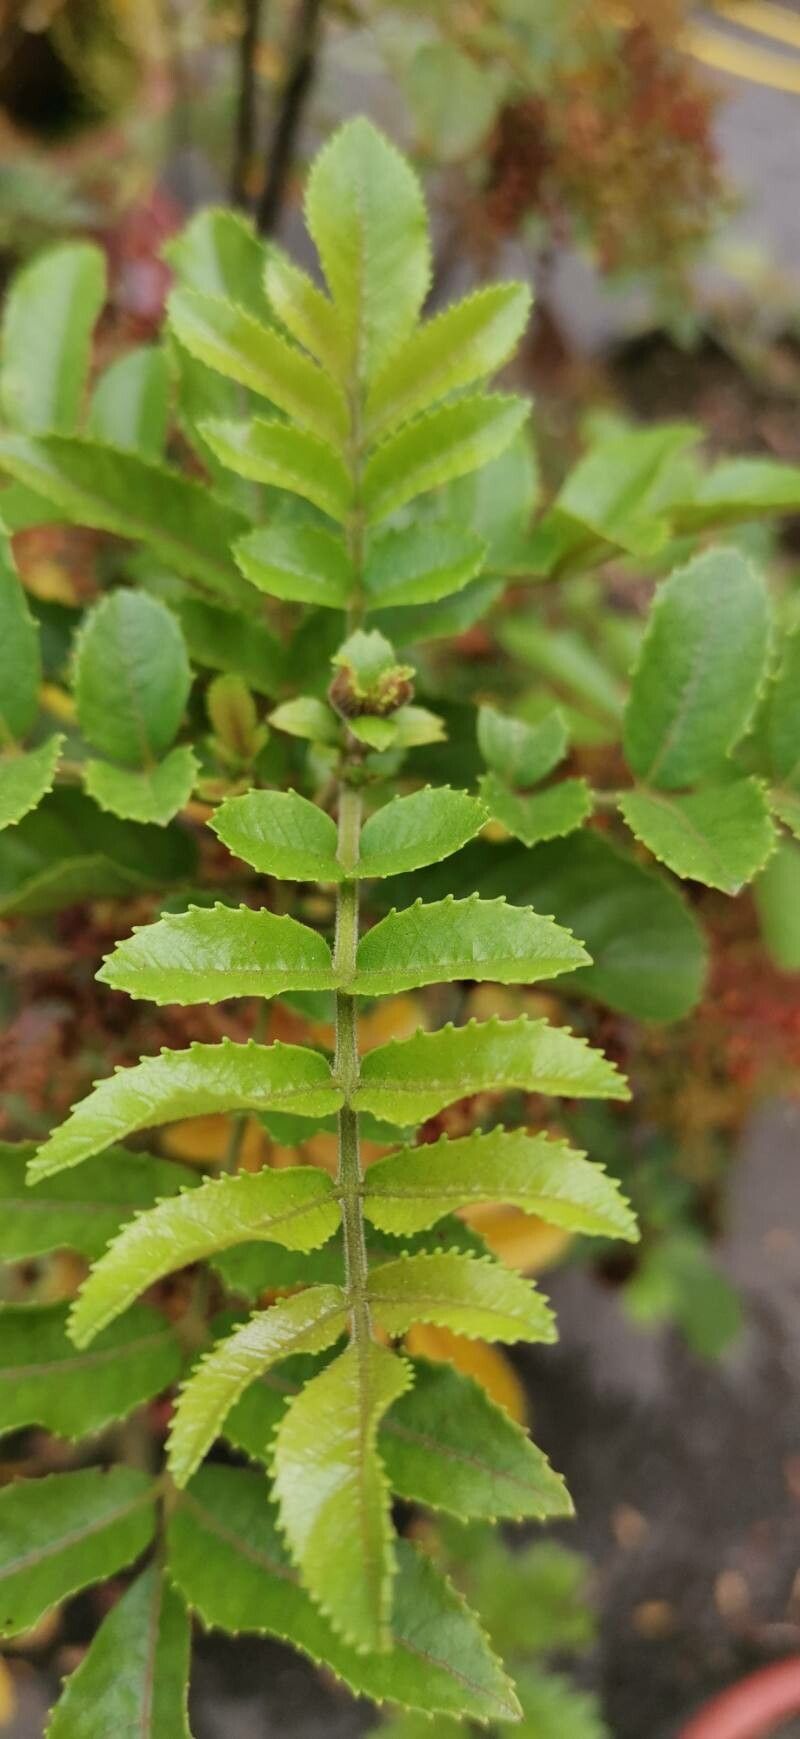
Oh, hello there! Come on in, grab a cuppa. I’m so glad you’re interested in propagating Ackama rosifolia – it’s such a delightful plant, isn’t it? That gorgeous, glossy foliage and those lovely, creamy white flowers really bring a bit of magic to the garden. And the best part? Making more of them is surprisingly straightforward, even if you’re just starting your plant-parenting journey. It’s just so rewarding to see a tiny cutting transform into a healthy, established plant.
The Best Time to Start
Honestly, the sweet spot for getting Ackama rosifolia cuttings to root is late spring to early summer. This is when the plant is in active growth, and those young shoots are full of vigor. You want to take cuttings from healthy, non-flowering stems that are a little bit flexible but not too soft. Think of it like taking a pencil – firm enough to hold, but still yielding.
Supplies You’ll Need
Gathering your tools beforehand makes everything so much easier! Here’s what I usually have on hand:
- Sharp pruning shears or a clean knife: For making those crucial clean cuts.
- Rooting hormone powder or gel: This little helper gives your cuttings a significant boost.
- Well-draining potting mix: I like a blend of perlite, peat moss, and a bit of sand. A commercial seedling mix works beautifully too.
- Small pots or seed trays: Whatever you have that’s clean and has drainage holes.
- A clear plastic bag or propagator: To create a humid environment.
- Watering can with a fine rose: For gentle watering.
- Labels and a marker: To keep track of what’s what!
Propagation Methods
Let’s get our hands dirty! Stem cuttings are your best bet here.
- Take Your Cuttings: Head out to your Ackama rosifolia plant and select a healthy stem. Look for a section that’s about 4-6 inches long. Make a clean cut just below a leaf node (where a leaf attaches to the stem). Remove the leaves from the bottom half of the cutting, leaving just a couple at the very top.
- Prepare the Cutting: Dip the cut end of the stem into your rooting hormone. Gently tap off any excess. This is like giving your cutting a little pep talk before it faces the world.
- Potting Up: Fill your small pots with your prepared potting mix. Make a small hole in the center with your finger or a pencil. Carefully insert the treated end of the cutting into the hole, ensuring the leaf nodes are below the soil surface. Gently firm the soil around the stem.
- Water and Cover: Water thoroughly but gently, allowing any excess to drain away. Now, cover the pot with a clear plastic bag or place it inside a propagator. This creates a mini greenhouse, keeping the humidity high, which is vital for cuttings that haven’t developed roots yet.
- Location, Location, Location: Place your pots in a bright spot that doesn’t get direct midday sun. Think of it as a cozy, sun-dappled spot.
The “Secret Sauce” (Pro Tips)
Here are a few little tricks I’ve learned over the years that can really make a difference:
- Don’t let the leaves touch the water: If you opt for water propagation (which is possible but can be fussier for Ackama than soil), make absolutely certain that the leaves are above the waterline. Any submerged leaves will just rot and invite trouble.
- Bottom heat is your friend: If you have a heat mat designed for propagation, pop your pots on it. This gentle warmth encourages root development from below, giving your cuttings a real head start. It’s like a warm hug for those nascent roots.
- Mist, don’t drench: While humidity is key, you don’t want standing water. Lightly mist the inside of the plastic bag or the leaves of the cuttings every so often, especially on warm days, to keep things moist.
Aftercare & Troubleshooting
Be patient! It can take anywhere from 4 to 8 weeks for your cuttings to show signs of rooting. You’ll know they’re happy when you see new leaf growth. Gently tugging on the cutting will reveal resistance if roots have formed. Once they’re well-rooted, you can carefully transplant them into slightly larger pots with a good quality potting mix.
Now, what if things go wrong? The most common issue is rot. This usually happens if the soil is too wet and there isn’t enough air circulation. If you notice your cutting turning mushy and black, sadly, it’s probably too late. Always err on the side of slightly drier soil rather than overly soggy. Also, ensure good airflow by propping open the plastic bag slightly once you see signs of rooting.
A Encouraging Closing
So there you have it! Ackama rosifolia propagation is a wonderful way to expand your garden or share these beauties with friends. Remember, gardening is all about observation and patience. Don’t be discouraged if your first attempt isn’t perfect. Each cutting teaches you something new. Just enjoy the process, celebrate every little bit of progress, and you’ll soon be surrounded by more of these lovely plants. Happy propagating!
Resource:
https://identify.plantnet.org/k-world-flora/species/Ackama%20rosifolia%20A.Cunn./data