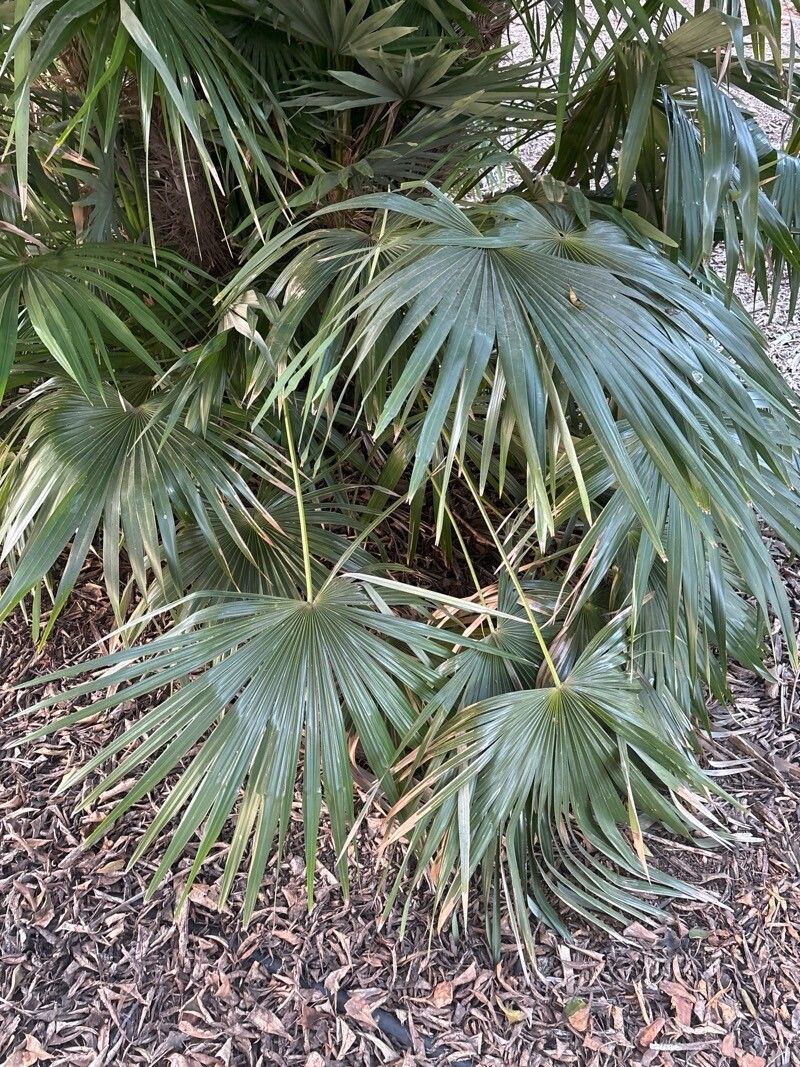
Hello, fellow garden enthusiasts! If you’ve ever admired the striking elegance of Zombia antillarum, with its graceful, segmented fronds and architectural form, you’re not alone. This beautiful palm tree, native to the Caribbean, can add a touch of the tropics to any landscape. And the best part? You can often grow more of them yourself!
It’s genuinely rewarding to watch a tiny cutting or seed transform into a thriving new plant. Now, I won’t lie to you – propagating palms can sometimes feel a bit more involved than, say, a common pothos. But with a little patience and the right approach, Zombia antillarum is absolutely achievable. It’s a project that requires a bit of dedication, so if you’re new to propagation, this might be a slightly more advanced undertaking, but one that’s oh-so-worth-it.
The Best Time to Start
For Zombia antillarum, the ideal time to get your hands dirty is definitely during its active growing season. Think late spring through summer. This is when the plant has the most energy stored up and is primed to produce new growth and, crucially, develop roots. Starting a cutting or sowing seeds when the weather is warm and light levels are good significantly boosts your chances of success.
Supplies You’ll Need
Here’s what I usually gather before I begin:
- Sharp, clean pruning shears or a knife: For making clean cuts.
- Rooting hormone (optional but recommended): A little can go a long way. I prefer a powder.
- Well-draining potting mix: A blend of perlite, coarse sand, and peat moss or coco coir works wonders. You want to avoid anything that holds too much moisture.
- Small pots or propagation trays: With drainage holes, of course!
- A clear plastic bag or propagation dome: To create a humid environment.
- Water: For misting and occasional watering.
- A warm location: This is key!
Propagation Methods
While Zombia antillarum can be grown from seed, many gardeners find success with stem cuttings, which is what I’ll walk you through.
-
Taking the Cutting: Select a healthy, vigorous stem from a mature plant. Look for a segment that has several leaf nodes (where leaves emerge). Using your clean shears, make a clean cut just below a node. Aim for a cutting that’s about 6-8 inches long. Remove any lower leaves, leaving just a couple at the very top. This reduces water loss.
-
Applying Rooting Hormone: Dip the cut end of the stem into your rooting hormone powder. Gently tap off any excess. This step helps encourage root development.
-
Planting the Cutting: Fill your small pot with your well-draining potting mix. Make a hole in the center with your finger or a pencil, deep enough to accommodate the cut end. Insert the cutting into the hole and gently firm the soil around it.
-
Creating a Humid Environment: Water the soil lightly. Then, cover the pot with a clear plastic bag, securing it around the rim with a rubber band, or place it under a propagation dome. This creates a mini-greenhouse effect, keeping the humidity high and preventing the cutting from drying out.
-
Placement is Key: Place the potted cutting in a warm, bright location, but out of direct sunlight. Indirect light is best to avoid scorching the leaves or overheating the cutting.
The “Secret Sauce” (Pro Tips)
Here are a few things I’ve learned over the years that can really make a difference:
- Avoid Leaf Rot: If you’re doing any kind of water propagation (though less common for Zombia, it’s a general rule), never let the leaves of your cutting touch the water. They’ll turn mushy and rot before roots even have a chance to form.
- Embrace Bottom Heat: Zombia absolutely loves warmth from below. Placing your pots on a heating mat designed for seedlings can significantly speed up root formation. It mimics the warm soil it would encounter in its native environment.
- Don’t Rush the Mist: While you want to keep the soil consistently moist, don’t overwater. The goal is damp, not soggy. I like to mist the leaves inside the plastic tent every few days, especially if the humidity seems to be dropping.
Aftercare & Troubleshooting
Once you start seeing new leaf growth emerging from your cutting, that’s a great sign! It means roots are likely developing. You might also gently tug on the cutting – if there’s resistance, it’s a good indicator roots have formed.
Care for your new, tiny Zombia like you would a young plant: continue to keep it in bright, indirect light and maintain consistent moisture in the soil. Gradually acclimate it to lower humidity by slowly opening the plastic bag or vent on the dome over a week or two. Once it’s established, you can repot it into a slightly larger container.
As for troubleshooting, the most common issue you’ll face is rot. If your cutting turns black and mushy, it’s usually a sign of too much moisture and not enough air circulation. Sadly, a rotted cutting usually can’t be saved, but it’s a learning opportunity! Next time, focus on that excellent drainage and a lighter hand with the water.
A Little Patience Goes a Long Way
Propagating Zombia antillarum is a journey, and like all good things, it takes time. Don’t get discouraged if your first attempt doesn’t yield immediate results. Each plant is a little experiment, a chance to learn and connect with nature. So, grab your tools, find a healthy stem, and enjoy the magic of growing something new. Happy gardening!
Resource: