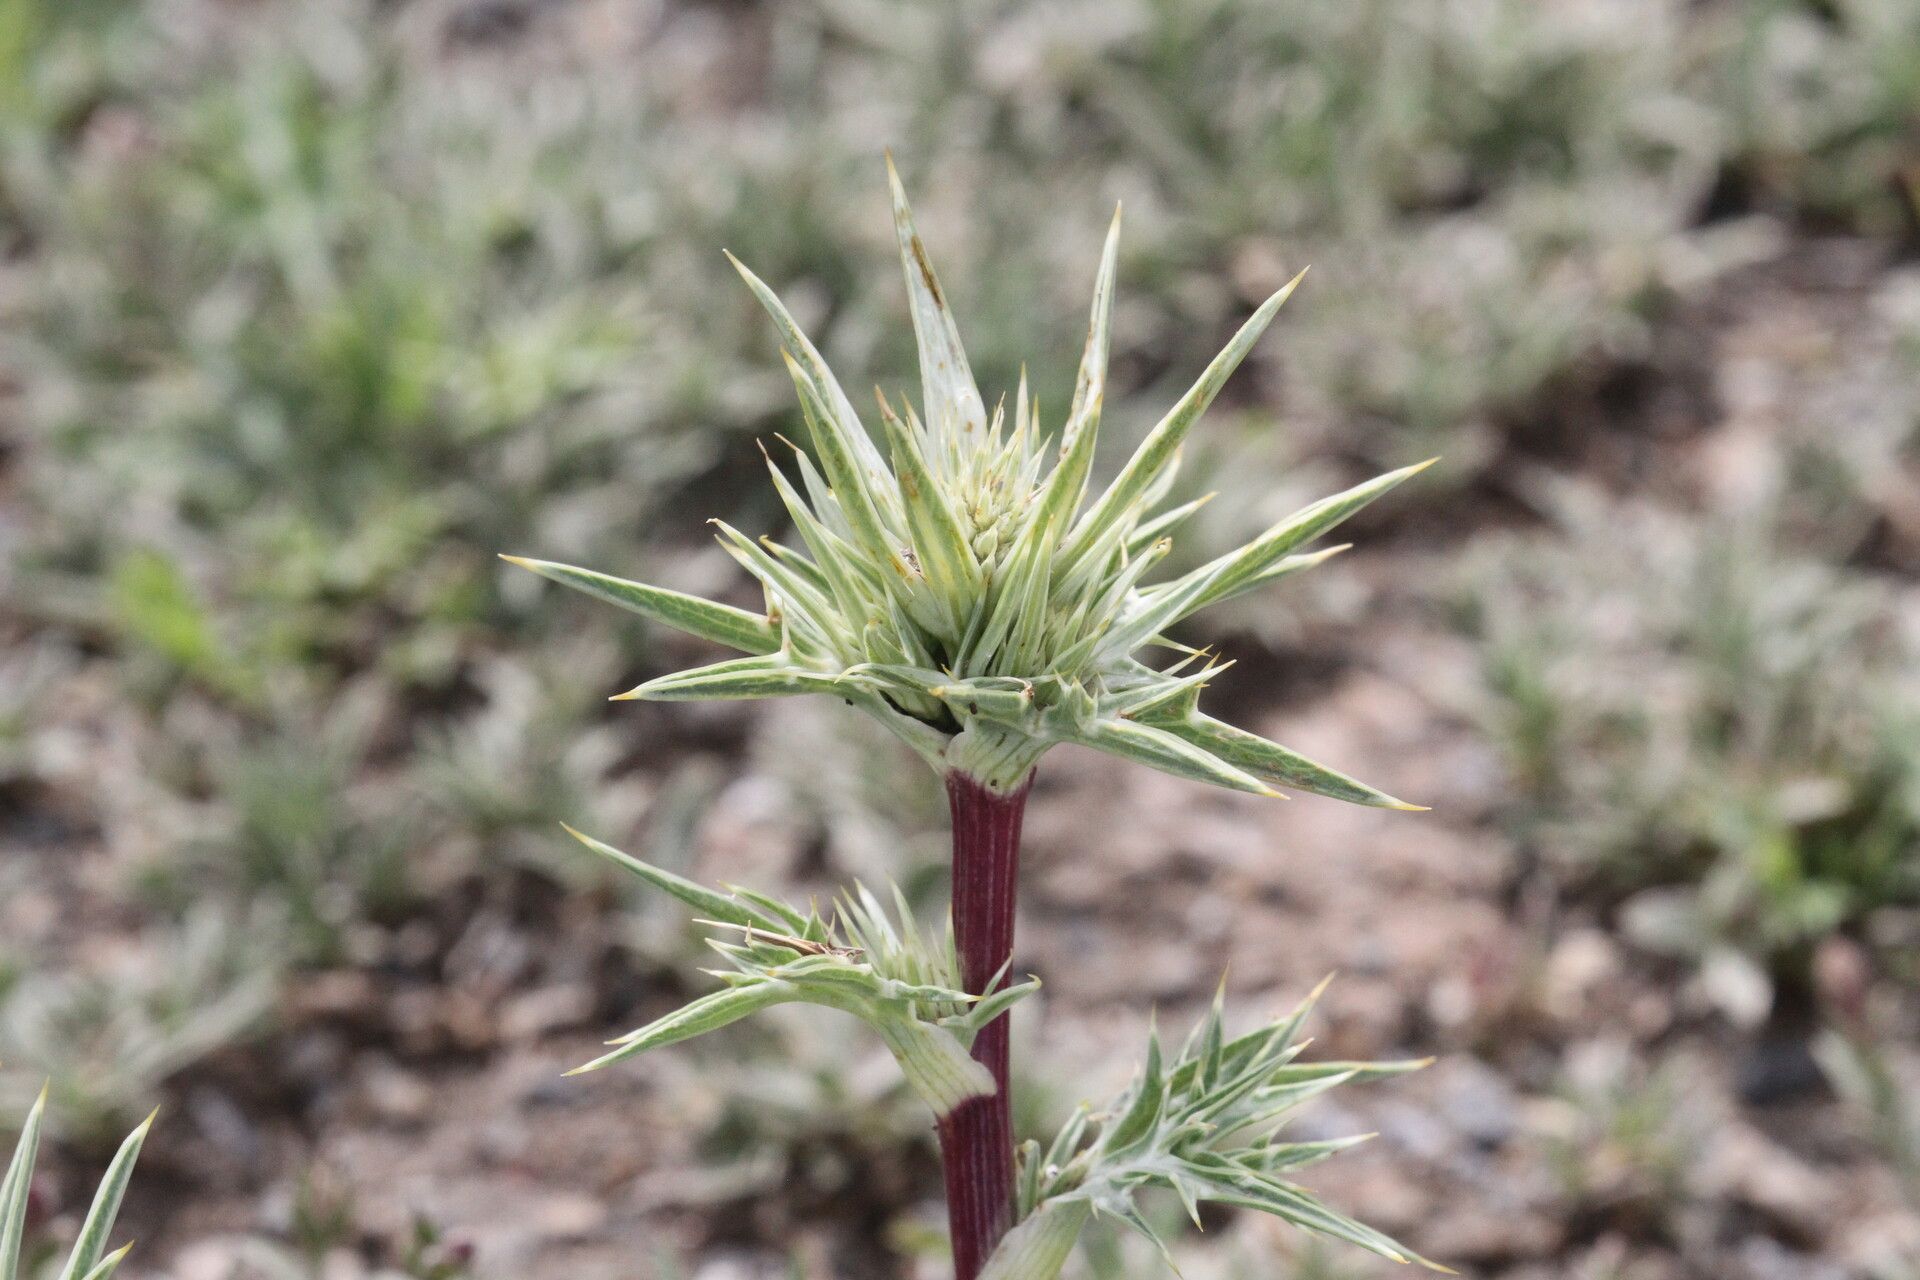
Hello there, fellow garden enthusiasts! I’m so excited to chat with you today about a plant that truly captures my heart: Eryngium glaciale, or as I affectionately call it, the Frosty Sea Holly. Its spiky, silvery-blue blooms are simply stunning, adding a touch of wild elegance to any garden. Plus, there’s a special kind of magic in coaxing a new life from a piece of an existing plant. Propagating Eryngium glaciale can be a bit of a rewarding challenge, and while it might test your patience, it’s definitely achievable even for those newer to the gardening game. Let’s dive in!
The Best Time to Start
For the highest chance of success with Eryngium glaciale, I always reach for my trowel in late spring to early summer, right after the main flowering flush has passed. This is when the plant is actively growing and has plenty of energy to put into developing new roots. Trying to propagate too early in the spring, when growth is just starting, can be less successful, and waiting too late in the season might not give the new cuttings enough time to establish before cooler weather arrives.
Supplies You’ll Need
Here’s a little inventory to get you prepared. Don’t worry; it’s mostly standard garden fare!
- Sharp, clean pruning shears or a sharp knife: For taking precise cuttings.
- Rooting hormone (optional but recommended): A powder or gel to help encourage root development.
- Well-draining potting mix: A good mix for succulents or cacti works wonders here. You can also create your own by combining equal parts perlite, coarse sand, and peat moss.
- Small pots or seed trays with drainage holes: To house your cuttings.
- A spray bottle: For misting.
- A clear plastic bag or propagation dome: To create a humid environment.
- Labels: To keep track of your varieties and dates.
Propagation Methods
While Eryngium glaciale can be started from seed, I find stem cuttings to be the most reliable and rewarding method for home gardeners.
Stem Cuttings:
- Select Your Cuttings: Look for healthy, non-flowering stem tips that are about 4-6 inches long. Use your sharp shears or knife to make a clean cut just below a leaf node (where a leaf attaches to the stem).
- Prepare the Cuttings: Gently remove any lower leaves from the cutting, leaving just a few at the top. This prevents them from rotting in the soil and concentrates the plant’s energy on root formation.
- Apply Rooting Hormone (Optional): Dip the cut end of the stem into your rooting hormone, tapping off any excess. This step isn’t strictly necessary but can give your cuttings a helpful boost.
- Plant Your Cuttings: Fill your small pots or trays with the well-draining potting mix. Make a small hole in the center of the mix with your finger or a pencil.
- Insert and Firm: Gently insert the cut end of the stem into the hole, ensuring it reaches the bottom. Firm the soil gently around the cutting to ensure good contact.
- Water Lightly: Water the soil lightly until it’s evenly moist but not waterlogged.
- Create Humidity: Place the pots into a clear plastic bag or cover them with a propagation dome. This traps humidity, which is crucial for cuttings to root. Make sure the leaves don’t touch the sides of the bag or dome too much.
- Find a Bright Spot: Place your pots in a location that receives bright, indirect light. Avoid direct sunlight, which can scorch the delicate cuttings.
The “Secret Sauce” (Pro Tips)
Here are a couple of things I’ve learned over the years that really make a difference with these spiky beauties:
- Bottom Heat is Your Friend: Eryngium glaciale loves a little warmth from below. If you have a heat mat designed for seedlings or propagation, placing your pots on it can significantly speed up root development. It mimics the warmth of the soil in summer.
- Don’t Over-Water, Period: I cannot stress this enough. These plants hate wet feet. When propagating, it’s far easier to lose a cutting to rot from too much moisture than to lack of it. Let the soil surface dry out slightly between waterings. It’s better to err on the side of caution.
- Air Them Out Occasionally: Even though we want humidity, it’s important to ventilate your propagation setup daily for a few minutes. This helps prevent fungal diseases from taking hold. Just lift the bag or dome, let some fresh air in, and then replace it.
Aftercare & Troubleshooting
Once you see signs of new growth – tiny leaves emerging from the top or, if you gently tug, a bit of resistance indicating root formation – it’s time to transition.
Watering and Acclimatization:
- Gradually reduce the humidity by opening the bag or dome for longer periods each day before removing it entirely.
- Continue to water sparingly, allowing the top inch of soil to dry out.
- Once the cuttings have a robust root system and are showing healthy top growth, you can transplant them into slightly larger pots with your regular well-draining potting mix.
Troubleshooting:
The most common issue you’ll encounter is rot. This is usually a sign of too much moisture and poor air circulation. If you see a cutting turning mushy and black, it’s probably best to discard it to prevent it from spreading. Yellowing leaves can sometimes indicate too much direct sun or nutrient deficiency, but usually, rot is the primary culprit for new cuttings. Patience is key here; don’t be discouraged by a few failures!
A Little Encouragement
Propagating Eryngium glaciale is a journey, and like all good journeys, it requires a bit of patience and a lot of observation. Don’t be afraid to experiment, and most importantly, enjoy the process. Watching a tiny cutting transform into a thriving plant is one of gardening’s greatest joys. Happy propagating!
Resource:
https://identify.plantnet.org/k-world-flora/species/Eryngium%20glaciale%20Boiss./data